Seamlessly Blend Portraits into Any Background: Master Union ControlNet 2.0 in ComfyUI!
In this article, we’ll walk through an updated workflow that blends a person into a new background while keeping the pose, composition, and details intact, thanks to the Union ControlNet 2.0 model.
If you watched my previous video, you already know about the power of the Redux model for maintaining consistency in the face, clothing, and background style. However, thanks to the new version of the Union ControlNet model, we can now also preserve the person’s pose and the overall composition.
Let’s dive into the new workflow, step-by-step, and explore how it takes things to the next level.
Video Tutorial:
Gain exclusive access to advanced ComfyUI workflows and resources by joining our community now!
Here’s a mind map illustrating all the premium workflows: https://myaiforce.com/mindmap
Run ComfyUI with Pre-Installed Models and Nodes: https://youtu.be/T4tUheyih5Q
1. Overview of the Previous Workflow
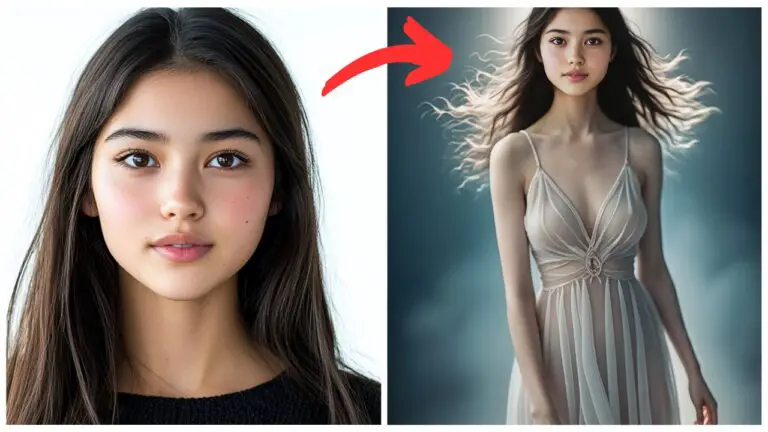
In the last video, I showed you a workflow where a woman was seamlessly blended into a new beach background.
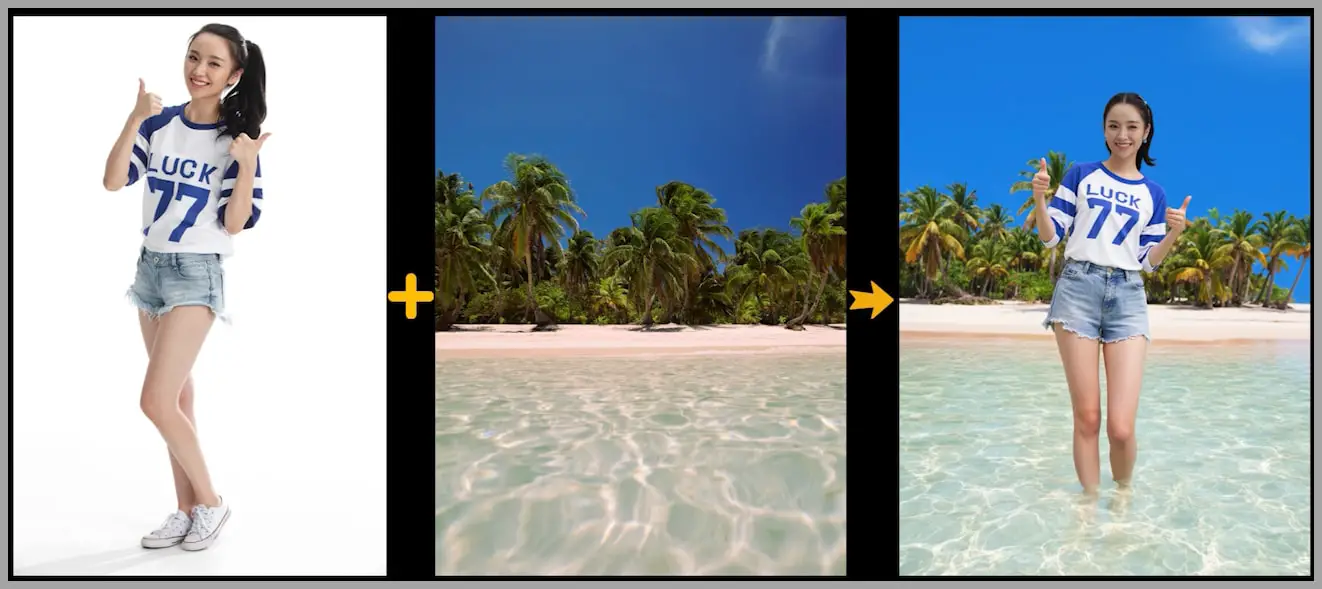
The key takeaway from that workflow was how the Redux model helped keep the woman’s face, T-shirt, and the background style consistent. However, one thing that was lacking in that workflow was the ability to maintain the woman’s pose and composition. In other words, while the woman fit well into the new background, her pose and the overall scene setup changed significantly.
With the new Union ControlNet 2.0 model, things have improved. Now, not only do we get the same consistency in face and background, but we can also ensure that the pose and composition stay consistent. Let’s dive into the new workflow to see how this works in action.
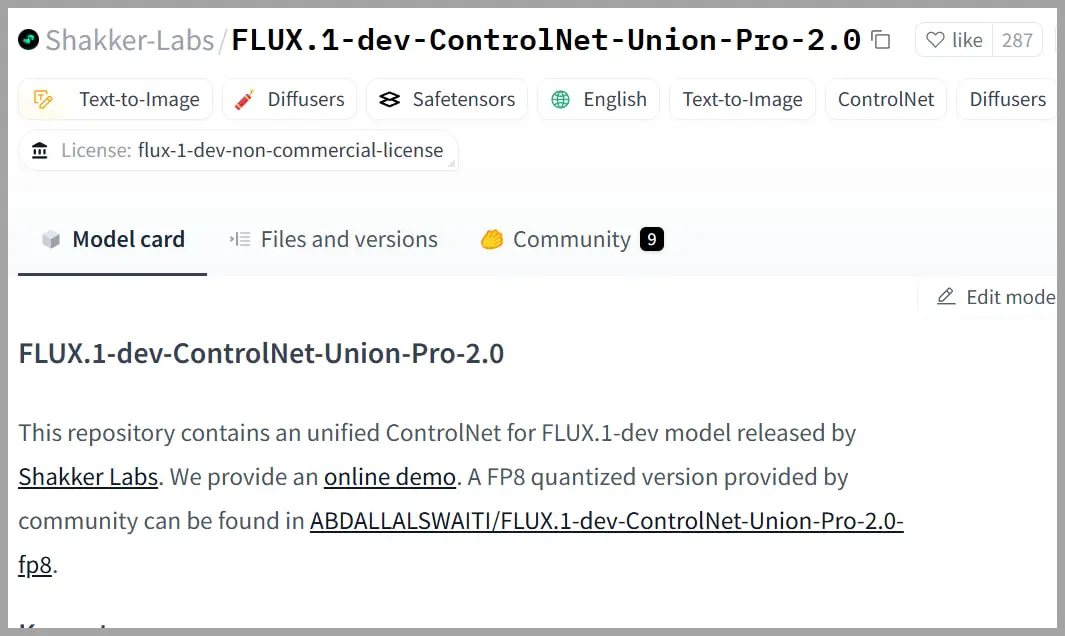
2. Introduction to the Union ControlNet 2.0 Model
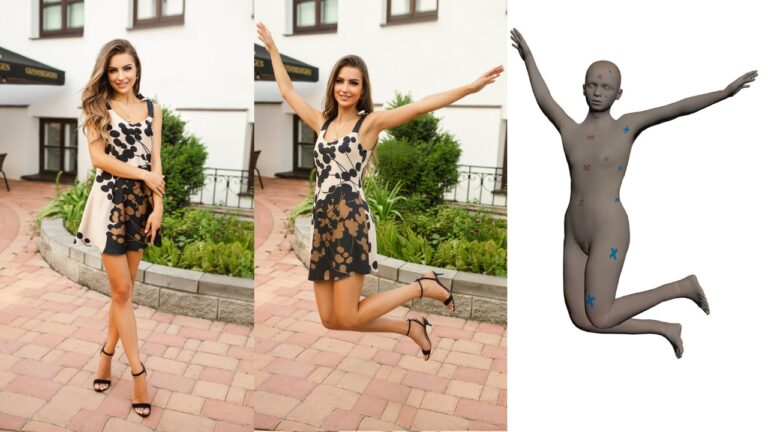
The Union ControlNet 2.0 model brings new capabilities to your creative projects. This updated version offers the ability to blend a subject into a new environment while maintaining key features like pose and composition. This improvement opens up new possibilities, especially when working with portraits or images where the pose needs to stay consistent.
In the previous workflow, we could blend a person into a new background, but the person’s pose often ended up misaligned or unnatural. Now, with Union ControlNet 2.0, we can ensure that the subject’s body remains proportionate and in the correct position within the new background. This leads to more natural and visually cohesive results.
3. The New Workflow Step-by-Step
This updated workflow follows similar steps as before, but with a couple of key additions. Let’s break it down:
Step 1: Removing the Woman from the Portrait
To start, we’re working with a portrait. The first thing you need to do is remove the woman from the portrait. This leaves you with only the background, which we will use later in the process.
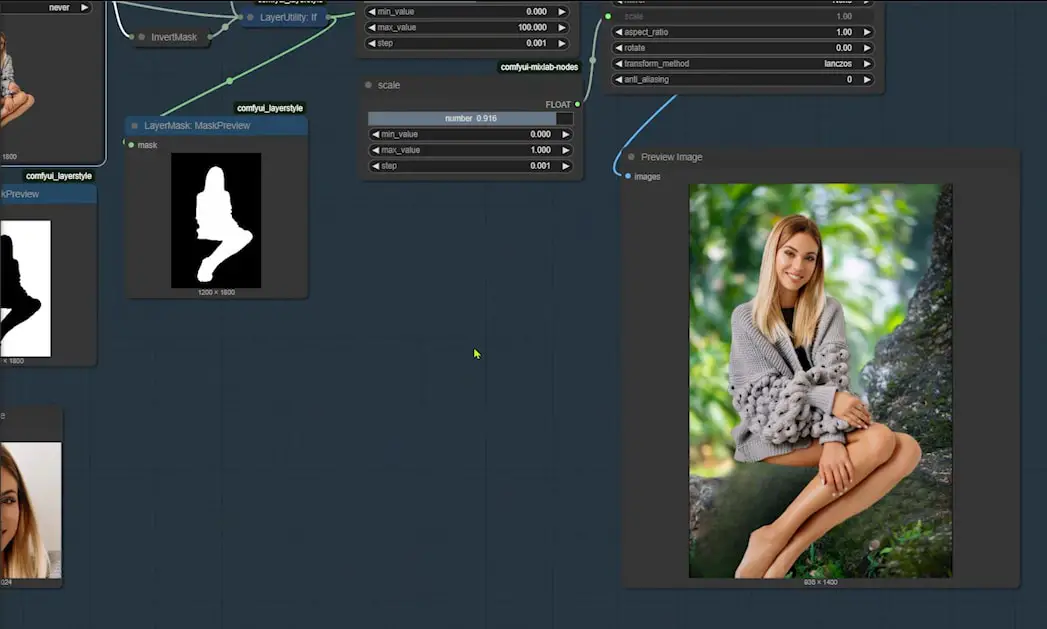
Step 2: Removing the Original Background from the Woman’s Portrait
Once you’ve separated the woman from the portrait, the next step is to remove the original background behind her. This is done by using the “Preview Bridge” node, which also removes any unwanted elements, such as the round ottoman in this case.
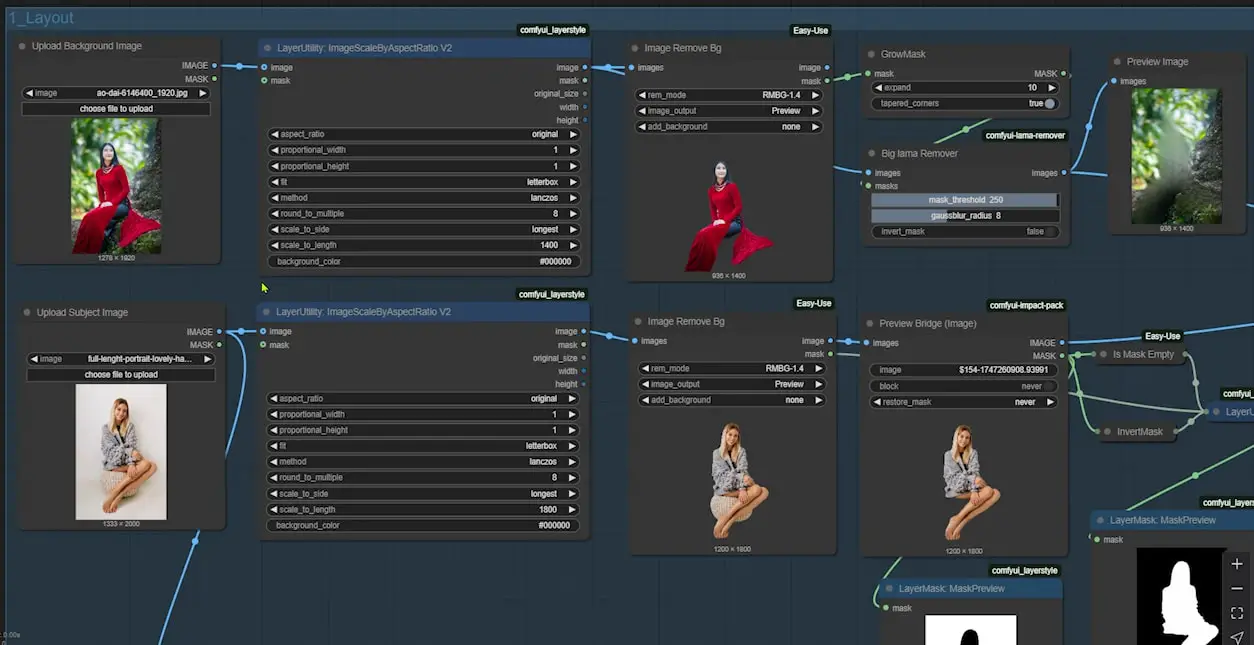
Step 3: Positioning the Woman on a New Background
Now, it’s time to place the woman onto a new background. The best part of this new workflow is that you can upload a portrait and use its background as part of the blending process. Previously, you could only upload a background image without any people in it, but now we can work with portraits more effectively.
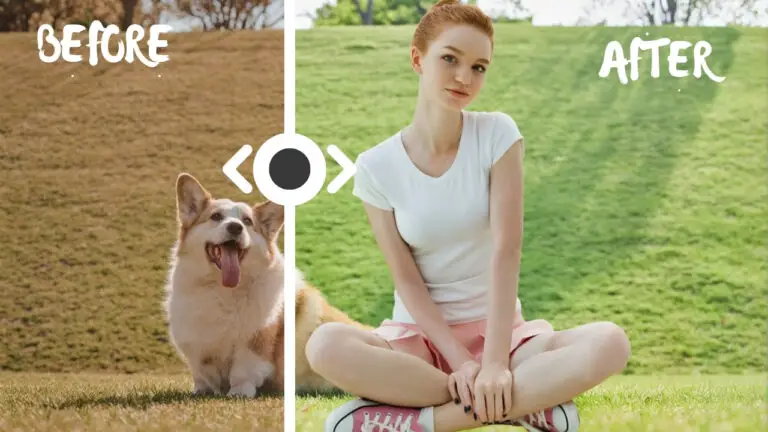
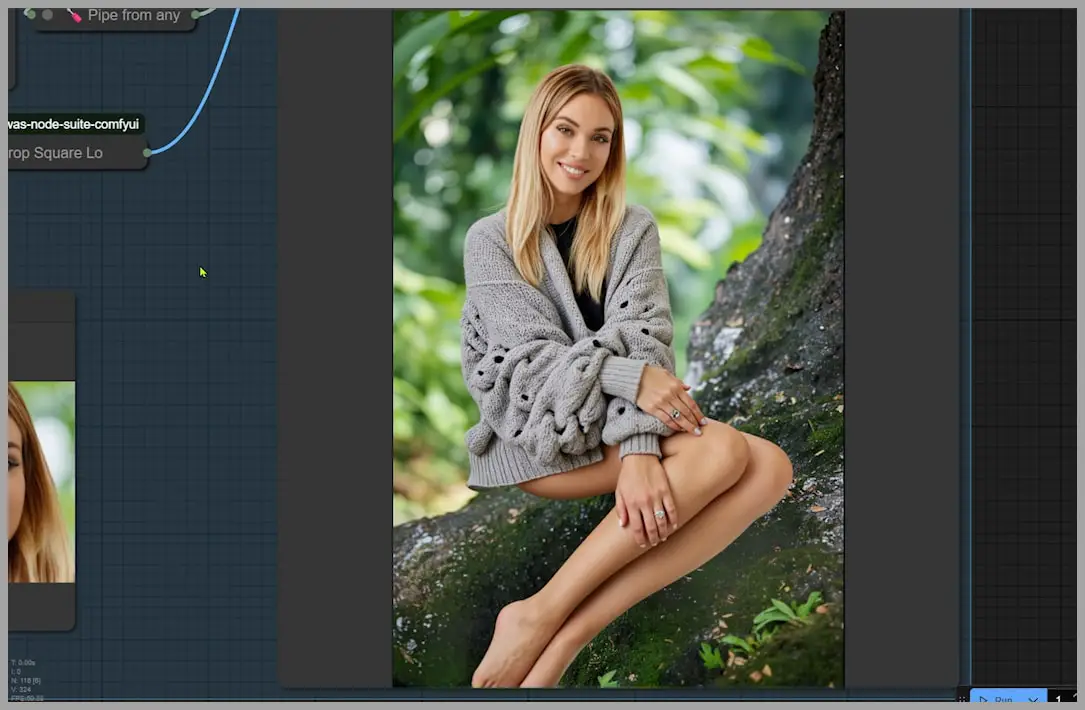
Initial Blending and Problems Encountered
At this stage, the blending looks good but not perfect. The woman is placed into the scene, but she looks like she was simply pasted on top of the background.
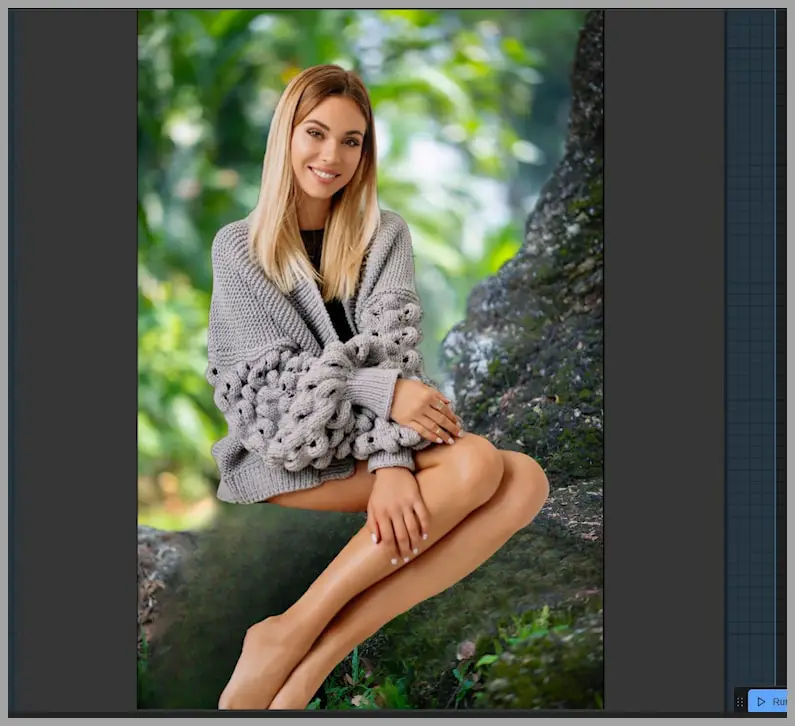
In particular, the transition between her and the tree looks a bit off because it was generated by the lama remover. Moreover, the woman’s body doesn’t interact with the environment as naturally as we’d like.
These are common issues when working with composite images, and they need to be addressed to improve the realism of the final result.
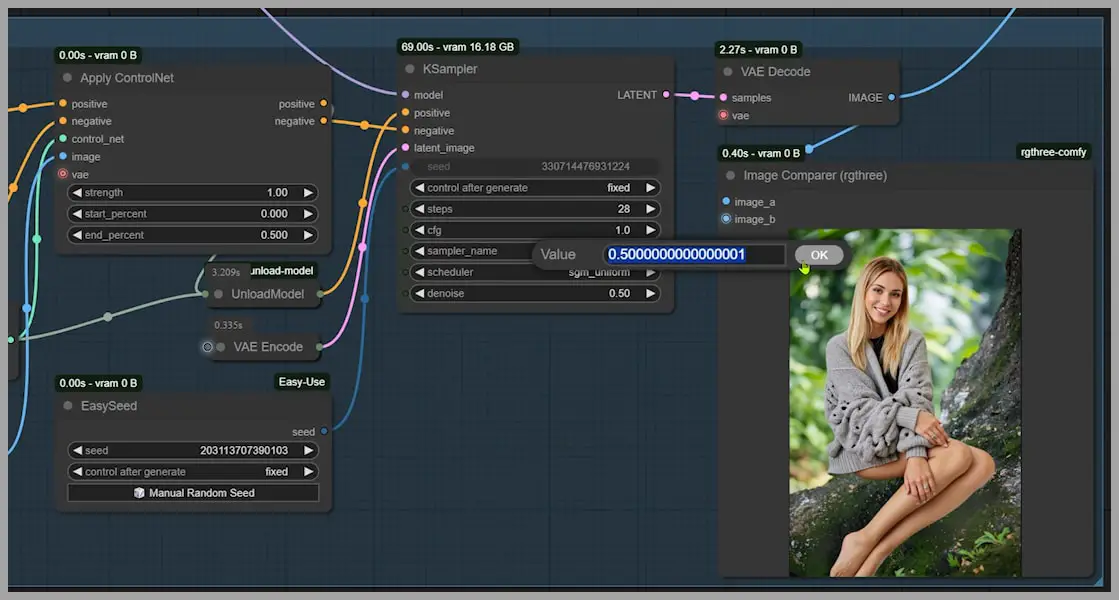
Finalizing the Image with the Union ControlNet 2.0 Model
In the fourth node group, I begin the process of repainting the image to fix the issues from the initial blending. The key improvement here is that the woman’s pose in this version is much closer to the original pose from the portrait, and the overall composition matches better, thanks to the Union ControlNet 2.0 model.
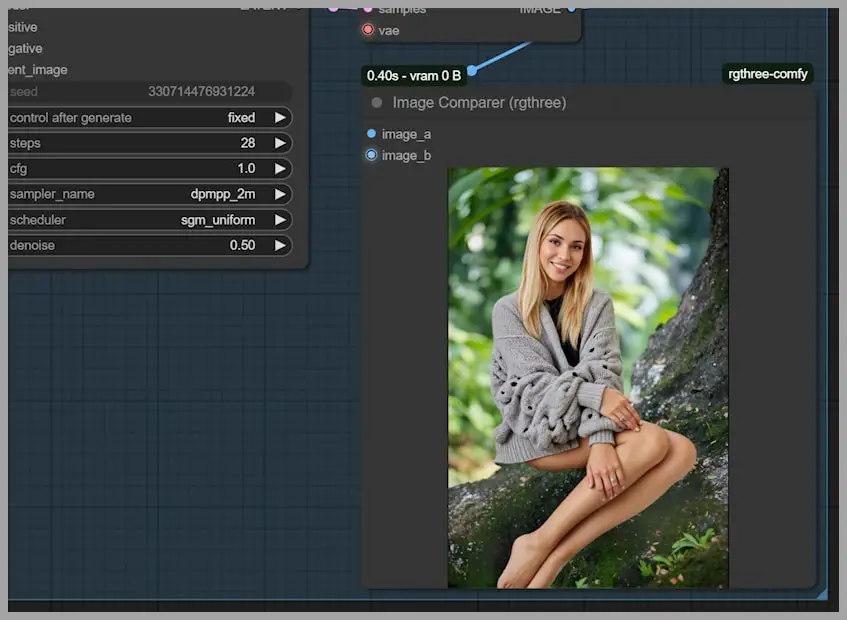
The Union ControlNet model ensures that the woman’s pose is consistent with the original, while also improving how her body interacts with the surrounding background. Additionally, the Redux model helps keep the style and details more consistent, particularly in the woman’s face and clothing.

To further enhance the realism, I also connect the PuLID to preserve details like her hairstyle and facial features.
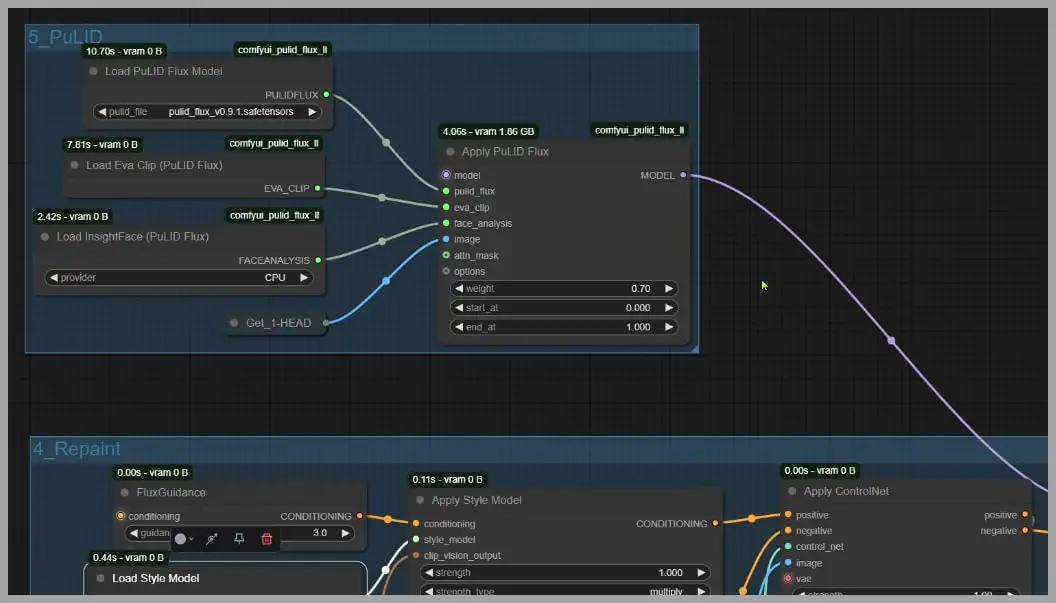
If at any point you feel the image still seems unnatural, you can increase the denoising strength in the KSampler to further smooth out imperfections.
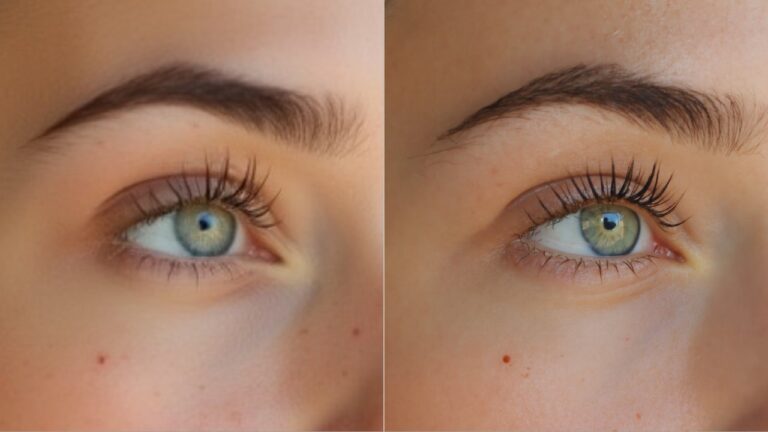
Further Refining the Image
We’re almost there, but a few finer details still need tweaking. For example, the ring on the woman’s hand could be sharper, and the likeness of her face could be improved. To address these issues, I use three additional node groups.
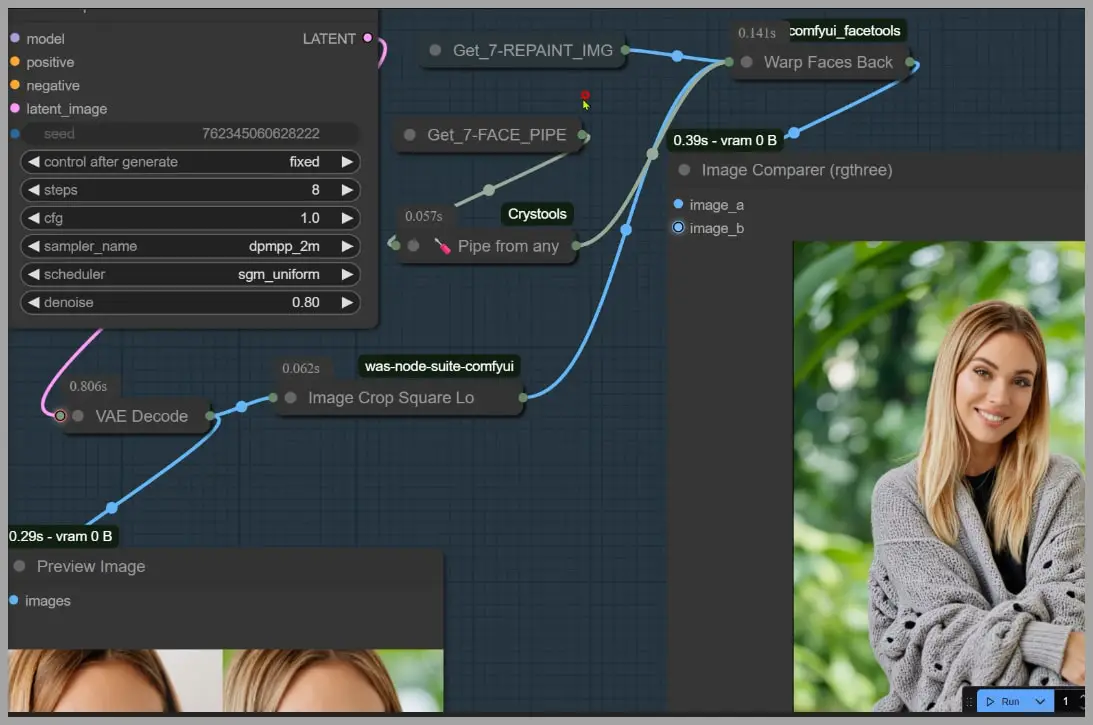
These final steps are crucial for fine-tuning the image. After making these adjustments, we end up with a much sharper, cleaner result. The woman’s face now resembles the original portrait more closely, and the hand details are much clearer.
Conclusion
By using the new Union ControlNet 2.0 model, this workflow allows for a much more natural blending of a person into a new background.
If you’re interested in diving deeper into these techniques, I encourage you to check out my previous videos, where I explain similar workflows in more detail. I hope this article has given you useful insights into blending a person seamlessly into a new background with ease!