Portrait Beautification with RF Inversion in ComfyUI
In this article, I’ll walk you through my latest portrait beautification workflow designed to elevate your images with just a few clicks. This workflow focuses on natural enhancements, improving skin, hair, and fabric textures without making the photo look overly edited. Whether you’re working with low-light shots, blurred images, or portraits of older subjects, this workflow has something for everyone.
Workflow Results Overview
Before diving into the steps, let’s look at the transformation this workflow can achieve:
Skin Enhancement
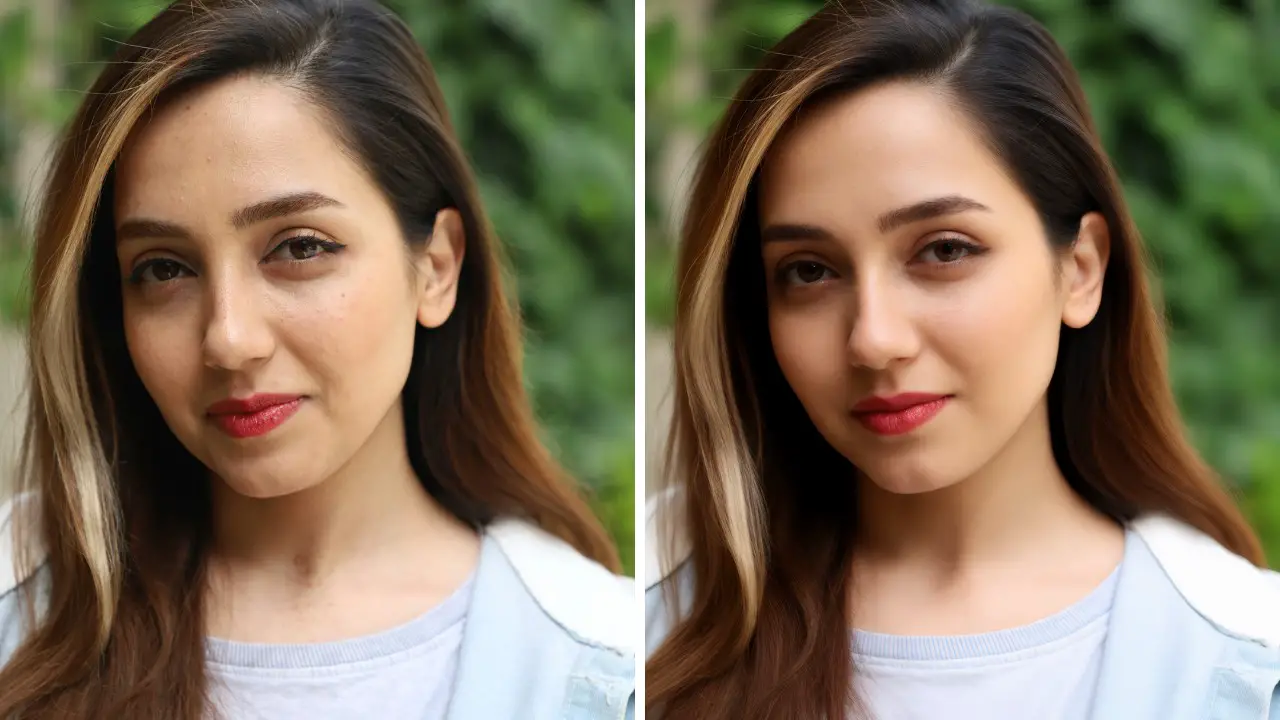
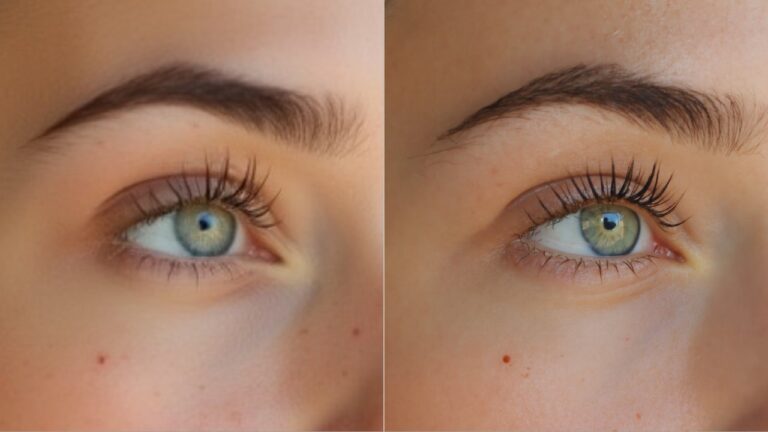
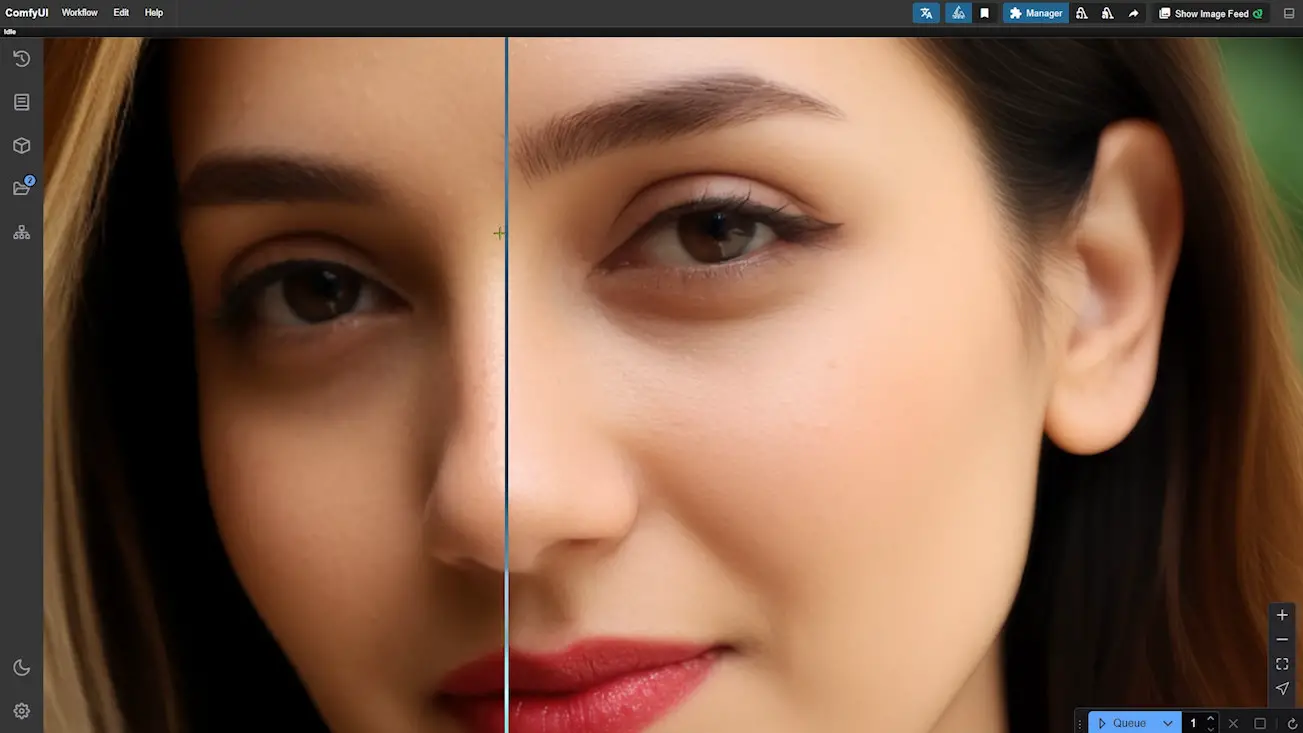
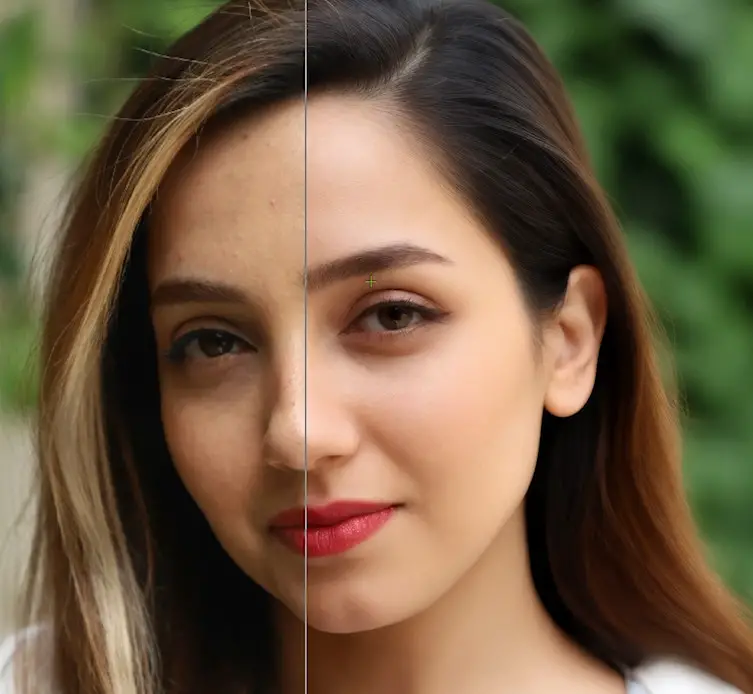
The skin appears smoother and more refined, yet retains a natural look. This isn’t basic retouching—the details in eyelashes, eyebrows, and hair also receive subtle improvements, appearing smoother and more defined. Even the fabric in clothing looks cleaner and sharper.
Handling Challenging Photos
This workflow can enhance challenging images, such as those with faces blurred by smoke, by clarifying the overall image without distorting facial features.
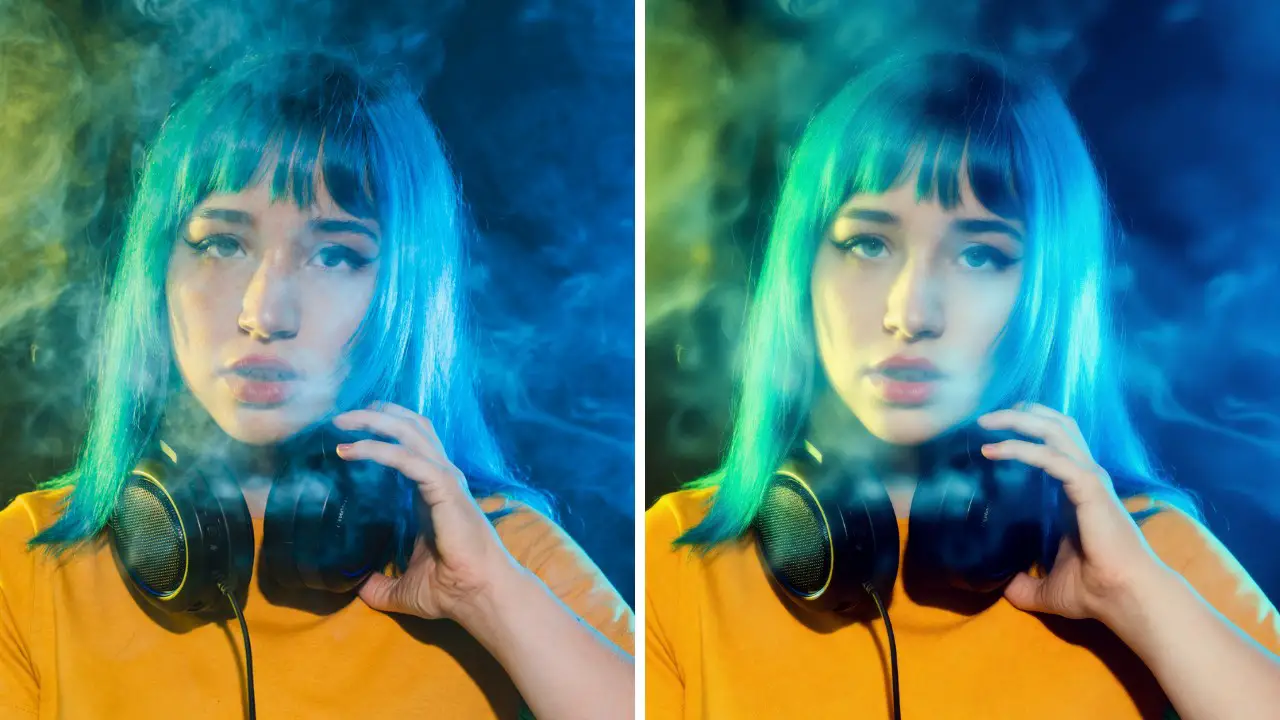
Noise Reduction
It cleans up low-light photos effectively, making them look sharp and polished.
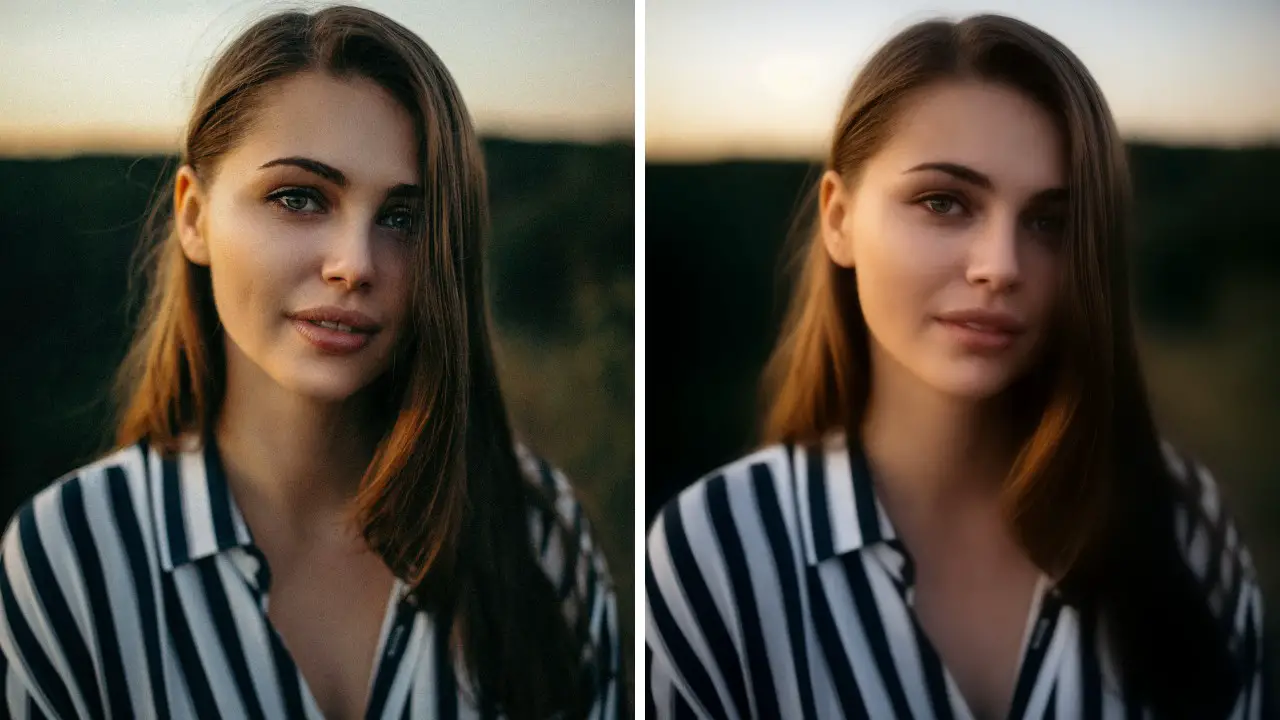
Age Reduction
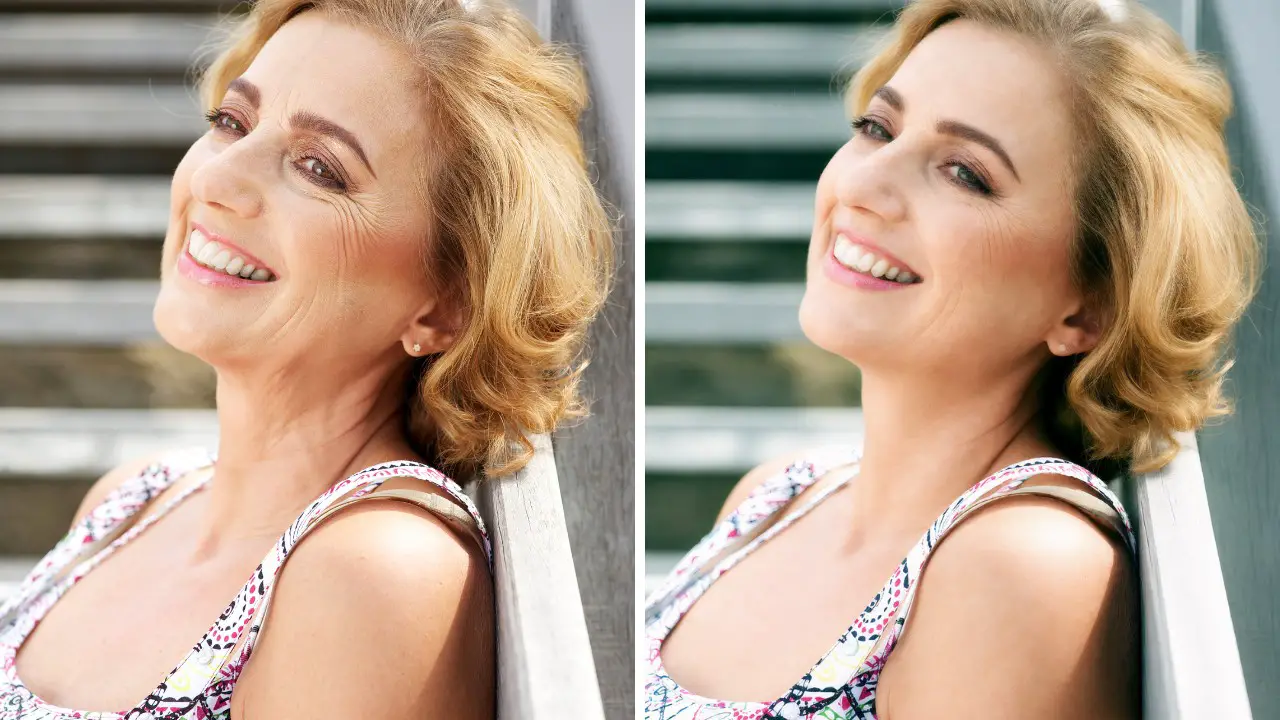
If you’re working with older subjects, the workflow can reduce apparent age by about 20 years for a fresher look.
You can download the full workflow in the video description on YouTube.
Ready to learn how? Let’s get into the setup and steps.
Getting Started with the Workflow
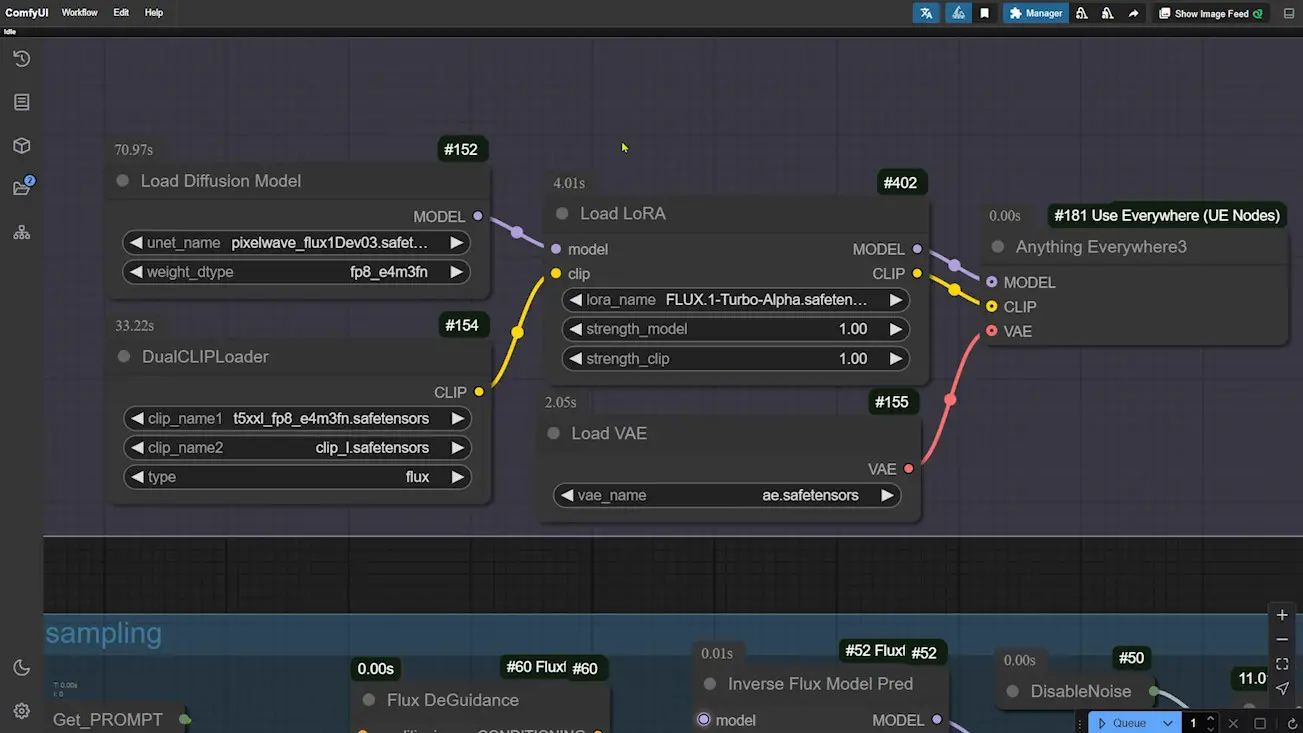
To try this workflow, you’ll need the following resources:
- Model: The workflow uses the fp8 version of the Flux-based model, which is lightweight at only 11GB.
- Turbo LoRA: Paired with the Flux model, the Turbo LoRA allows for ultra-fast generation in just 8 steps.
Step-by-Step Workflow Guide
1. Upload Your Photo
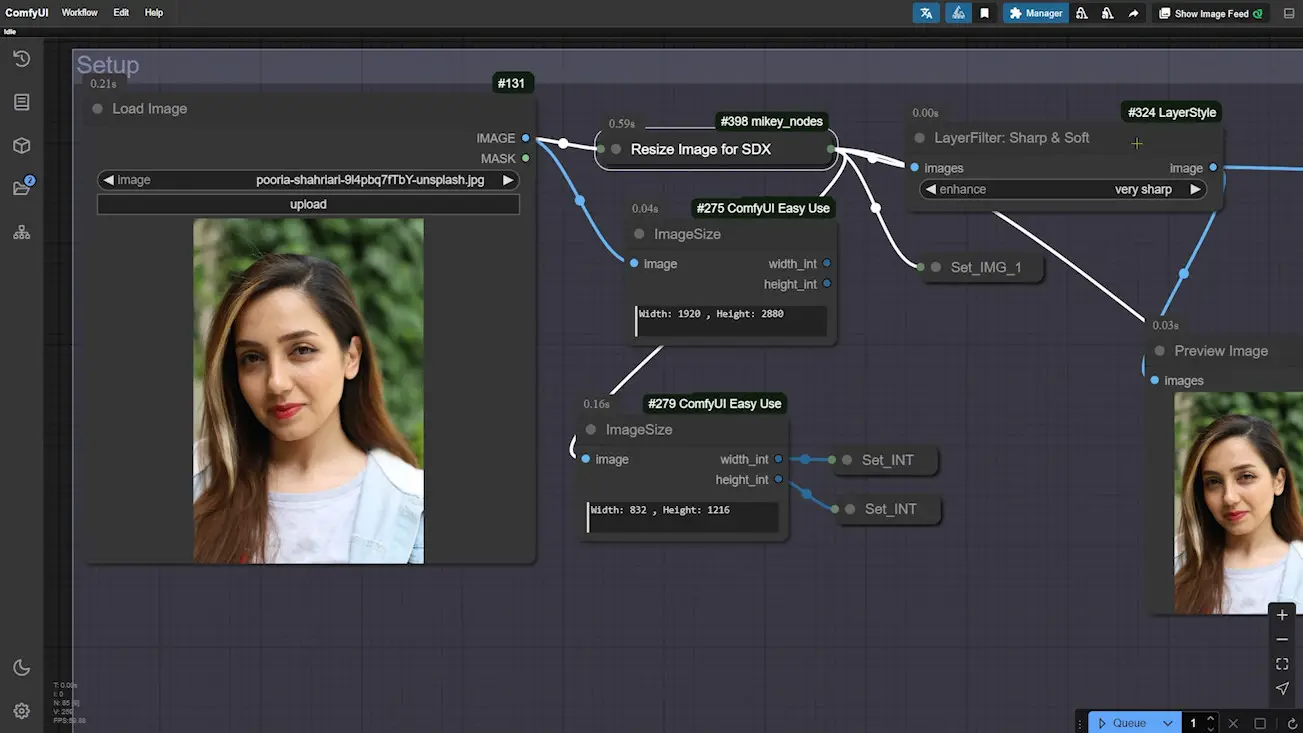
Start by uploading your image to the workflow. This will be the base file that we’ll enhance using a series of nodes.
2. Resize Image for SDXL
- The “Resize Image for SDXL” node scales the image to an SDXL-compatible size while maintaining the closest aspect ratio.
- Note: While we’re not directly using the SDXL model, this resizing step ensures compatibility with specific nodes that require the SDXL format.
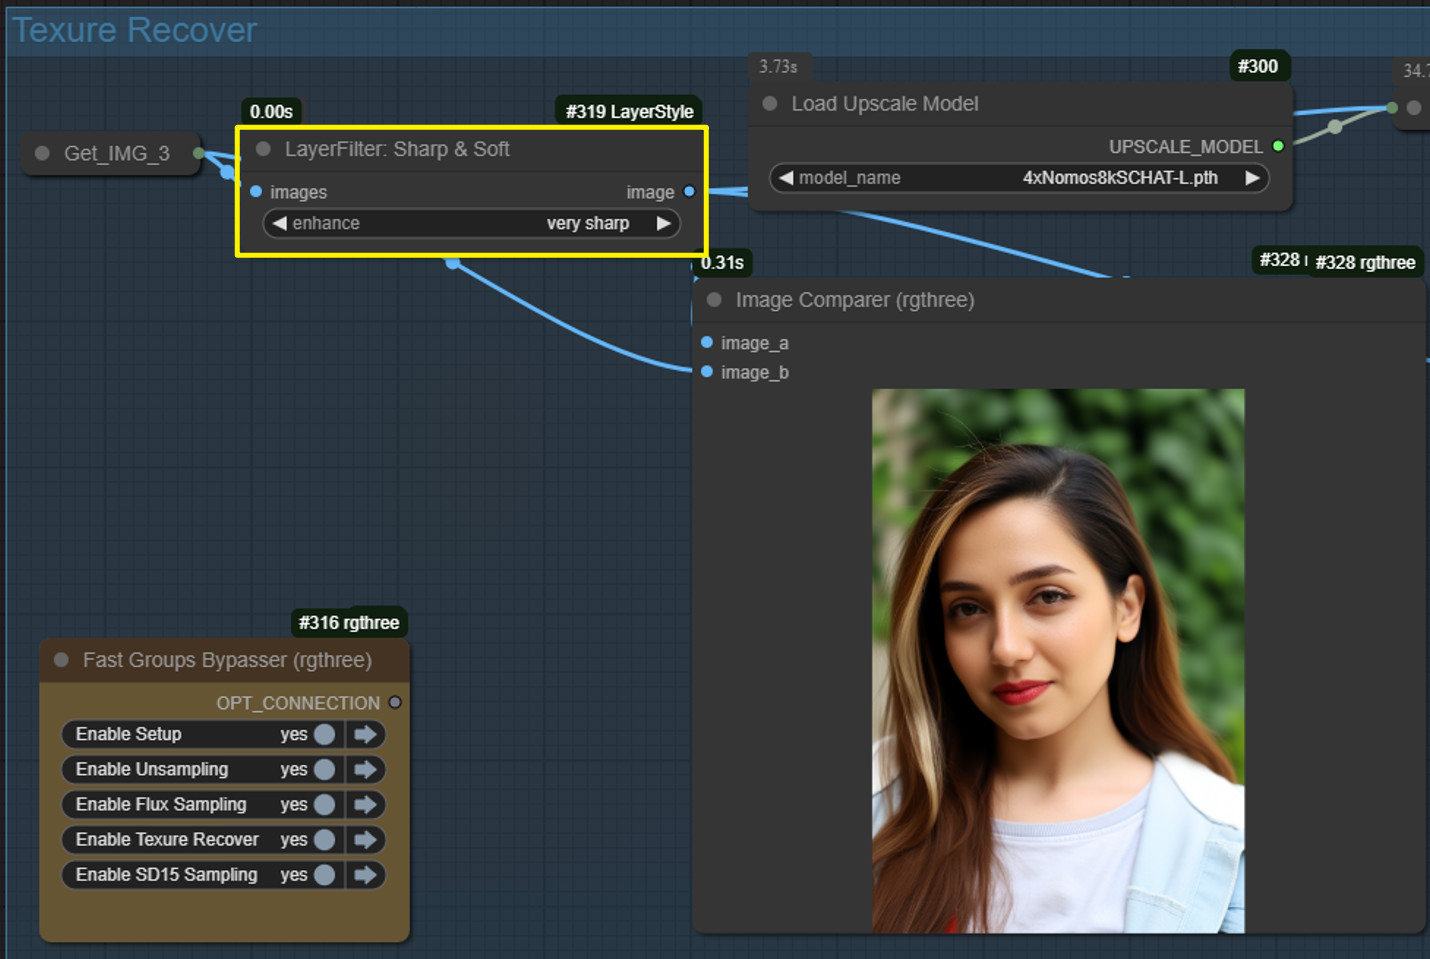
3. Adjust Sharpness with “Sharp&Soft” Node
- Use the “Sharp&Soft” node to fine-tune the sharpness level.
- If your image has noticeable noise, set this to “soft” or “very soft” to smooth it out without losing too much detail.
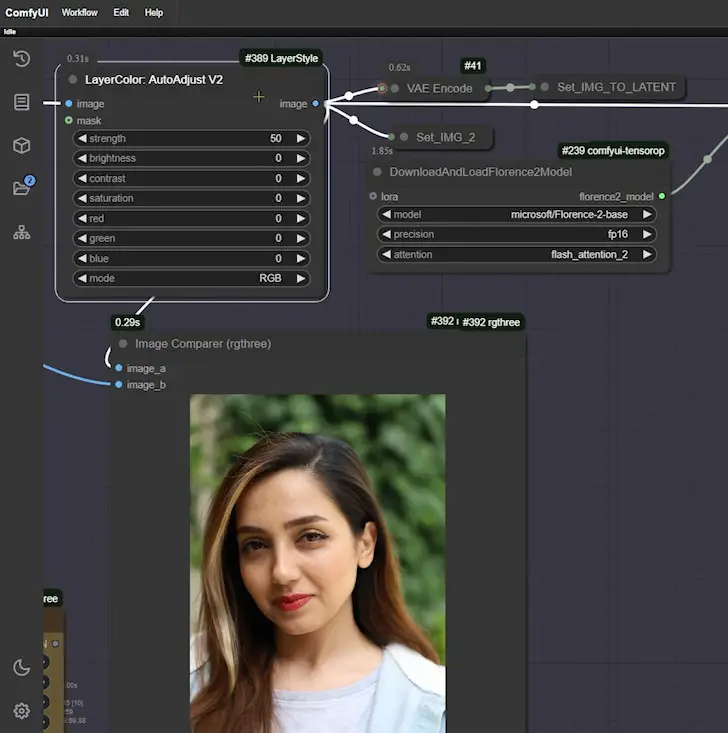
4. Automatic Adjustment for Brightness, Contrast, and Luminance
- This node automatically balances brightness, contrast, and luminance.
- Adjust the strength settings to control how intense the adjustments should be.

5. Generate Prompts Automatically
- This workflow includes nodes that auto-generate prompts based on the image content, helping to guide the enhancement process.
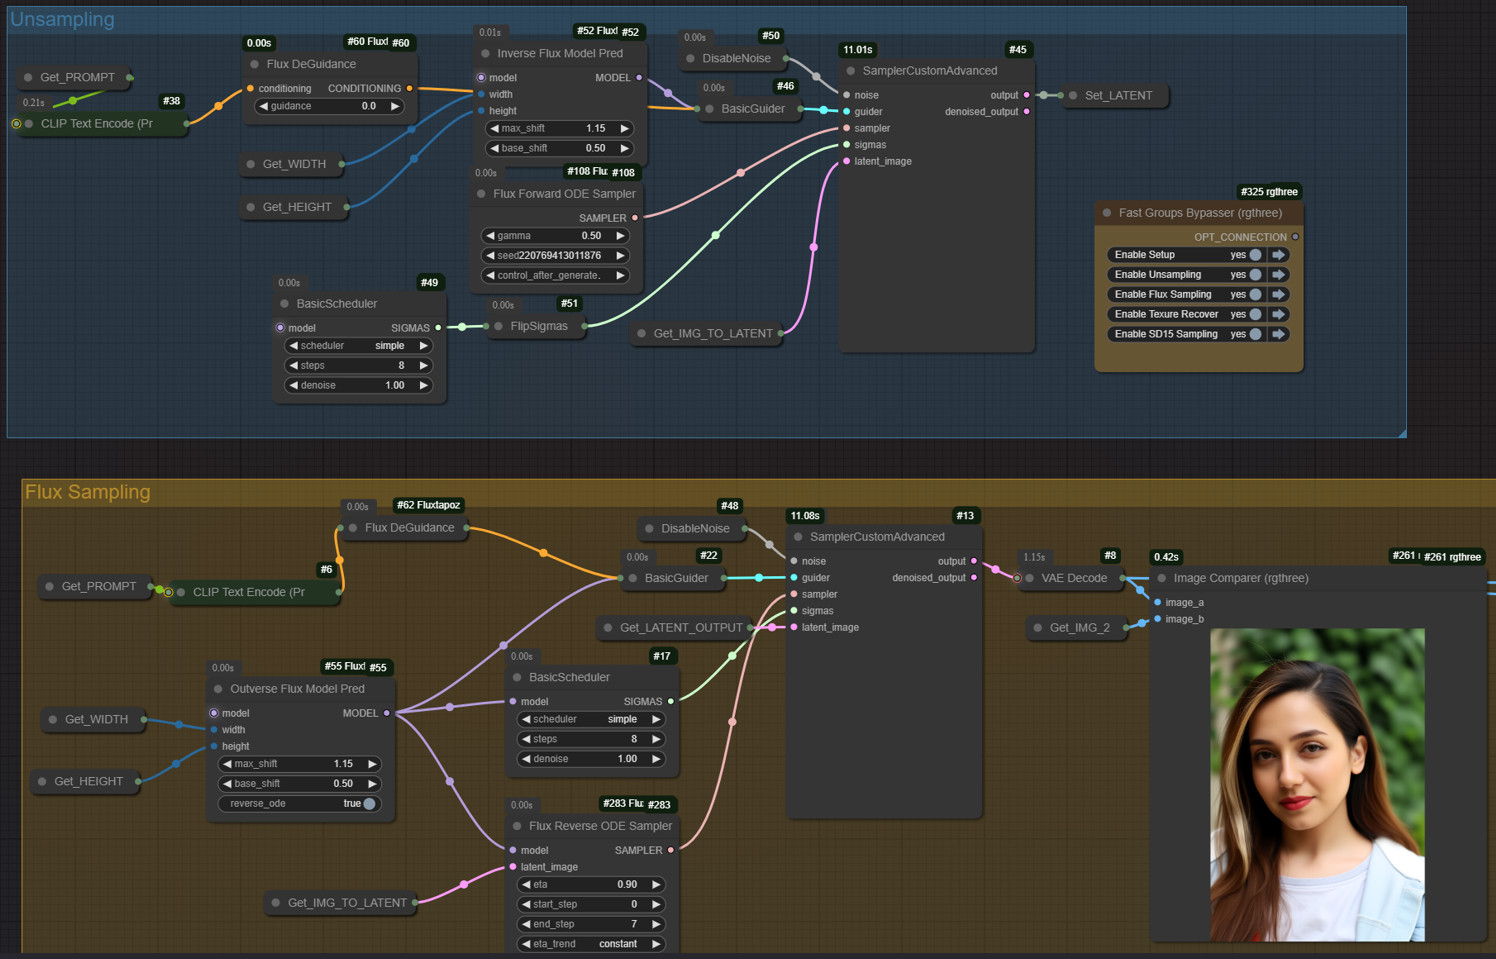
6. RF Inversion for Enhanced Detail
- The workflow uses RF Inversion technology in two groups of nodes to bring out finer details.
- For more on RF Inversion, check out our previous article where we delve deeper into this powerful technique.
7. Blending Back Original Details
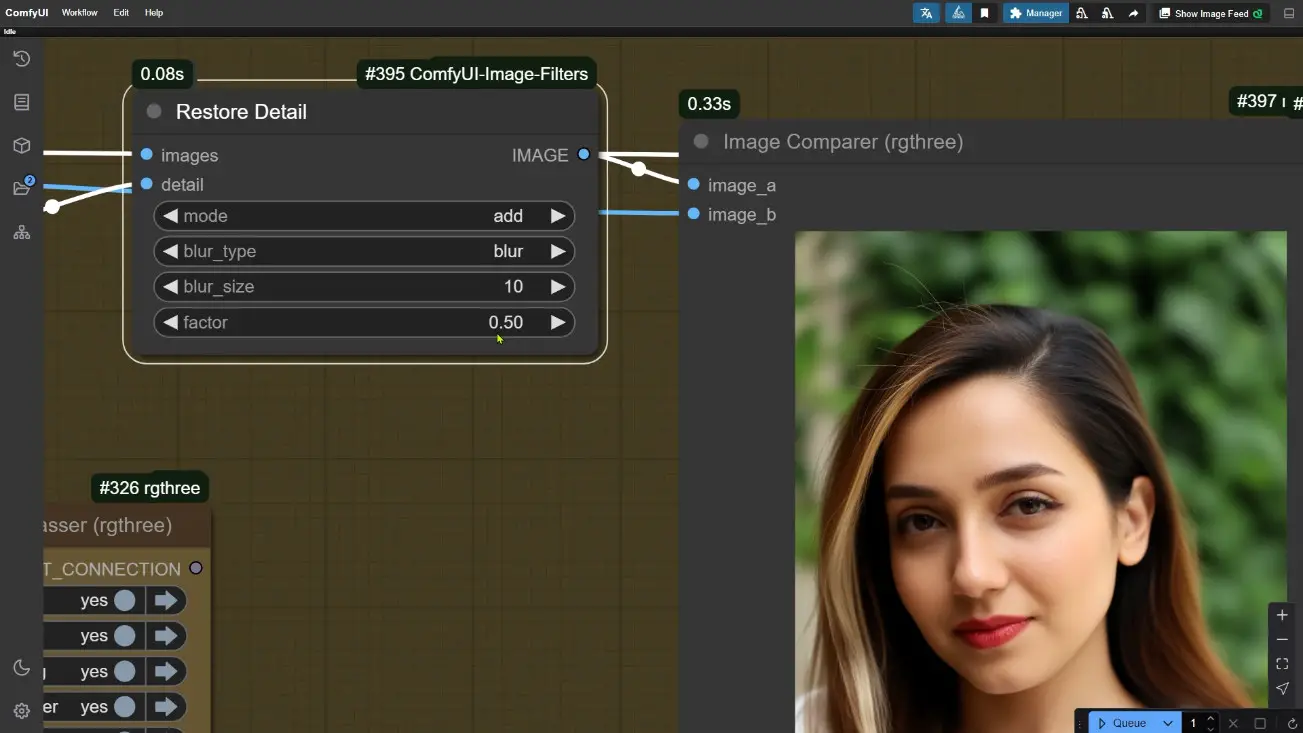
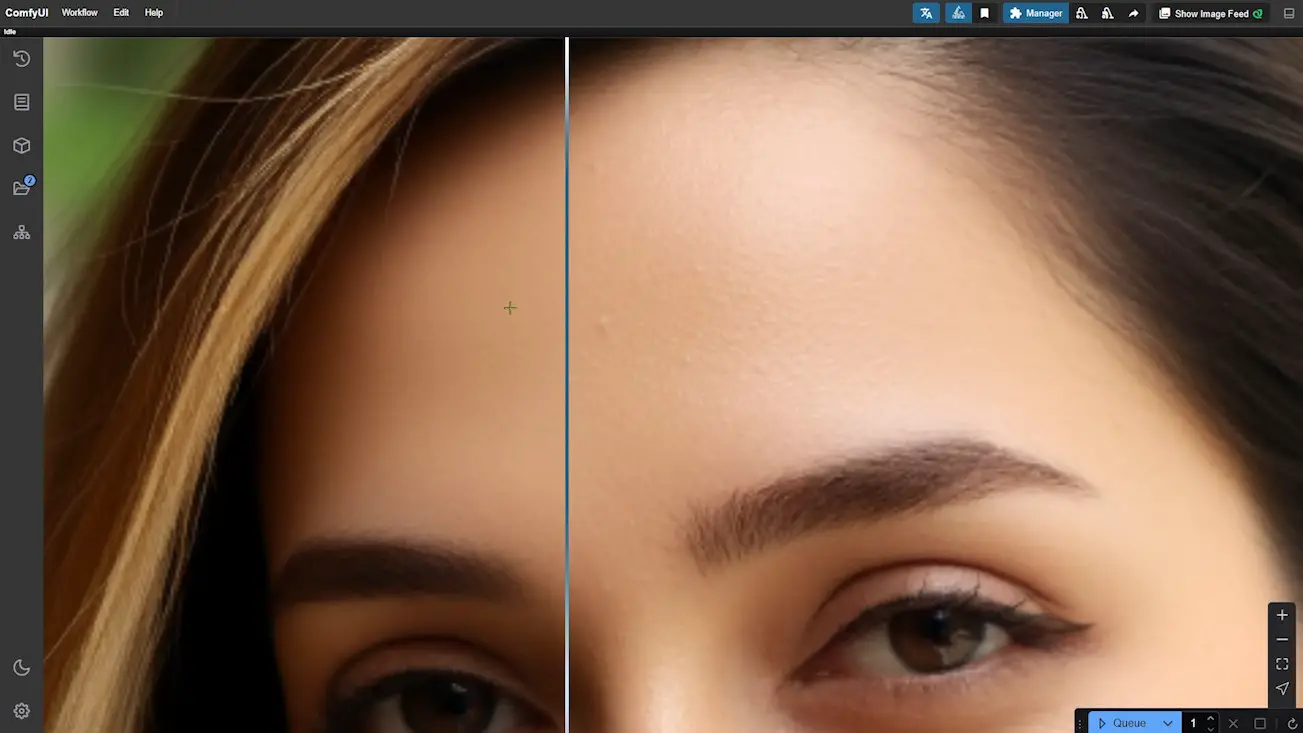
- Sometimes, smoothing the skin can make it look too soft or unrealistic. To correct this, there’s a node that blends back some of the original image details.
- Tip: Adjust the “factor” parameter here to control how much of the original texture is reintroduced. This step ensures the final image maintains a natural, realistic look.
8. Additional Texture Enhancement with Sharp&Soft Node
- Another “Sharp&Soft” node allows for further customization of sharpness or softness. This step is especially useful if you want a more textured or refined look.
9. Image Upscaling
- The workflow upscales the image to a higher resolution. For example, it can enlarge an image to 1664×2432.
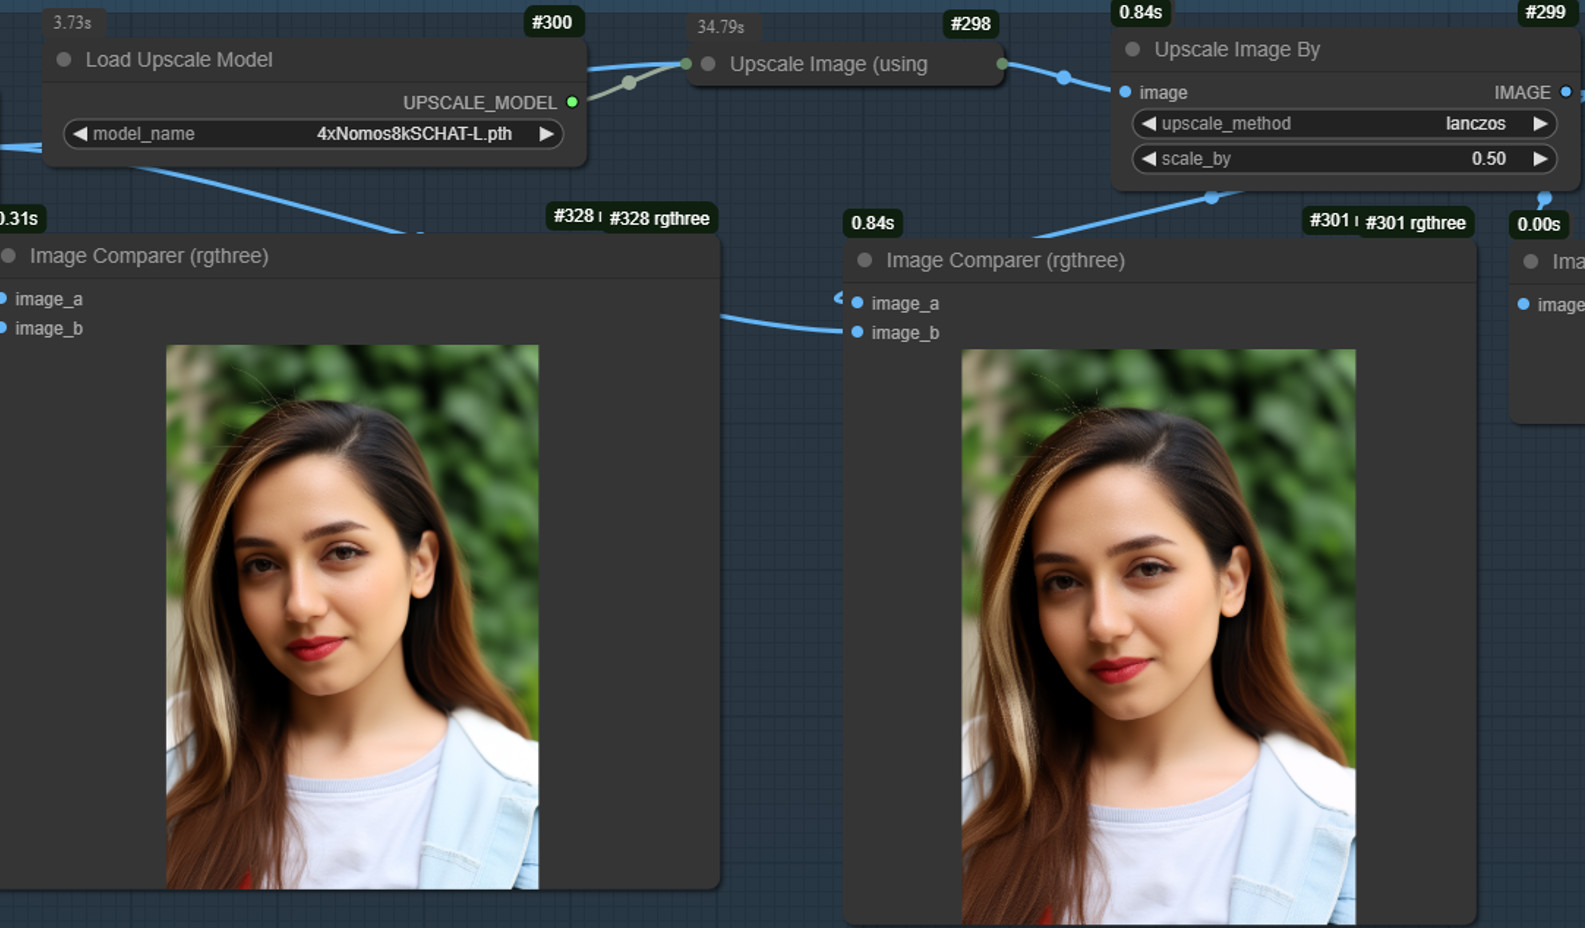
- After upscaling, you’ll notice improved sharpness and texture, giving the portrait a cleaner, high-resolution feel.
10. Fine-Tuning with Image Lucy Sharpen
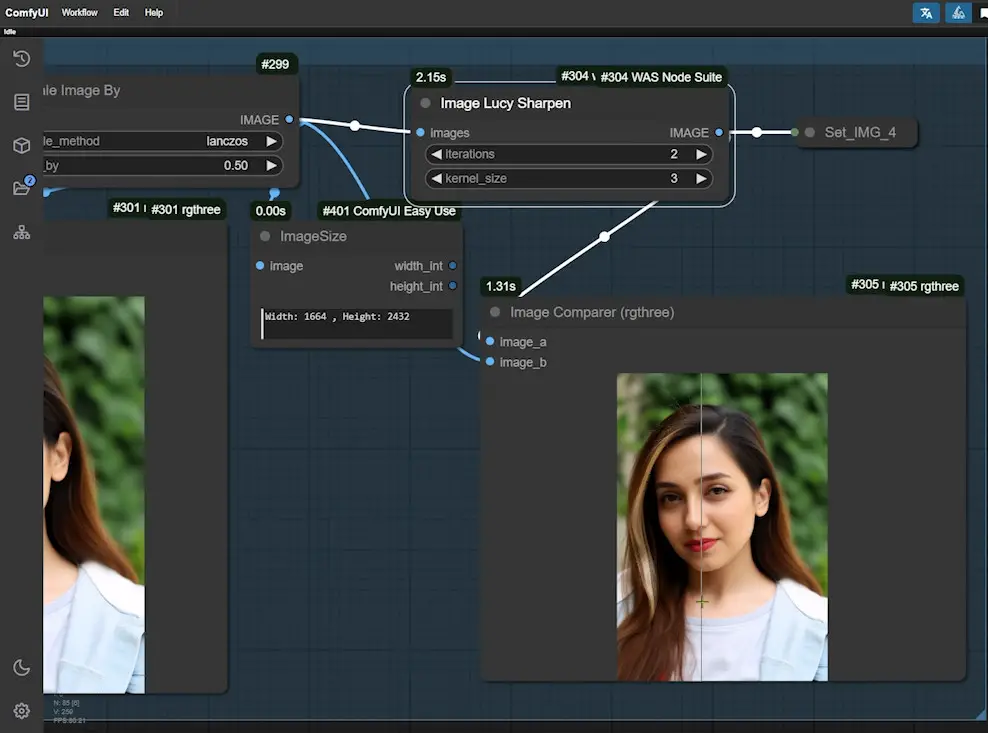
- The “Image Lucy Sharpen” node applies a subtle sharpening effect.
- Be cautious with this step; a small increase in sharpness often achieves the best result without making the image look unnatural.
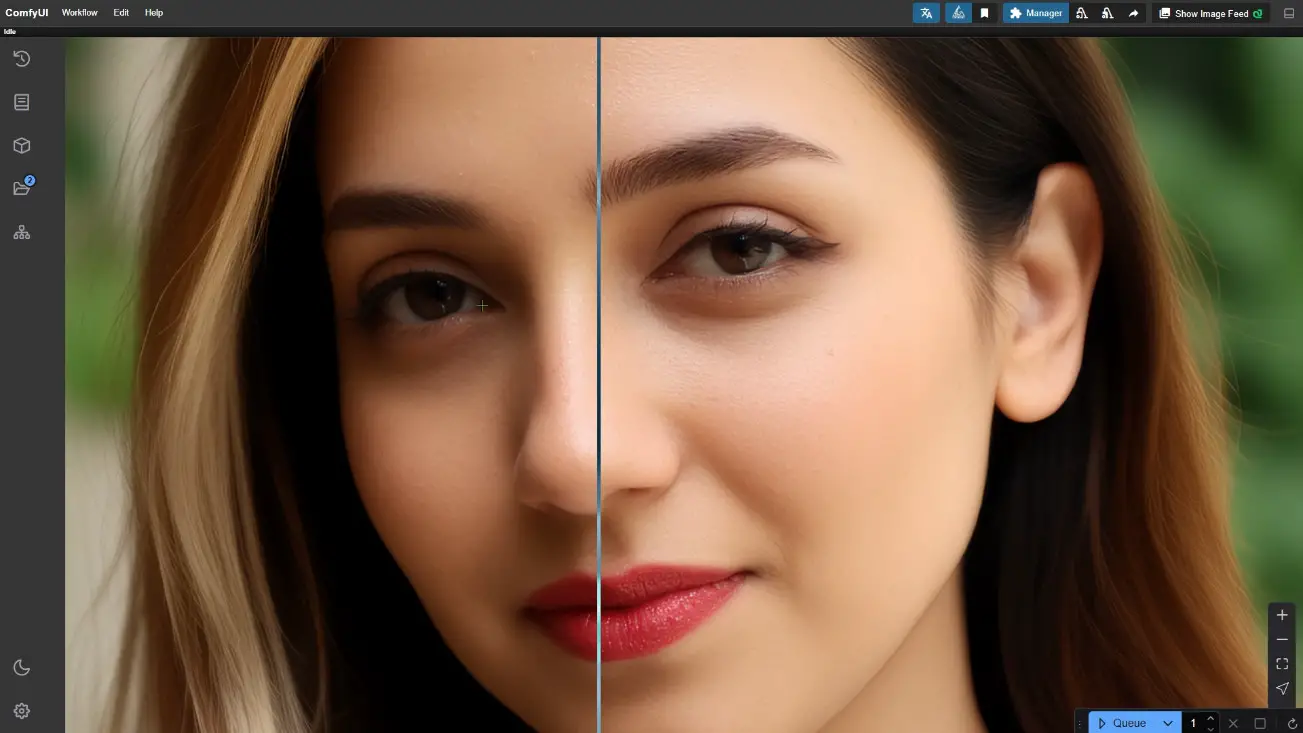
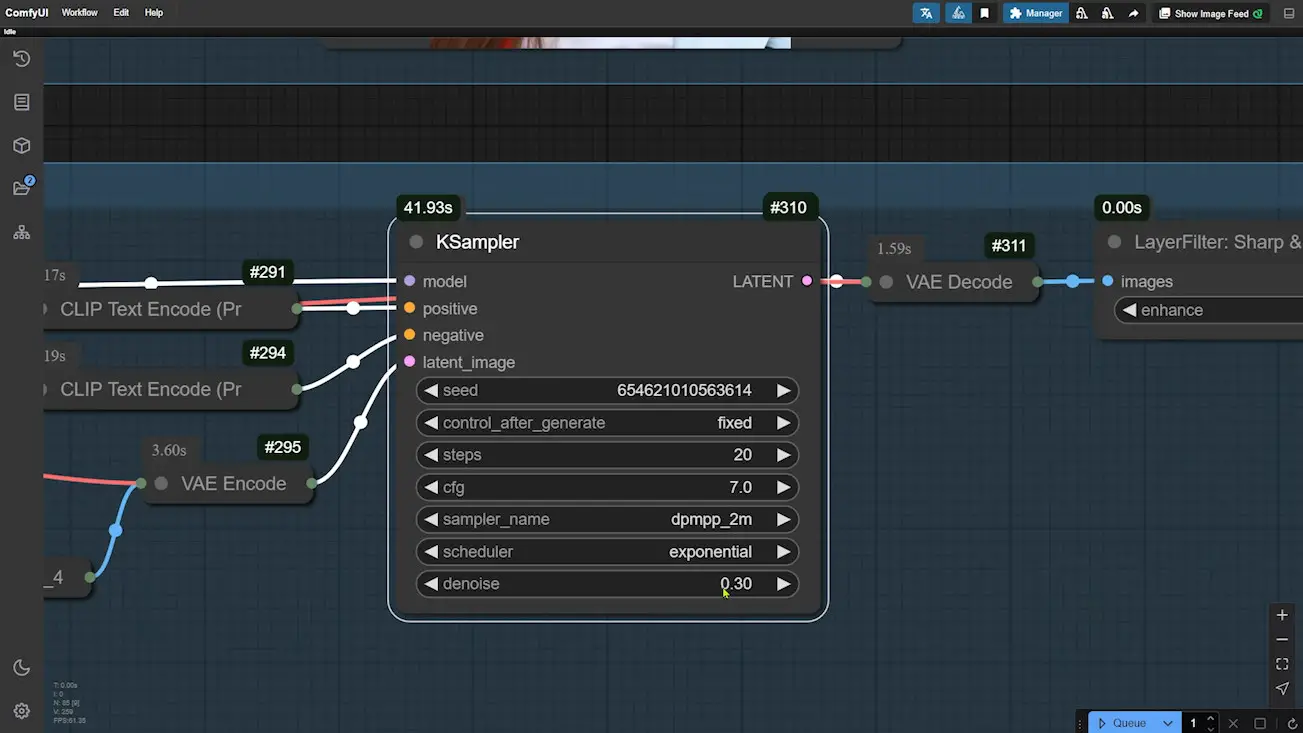
11. Repainting with SD1.5
- For the final touch, use SD1.5 to repaint the image with a low denoising strength (around 0.3). This step refines the image while maintaining detail and texture.
- Result: Comparing the final output with the original, you should see a significant improvement in clarity and overall beautification.
Final Thoughts
This workflow is a powerful tool for enhancing portraits, making it possible to achieve professional-level edits with minimal effort. Whether you’re refining skin, enhancing texture, or reducing visual noise, this setup provides a flexible and efficient solution.
Give it a try and see the difference it can make in your own images. Let me know your thoughts and share your results!
Gain exclusive access to advanced ComfyUI workflows and resources by joining our community now!
Here’s a mind map illustrating all the premium workflows: https://myaiforce.com/mindmap
Run ComfyUI with Pre-Installed Models and Nodes: https://youtu.be/T4tUheyih5Q

