Mastering Qwen Image Edit 2511: Fixing Image Drift and Relighting in ComfyUI
I have some exciting news to share with you. A brand new version of the Qwen Image Edit model (version 2511) has just been released, and it brings a few massive improvements to the table.
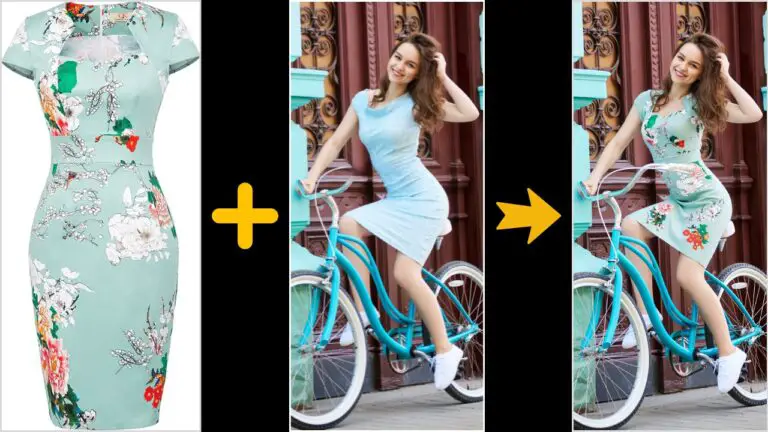
If you read my previous articles, you know that with the older Qwen Edit model (version 2509), we had to manually add a special “relighting LoRA” to achieve any lighting changes. The biggest game-changer with 2511 is that it includes popular LoRAs—like relighting—directly inside the base model.
This means you can now do relighting without adding external LoRAs. It also works seamlessly with Lightning LoRAs for faster generation (as low as 4 sampling steps!).
The Problem: Image Drifting
However, there is still a hiccup. Even with the new Qwen Image Edit 2511, we face the issue of image drifting.
When I tested a simple relighting workflow, the results were technically “relit,” but the subject shifted. For example, in a test image of a car:
- The car’s size and position changed.
- Text on the license plate was altered.
- The Audi logo was modified.
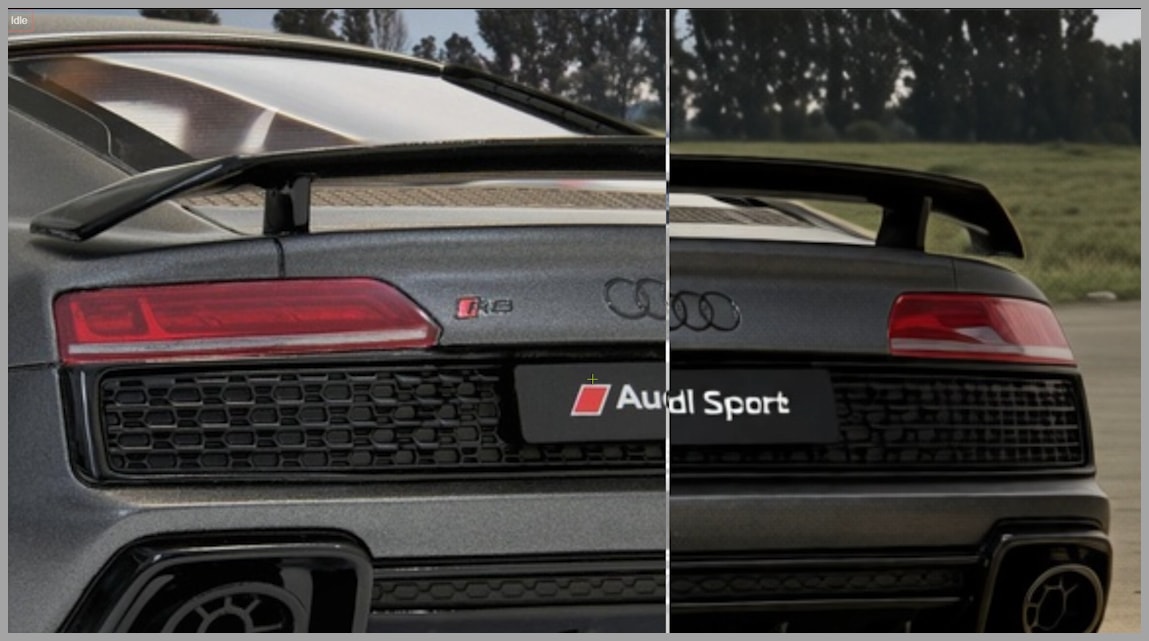
This is a dealbreaker for precision editing. But don’t worry—I’ve built a workflow that solves this. In my final output, the car doesn’t move at all, and the details remain locked in. Let me walk you through exactly how I did it.
YouTube Tutorial:
Gain exclusive access to advanced ComfyUI workflows and resources by joining our community now!
Phase 1: Preparation and Flux Fill
One of the best features of this workflow is the ability to handle very large images. In my example, the input is a massive 4212 by 2367 pixels.
1. Downscaling and Padding
In the first group of the workflow, we perform two main steps:
- Downscale: We resize the image so the longer side is 1024 pixels.
- Padding: Since the image isn’t a square, one side will be smaller than 1024. We use a node to fill that empty space with a gray color to make the total canvas 1024×1024.

2. The Context Problem
If we asked Qwen Edit to relight the image right now, the shifting problem would disappear, but we’d face a new issue: the gray padding areas contain no content. The model won’t know how to “light” empty gray pixels, leading to artifacts.
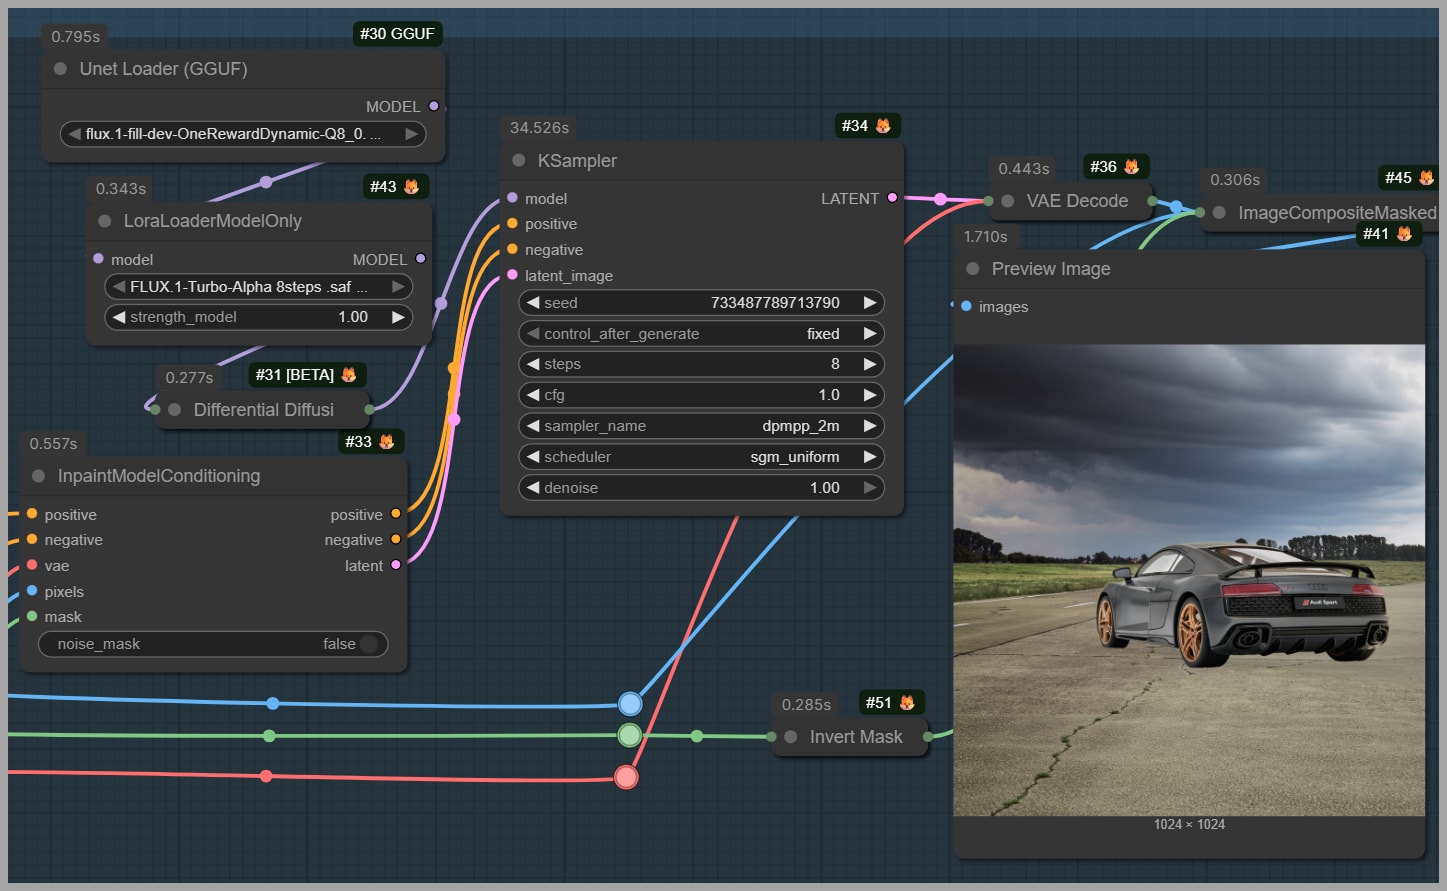
3. Filling with Flux
To fix this, we need to fill those gray areas with real pixels to give the model context.
- I use the Flux Fill OneReward model (GGUF version).
- I used the Q8 version, but if you are low on VRAM, a smaller quantized version works perfectly fine.
- Note: We do not need high aesthetic quality here. This image is strictly used as input guidance for the Qwen model.
Phase 2: The Relighting Pass
Now that we have a square image filled with context, we move to the core of the workflow—the Qwen Edit 2511 model.
Setting Up the Model
The setup is very similar to the 2509 version, but we swap in the new 2511 checkpoints. If you are hardware-constrained, remember that GGUF versions of these models are available and effective.
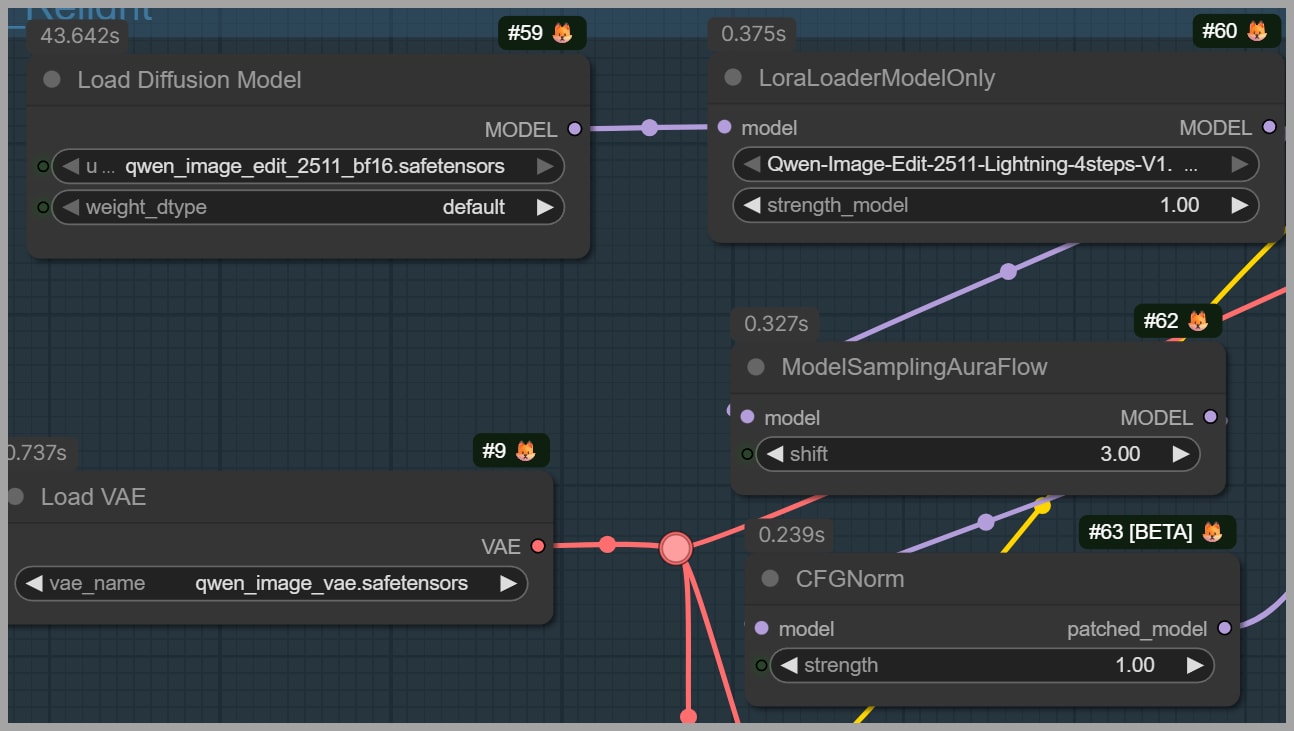
The Prompt
This is crucial: For the prompt, you must include the word “Relight”.
- Start with “Relight”.
- Follow it with a description of the lighting effect you want (e.g., “soft sunset lighting,” “neon cyberpunk lights”).
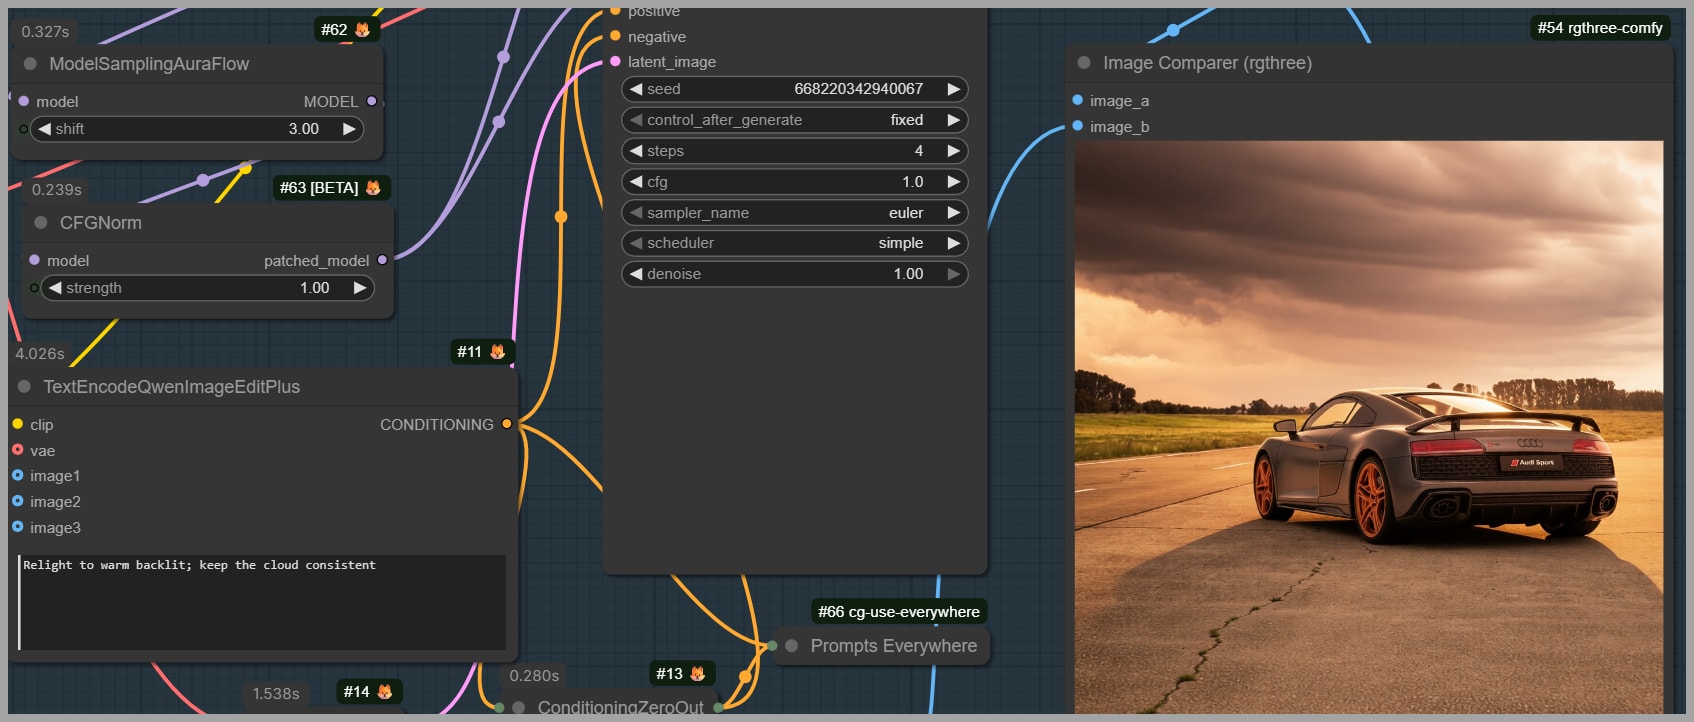
The output from this group will be a 1024×1024 relit image. However, remember our original upload was much larger. We need to get that resolution back.
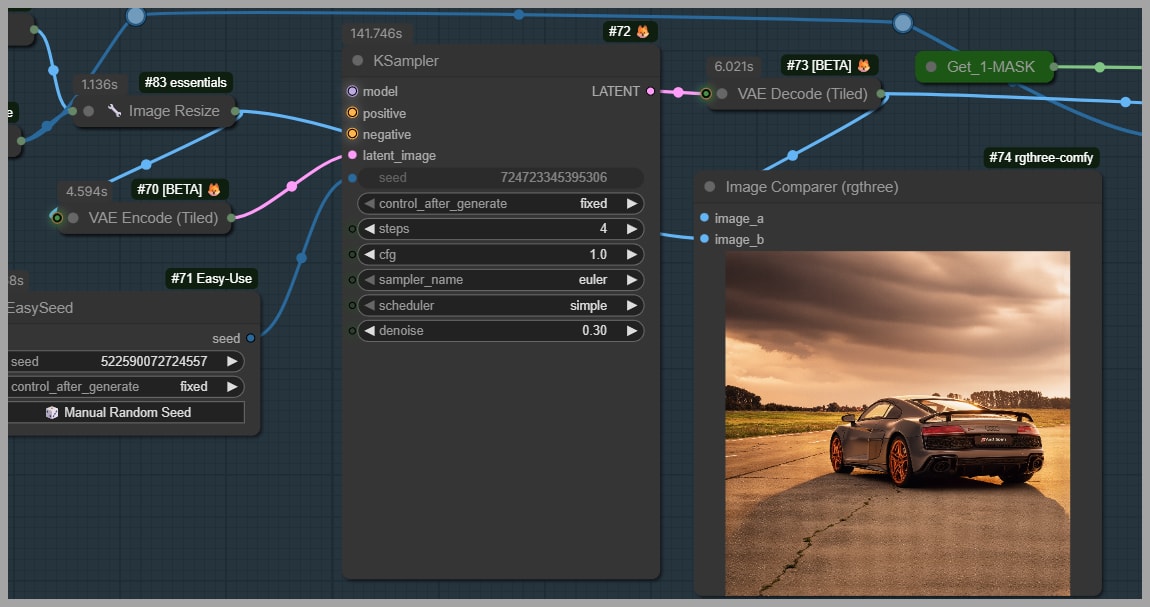
The Second Pass
We run a second pass with the Qwen Edit model to produce a larger version. In my workflow, this scales the image back up to approximately 4208 by 4208.
Phase 3: Final Polish – Cropping and Detail Restoration
At this stage, we have a high-resolution, relit image, but it still has the extra “fake” sky or ground we generated earlier to make it square.
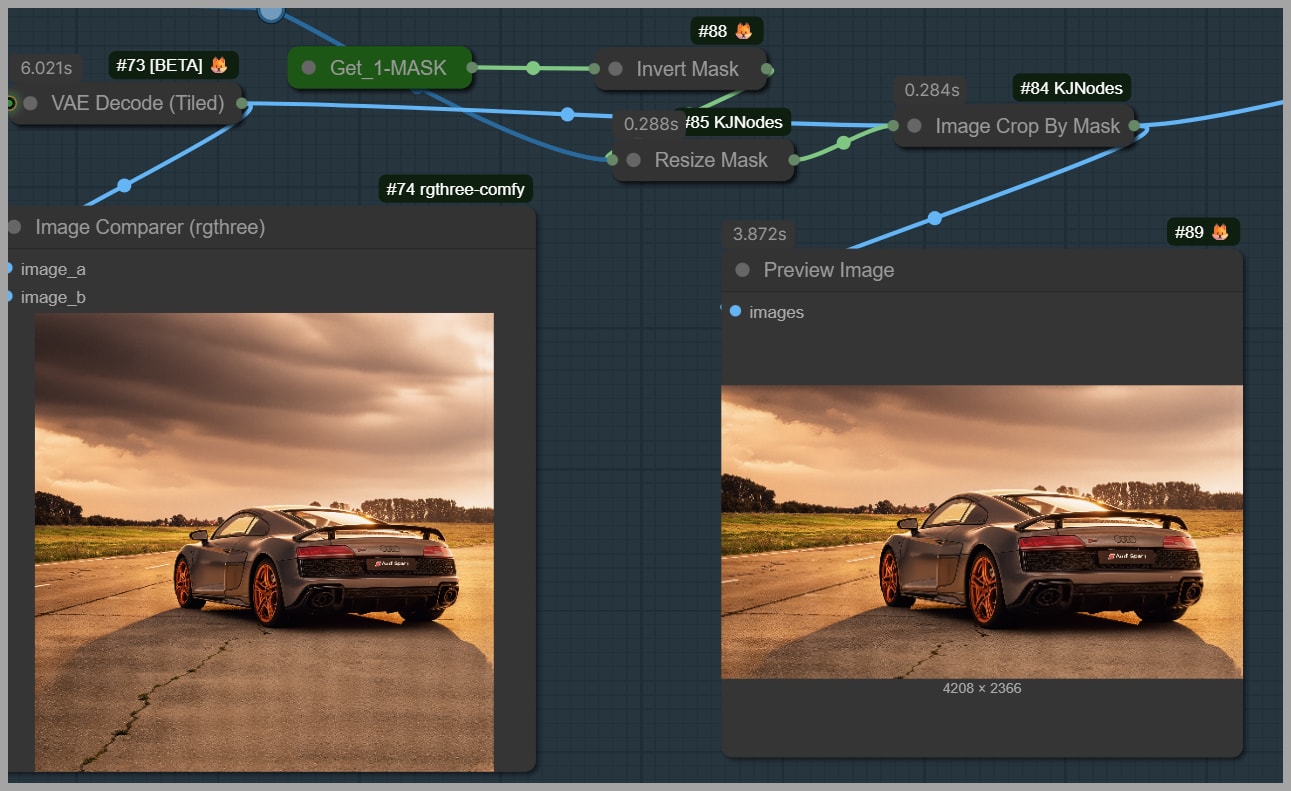
1. Cropping
We created those extra areas only to prevent the subject from shifting during the relighting process. Now, they are useless.
- Use the Image Crop By Mask node.
- This automatically cuts off the generated padding, returning the image size much closer to the original dimensions.
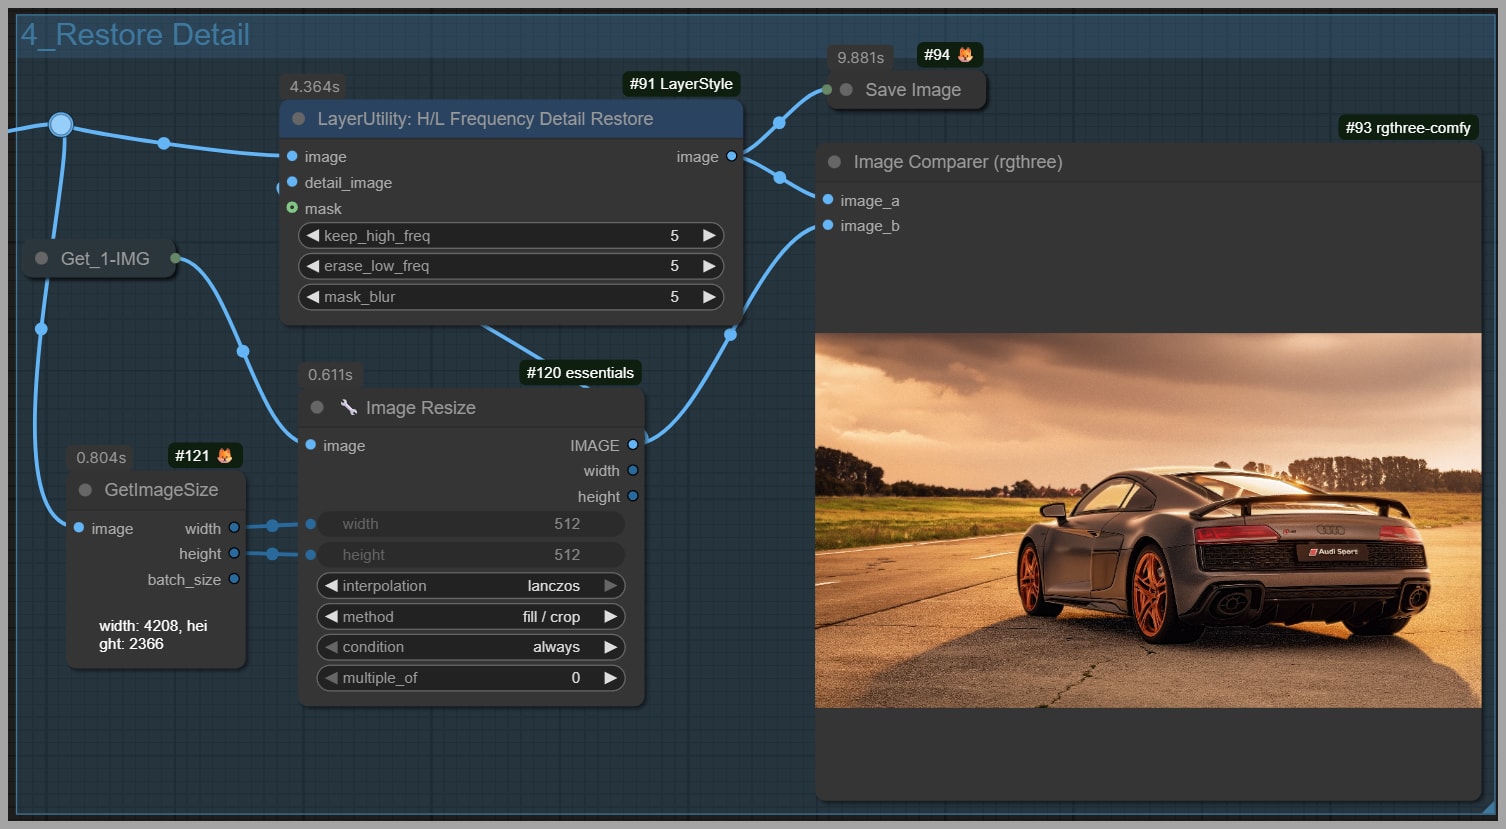
2. Fixing the Noise (Frequency Separation)
If you zoom in on the output at this stage, you might notice a problem: the image might look degraded, covered in grid-like pixel noise.
To fix this, I use the Frequency Detail Restore node.
- This node allows us to bring back details from the original input image.
- You can adjust settings to balance how much of the new lighting you keep versus how much of the original texture you restore.
Pro Tip: If you have ever done skin retouching in Photoshop using Frequency Separation, this concept is identical. It separates the color/tone (lighting) from the texture (details), allowing us to keep the new light while restoring the sharp, original details.
Conclusion
And there you have it! By padding the image to a square, filling the context with Flux, and then using frequency restoration, we can leverage the power of the new Qwen Image Edit 2511 without suffering from image drift or detail loss.
If you want to download this exact workflow to test it yourself, feel free to join our community. Your support helps me continue researching and building high-quality workflows like this one.
Gain exclusive access to advanced ComfyUI workflows and resources by joining our community now!