ComfyUI Flux (ControlNet) Workflow: Replacing Background for Anything (Portrait, Product, etc.)
Welcome to this guide! Today, I’m excited to share a fantastic workflow using ComfyUI and Flux models that allows you to easily change the background of any photo—be it a person, an object, or virtually anything else. Whether you want to give an image a fresh new look or match it with a different setting, this tutorial will guide you through the steps to achieve stunning results.
Examples of Changing Backgrounds Using ComfyUI and Flux Models
To illustrate the power and versatility of this workflow, let’s look at a few examples.
Example 1: Eye Gel with a Simple Background
Imagine you have an image of an eye gel product with a plain, simple background. Using the ComfyUI and Flux models workflow, you can transform this basic background into something much more elegant and fresh.
- Original Image: An eye gel product with a simple, solid background.
- Transformed Image: The background is replaced with a more sophisticated and vibrant setting. The light and shadows on the product are adjusted to match the new background, ensuring a natural and cohesive appearance.
Original Image:

Transformed Image:
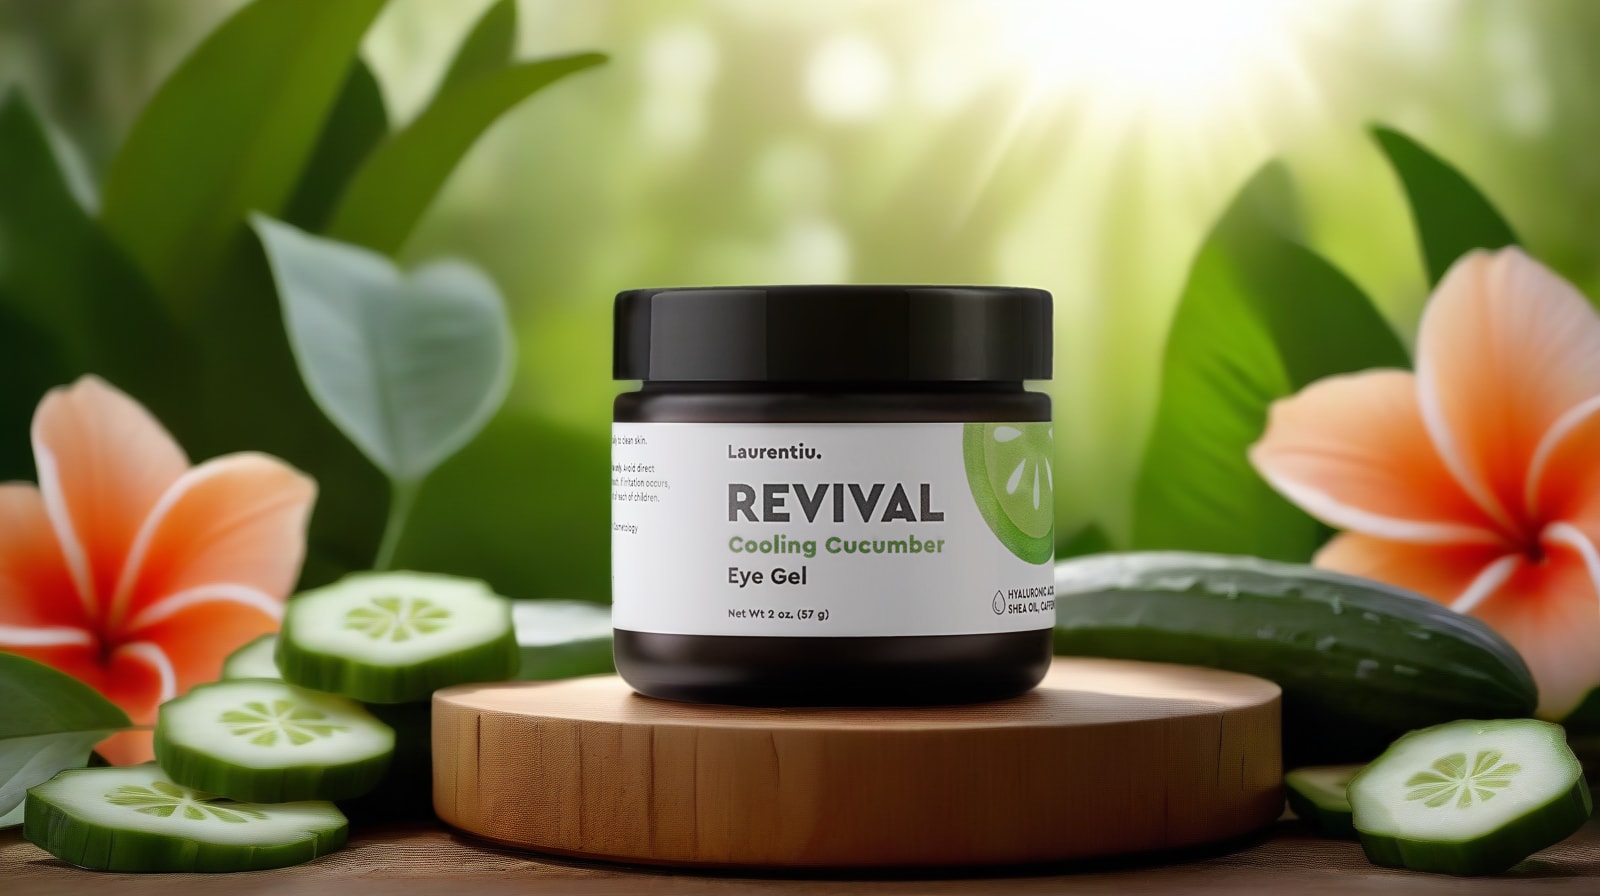
Despite the change in the environment, notice how all the details of the product remain intact, including the text and texture. This demonstrates the workflow’s ability to maintain the integrity of the subject while changing the surroundings.
Example 2: Eye Gel with a Cool, Striking Background
Now, let’s take it a step further. We can switch the background to something cooler and more striking, perhaps with light coming from the right.
Transformed Image:
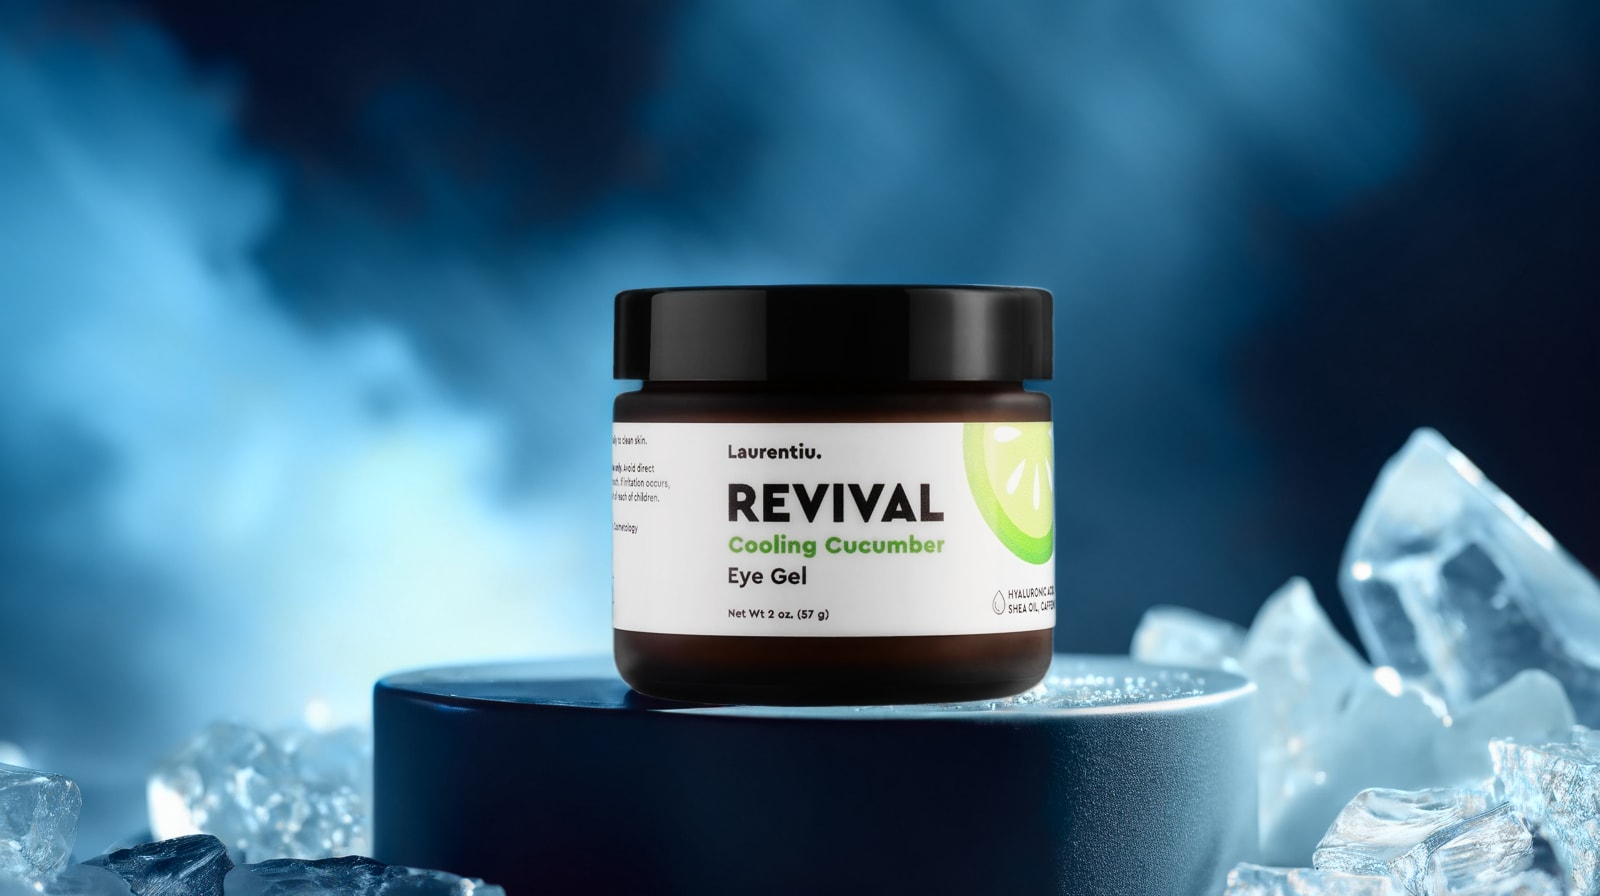
This example highlights the versatility of the workflow in adapting to different styles and lighting conditions, while still keeping the subject’s details crisp and clear.
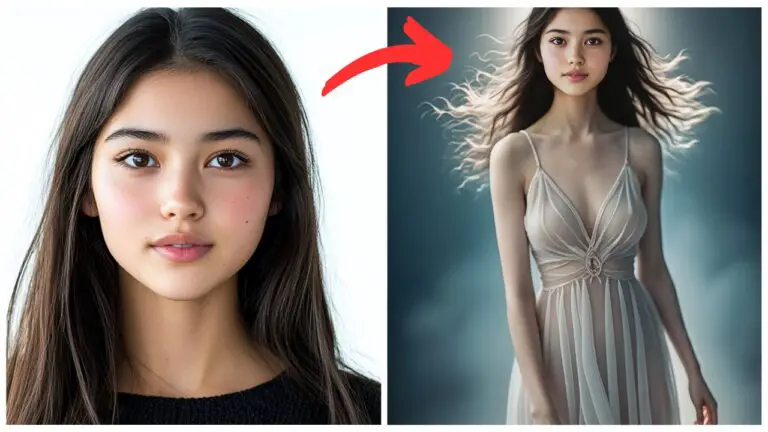
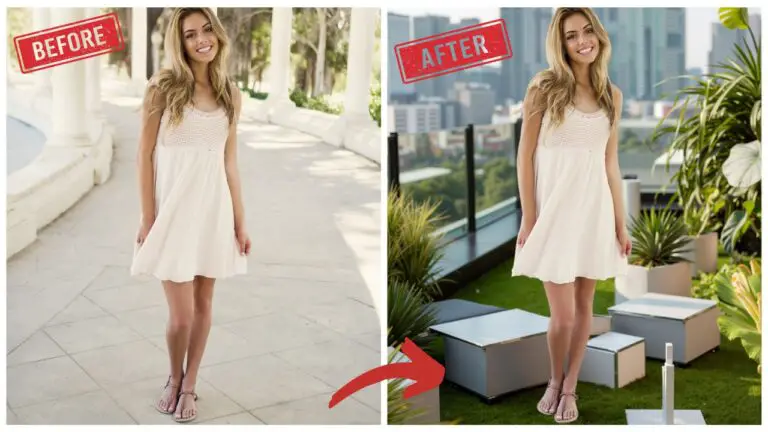
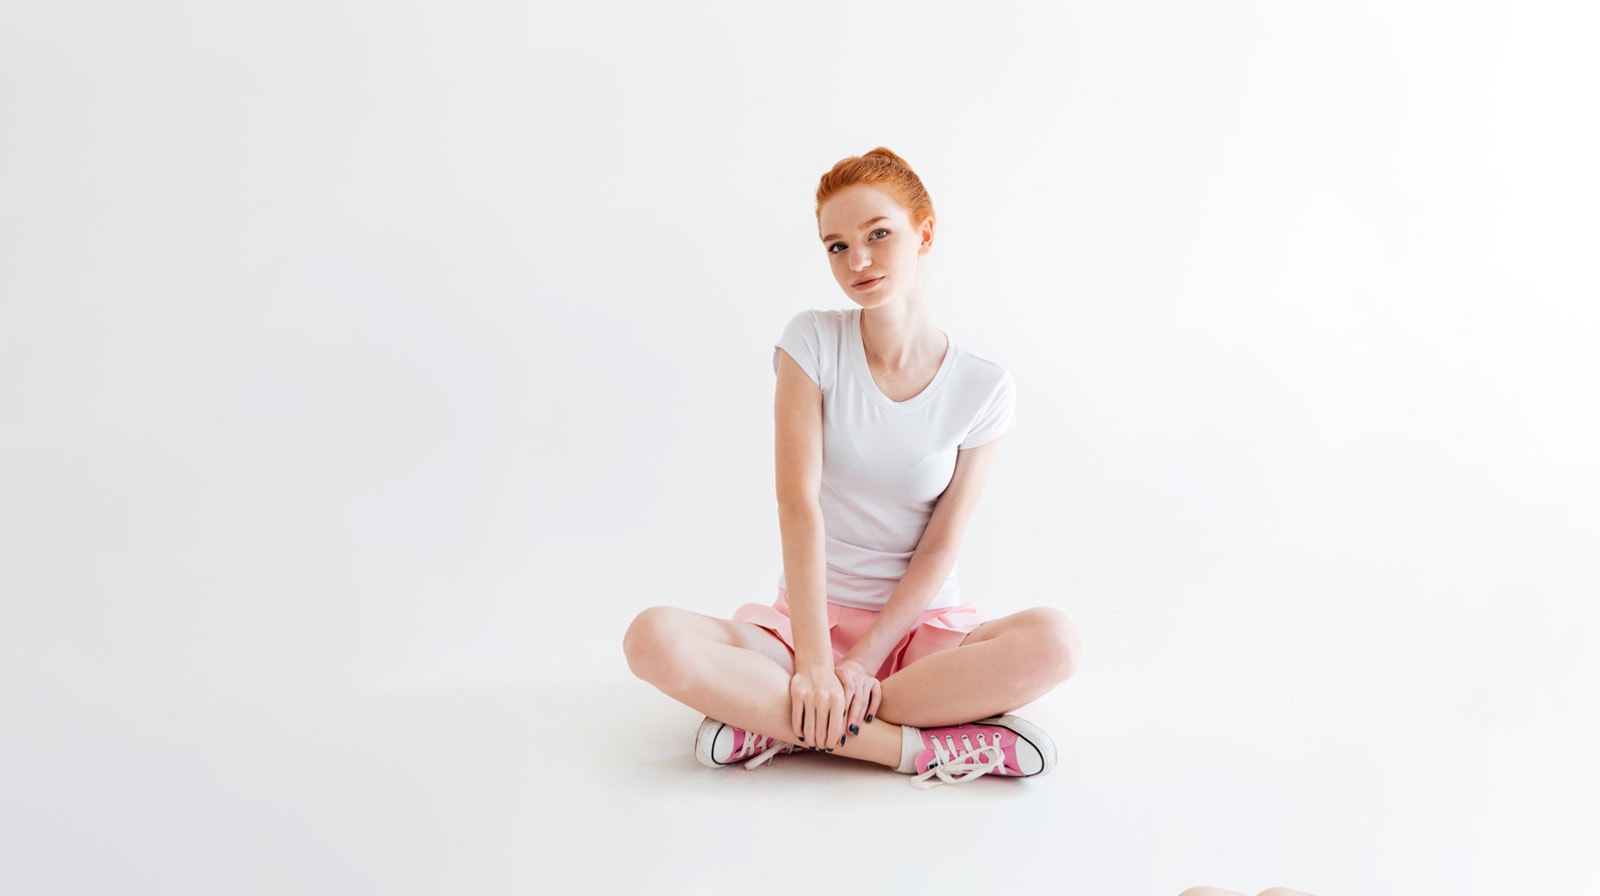
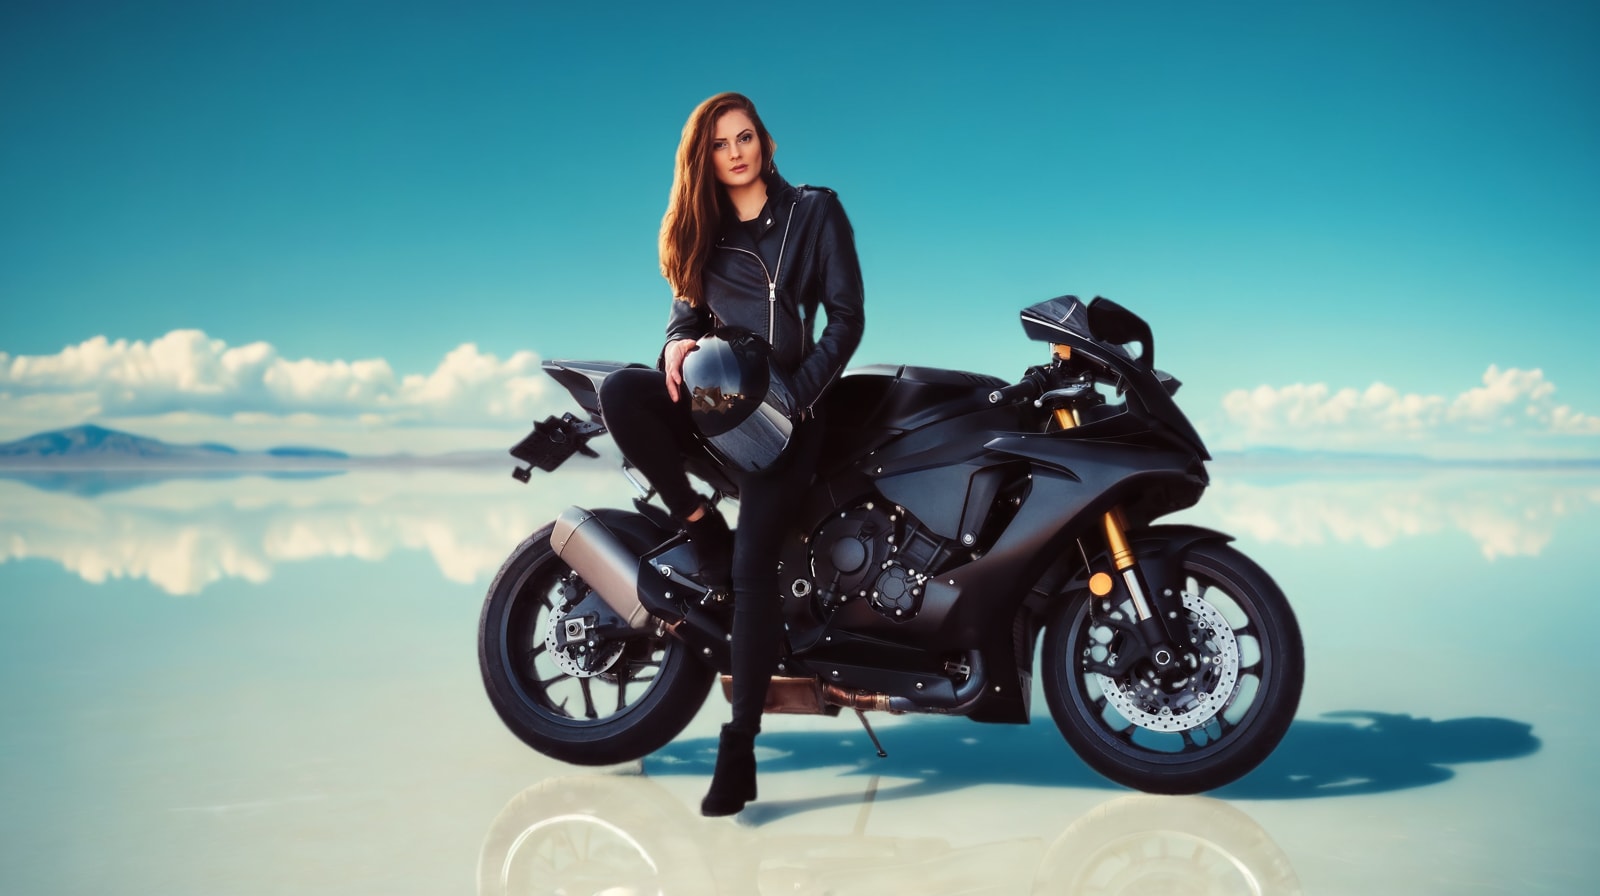
Example 3: Background Change for People
The flexibility of this workflow isn’t limited to objects—it works just as effectively with people.
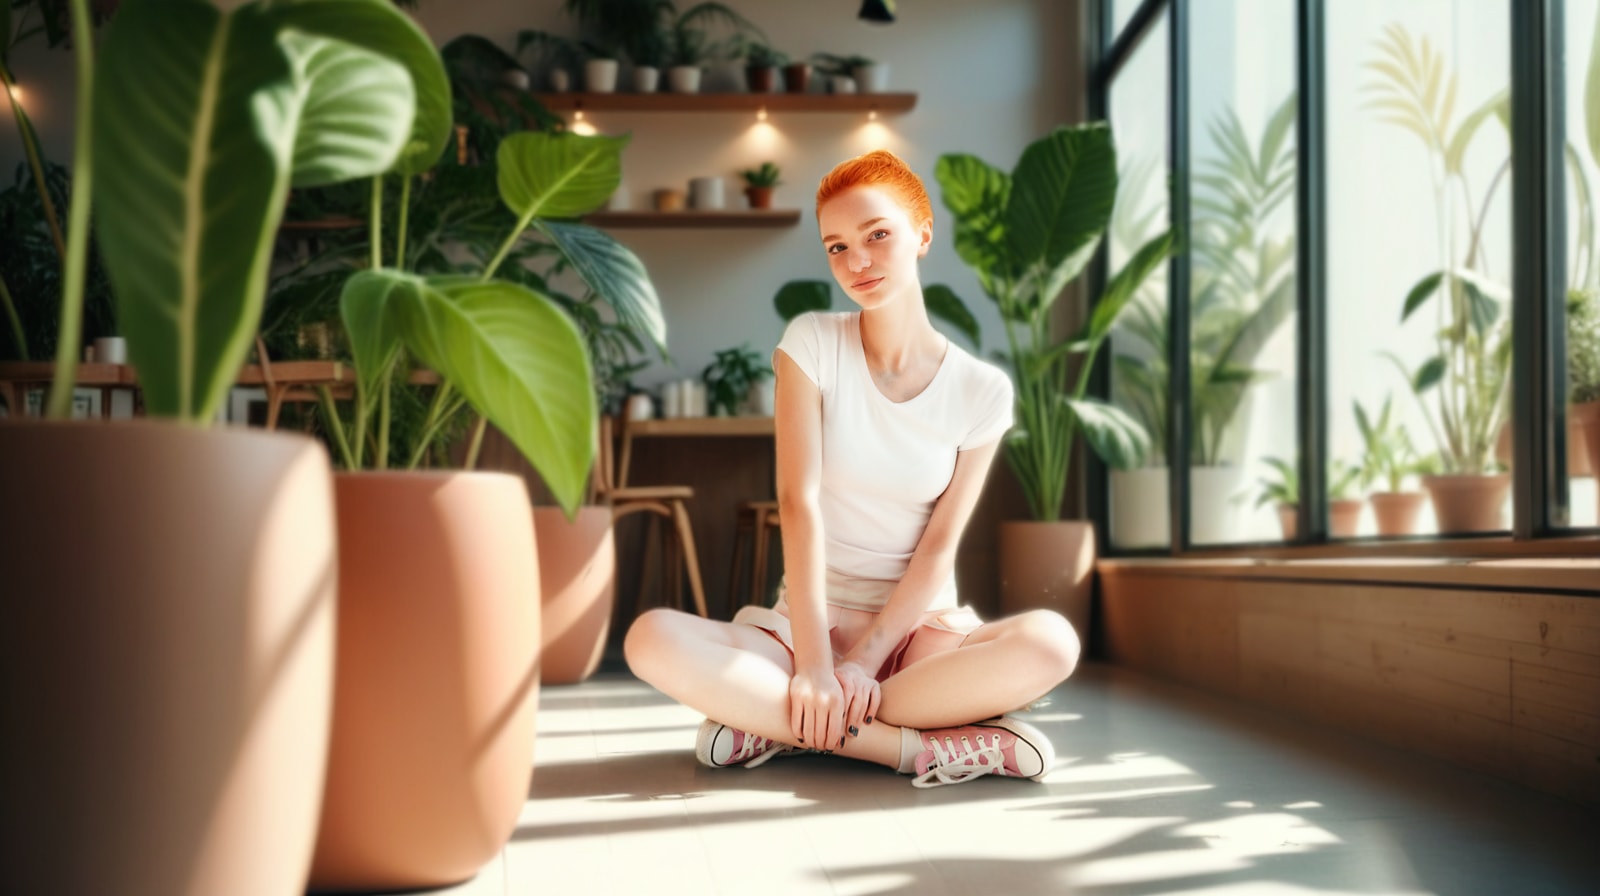
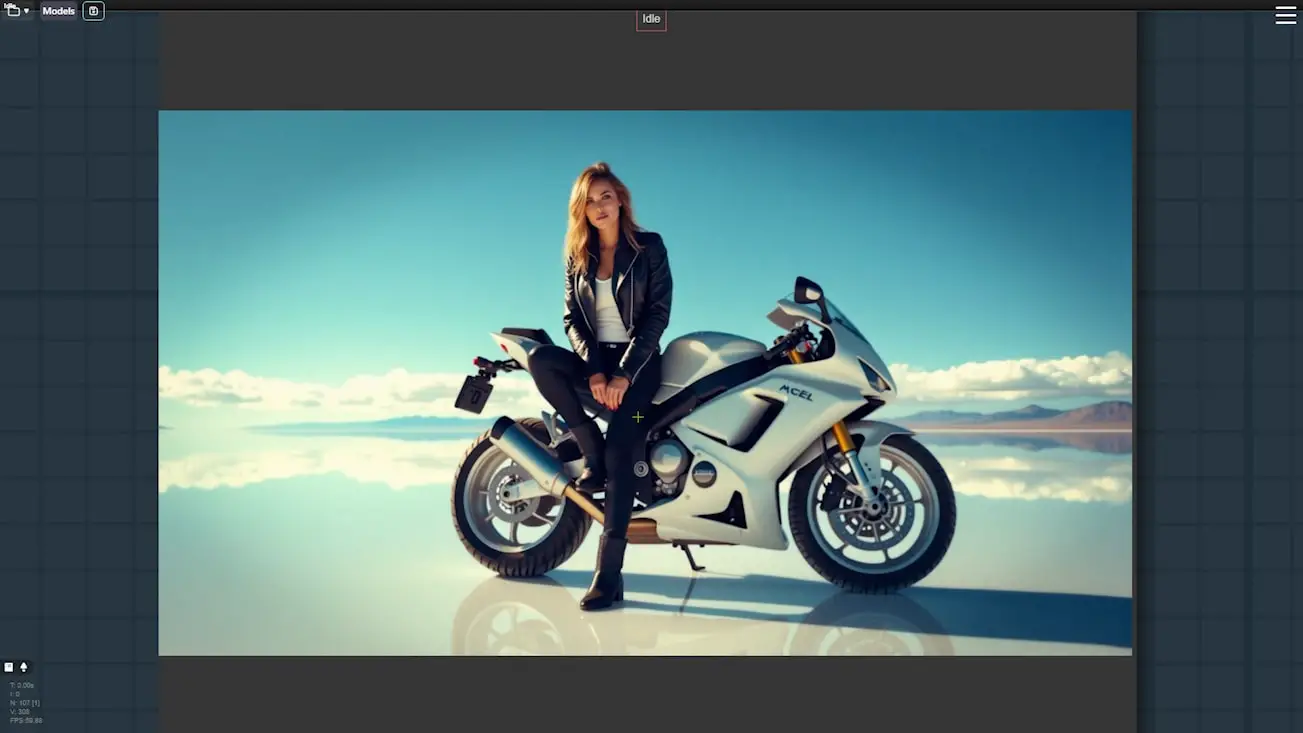
- Original Image: You have a portrait of a person with a generic backdrop.
- Transformed Image: Using the same workflow, you can change the background to a different setting, adjust the lighting to match the new environment, and ensure the person appears naturally integrated into the scene.
Original Image:
Transformed Image:
This shows that whether you’re working with products or portraits, the ComfyUI and Flux models workflow provides a powerful tool for creative image manipulation.
Download this workflow: https://openart.ai/workflows/myaiforce/UdbHePrLFEP9WzdrmmFj
Watch the tutorial to see these capabilities in action and follow along to master this powerful workflow.
Gain exclusive access to advanced ComfyUI workflows and resources by joining our community now!
Here’s a mind map illustrating all the premium workflows: https://myaiforce.com/mindmap
Run ComfyUI with Pre-Installed Models and Nodes: https://youtu.be/T4tUheyih5Q
Overview of the Workflow
This workflow is composed of 5 main node groups. Each group has a specific function in the background replacement process:
- Background Removal: Isolates the subject from the original background and places it on a gray canvas.
- Background Generation: Uses Flux models and ControlNet to generate a new background based on the gray canvas.
- Relighting: Adjusts the lighting and shadows on the subject to match the new background.
- Repainting: Restores fine details that might be lost during the relighting process.
- Detail Restoration: Finalizes the image by restoring and enhancing all details to achieve a seamless blend.
Let’s break down each group step-by-step.
Step-by-Step Guide
Step 1: Removing the Original Background
The first node group focuses on separating the subject from its background. Here’s how to do it:
- Remove the Background: Upload your image and use the “Inspyrenet” node to remove the background. Adjust the threshold parameter for precise cutouts, especially in tricky areas like hair.
- Tip: If you’re working with portraits, tidy up messy hair beforehand to make processing easier.
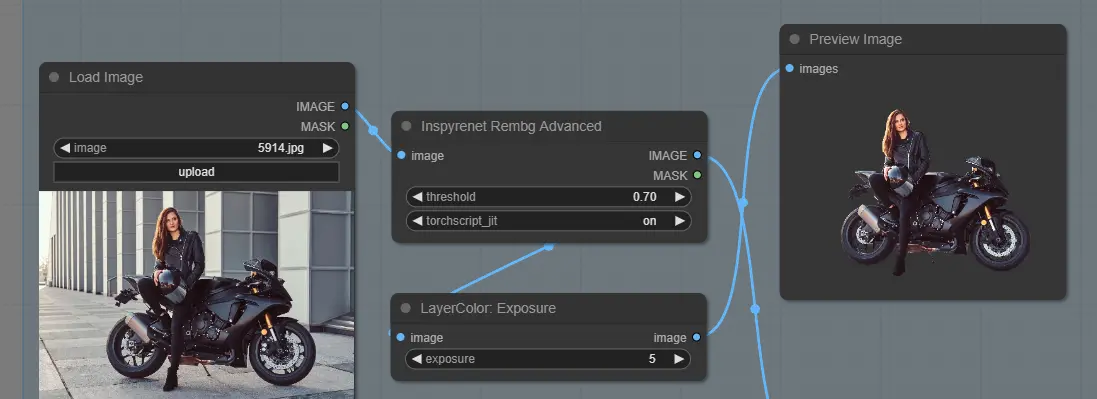
- Adjust Image Exposure: If the image appears too dark, use the node’s exposure setting to brighten it up. For example, increasing the exposure to 5 can help match the lighting for the new background.
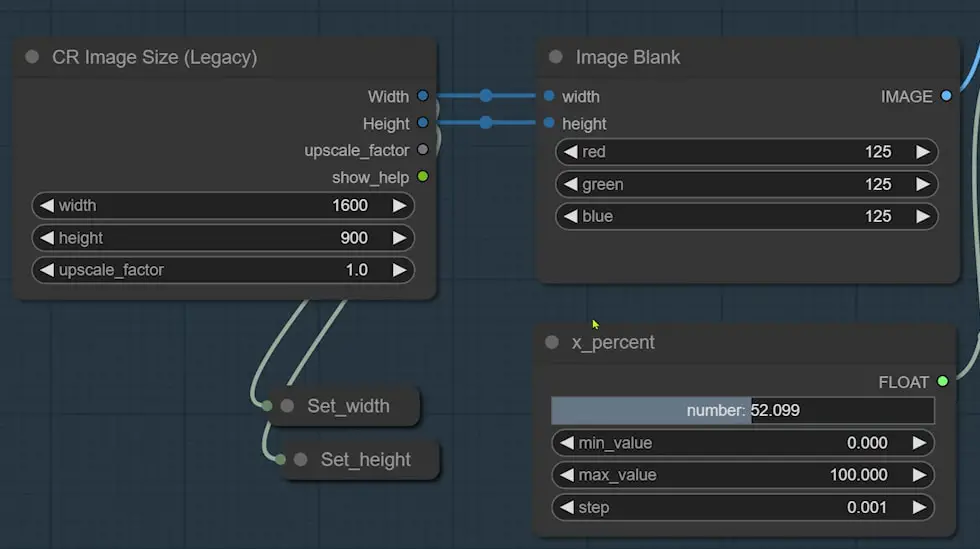
- Create a Gray Background:
- Use the “CR Image Size” node to set the dimensions (e.g., 1600×900).
- Generate a gray canvas using the “Image Blank” node by setting the red, green, and blue values to 125.
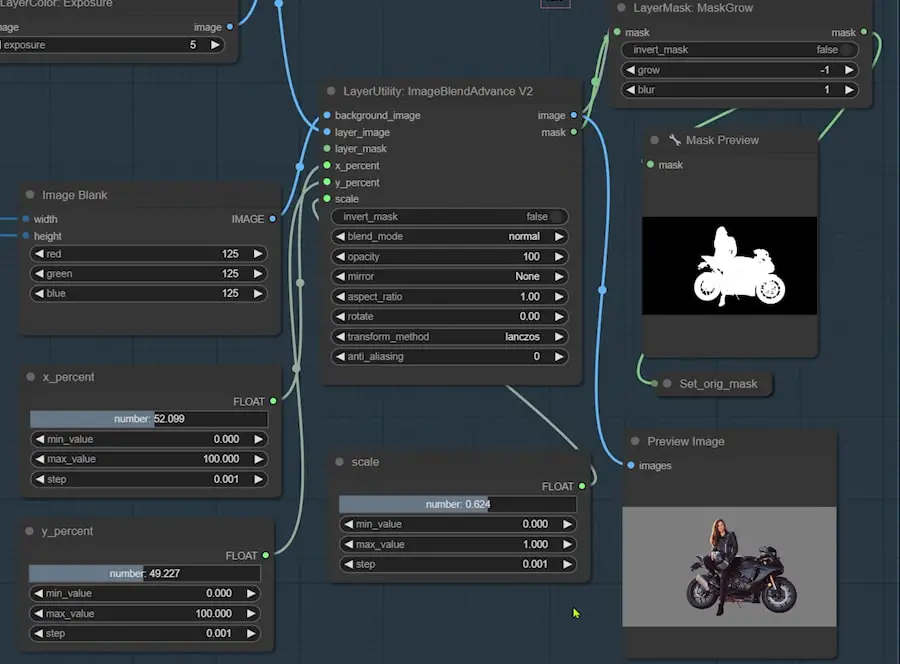
- Position the Subject:
- Use the “Image Blend” node to merge the cutout subject onto the gray background.
- Adjust the scale and position to center the subject correctly.
- Eliminate White Edges: Use the “Mask Grow” node with a grow parameter of “-1” to remove any remaining white edges around the subject.
Step 2: Generating the New Background
In this step, we use the Flux model to create a new background that complements the subject:
- Generate Background with Flux:
- Utilize the Flux ControlNet workflow to produce a background that fills the gray area created in Step 1.
- The generated background will include placeholder outlines matching the original subject’s shape.
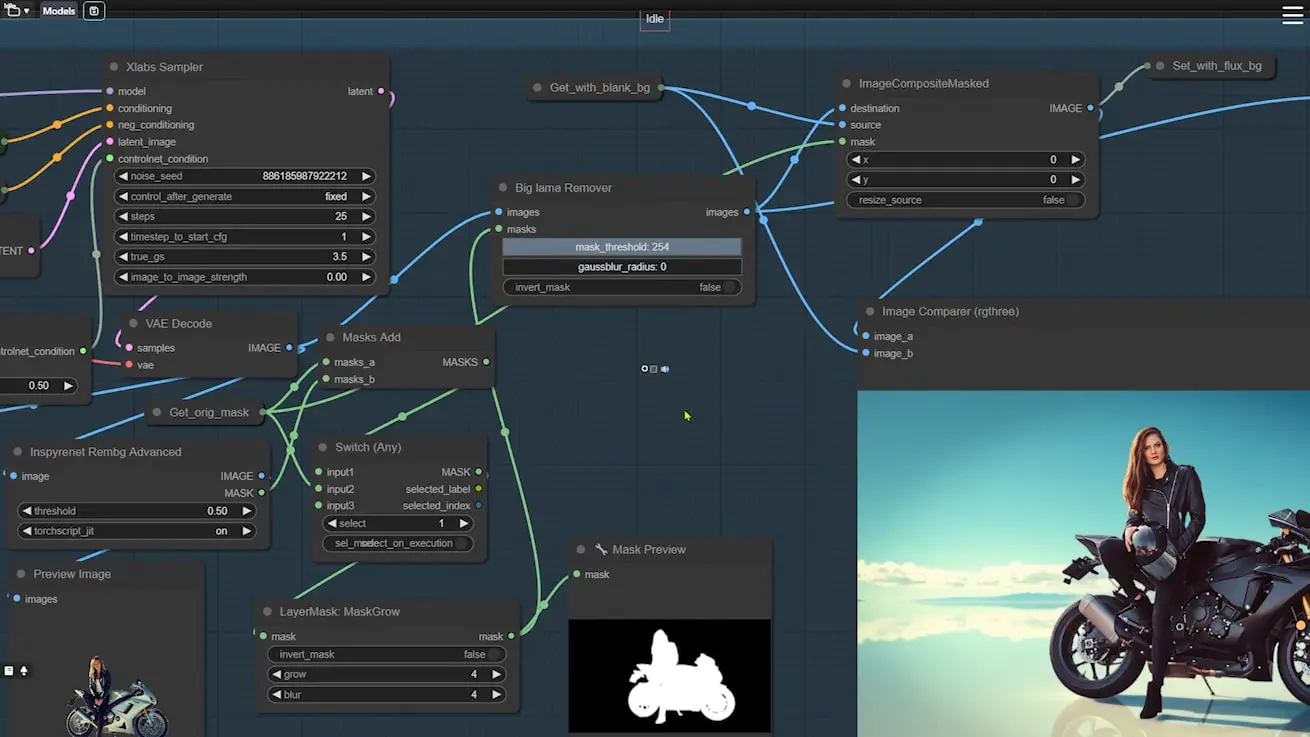
- Replace Placeholders:
- Use nodes to overlay the original subject onto the newly generated background, ensuring the subjects align perfectly with the outlines.
- Use the “Big Lama Remover” node to erase the Flux-generated placeholders and replace them with your original subject.
- Create and Apply Masks:
- Combine masks using the “Mask Add” node to precisely remove excess areas and ensure a clean overlay of the original subject.
- Blend Subject and Background:
- Use “Image Composite Masked” to overlay the subject onto the Flux-generated background.
Step 3: Adjusting Lighting and Shadows
Next, we focus on adjusting the lighting to ensure the subject blends seamlessly with the new background:
- Relight the Image:
- Use the IC-Light node group to adjust lighting based on the new background.
- Keep default settings for optimal results and adjust brightness and contrast as needed.

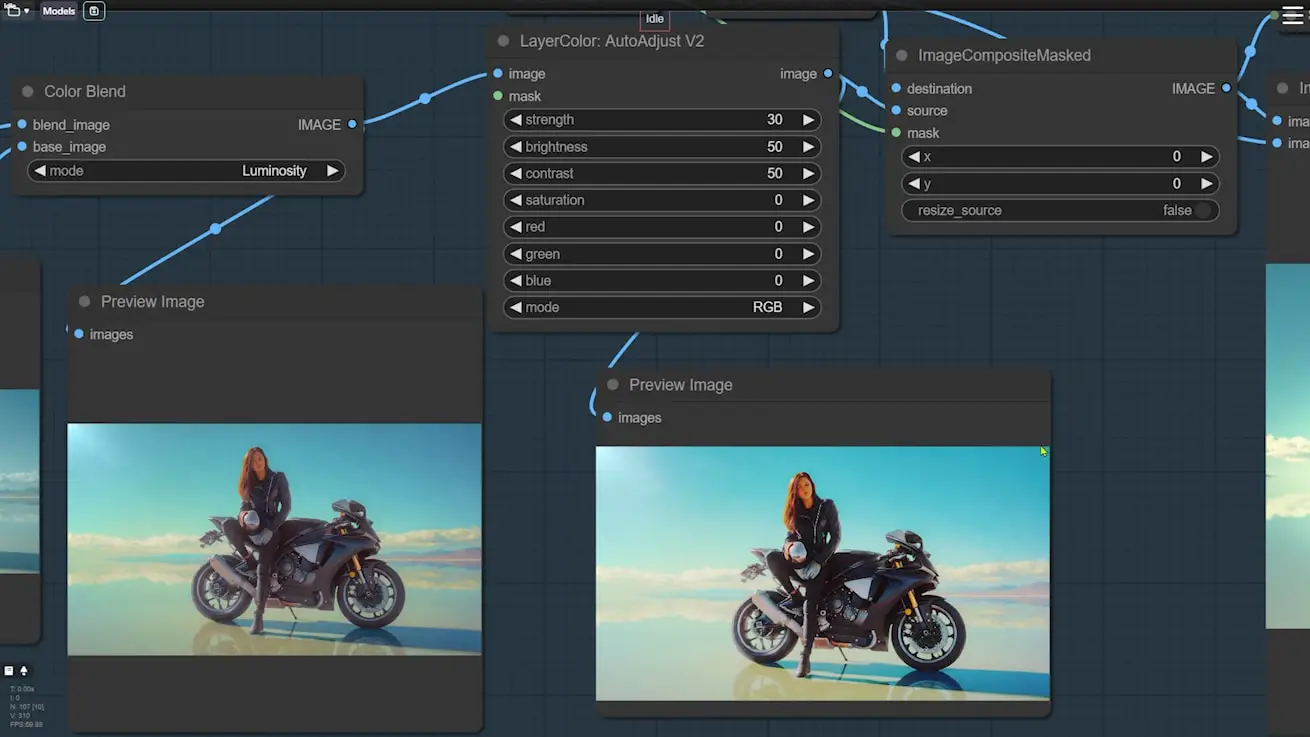
- Restore Color and Contrast:
- Bring back the original colors using the “Color Blend” node.
- Fine-tune the image with the “Auto Adjust” node to correct any contrast or color imbalances.
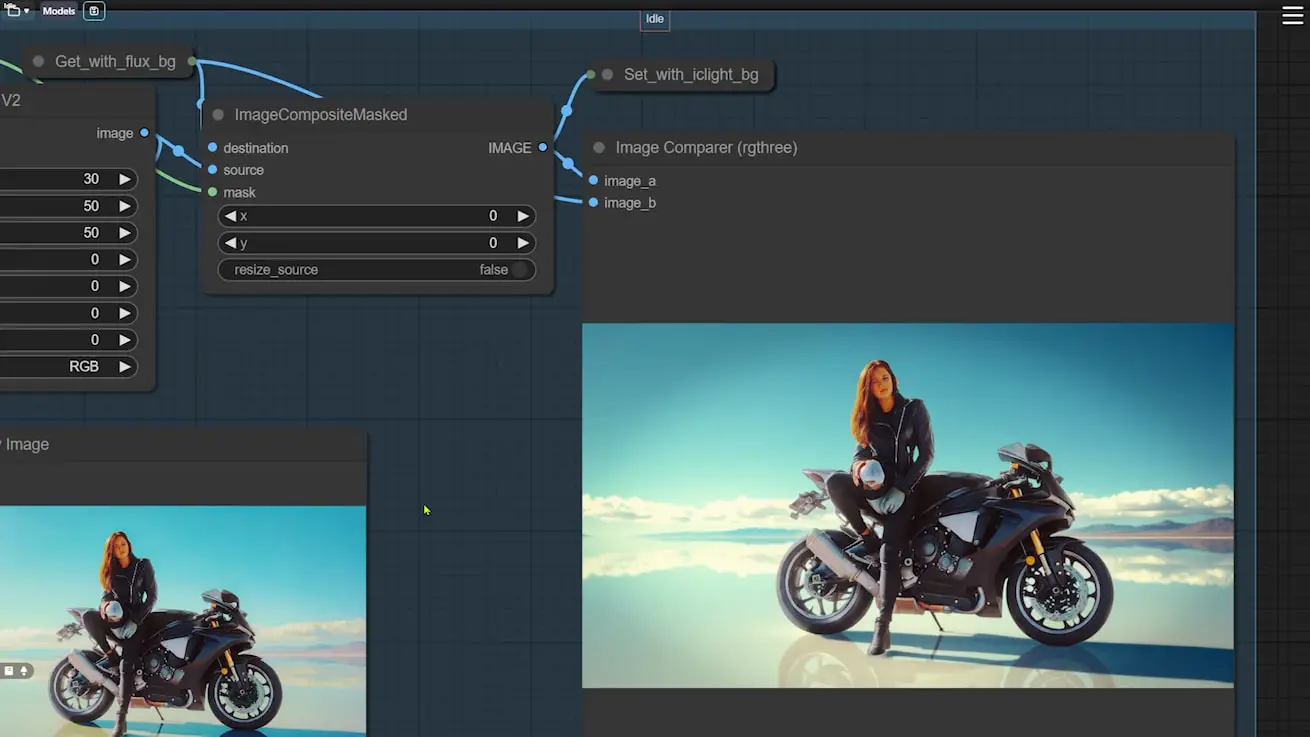
- Overlay High-Quality Background:
- Use the “Image Composite Masked” node to overlay the original Flux-generated background over the one created by IC-Light, maintaining high-quality details.
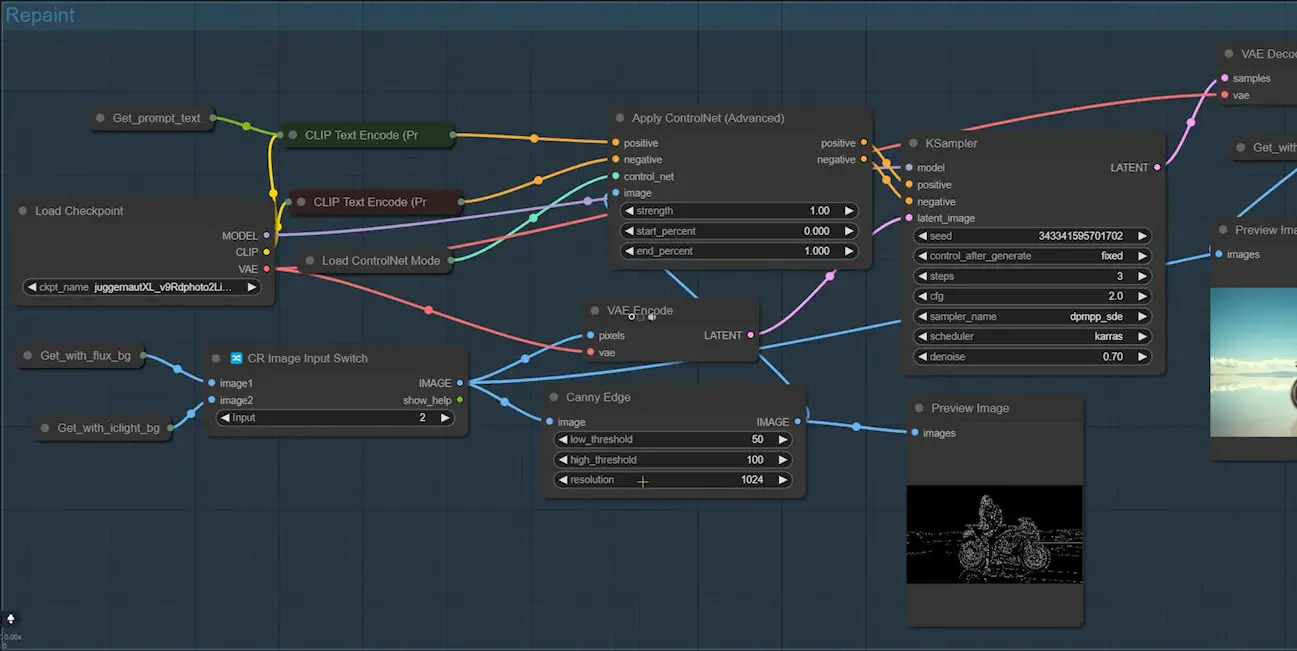
Step 4: Repainting the Image
The next step in the workflow involves an image-to-image repainting process to refine the image and recover any lost details. This step uses the SDXL Lighting checkpoint and is a quicker alternative to generating the image anew using Flux. Here’s how it works:
Repainting the Image
- SDXL Lighting Checkpoint:
- This checkpoint is specifically used to repaint the image in three steps, allowing for faster processing while maintaining high quality.
- The goal is to enhance the image by focusing on lighting adjustments and detail recovery.
- Using ControlNet Canny:
- ControlNet Canny is employed to maintain the outlines of the subject during repainting.
- As long as the outline remains accurate, this process ensures that the finer details of the image are preserved or restored.
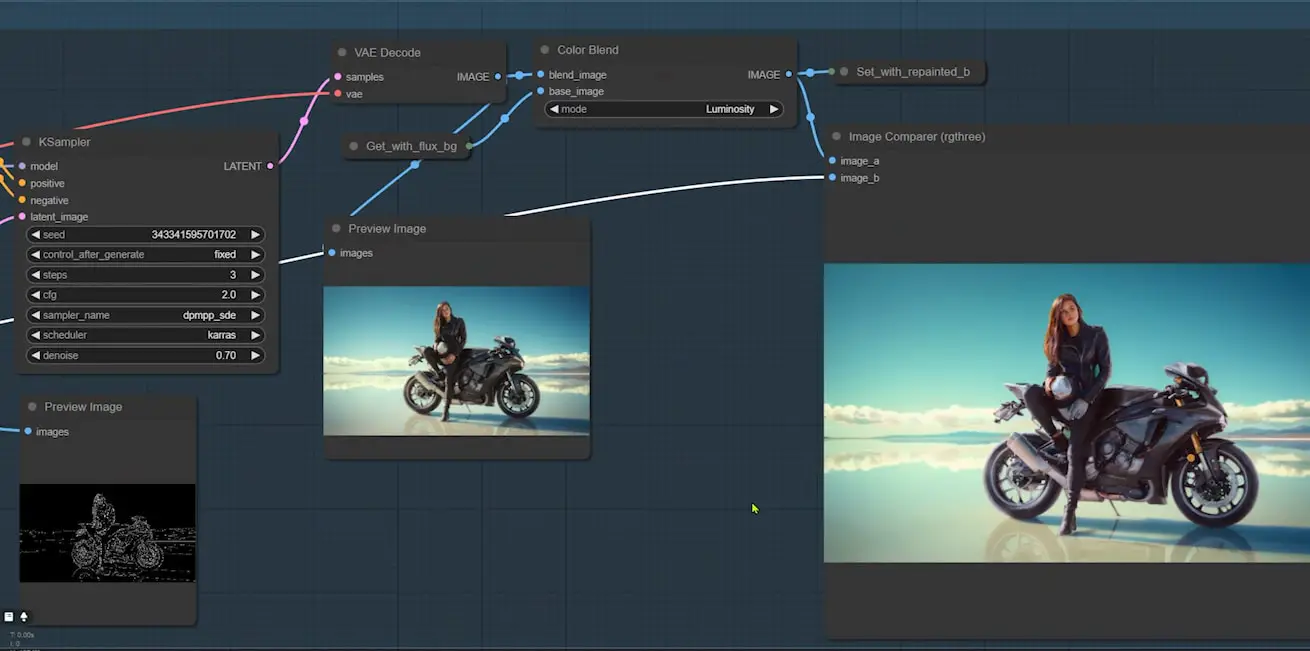
Choosing the Repainting Option
There is an image switch node that allows you to choose which version of the image to repaint:
- Option 1: Repaints the image without any relighting. This uses the image generated solely by the Flux background group.
- Option 2: Repaints the image that has already been relighted by IC-Light. This option is typically preferred, as the IC-Light adjustments generally create a more natural and cohesive look by aligning the subject’s lighting with the new background.
- When to Choose Option 2: This is usually the better choice unless the IC-Light relighting effect is not as good as the original lighting of the uploaded image.
Enhancing Image Quality
If the image quality after using IC-Light isn’t ideal, it can be improved using a specific node group:
- Adjusting Denoising Strength:
- The key parameter to focus on in this node group is the denoising strength.
- By tweaking this parameter, you can enhance the overall image quality, bringing back more details and refining the visual appearance.
By following these steps, you ensure that the final image is not only well-integrated with its new background but also retains all the necessary details and quality, making it look polished and professional.
Step 5: Restoring and Enhancing Details
Finally, we ensure that all the finer details are preserved and the image looks natural:
- Detail Recovery Nodes:
- Use two specific nodes to enhance fine details and restore light and shadow quality.
- Adjust blur_sigma and blur_size parameters for optimal detail recovery.
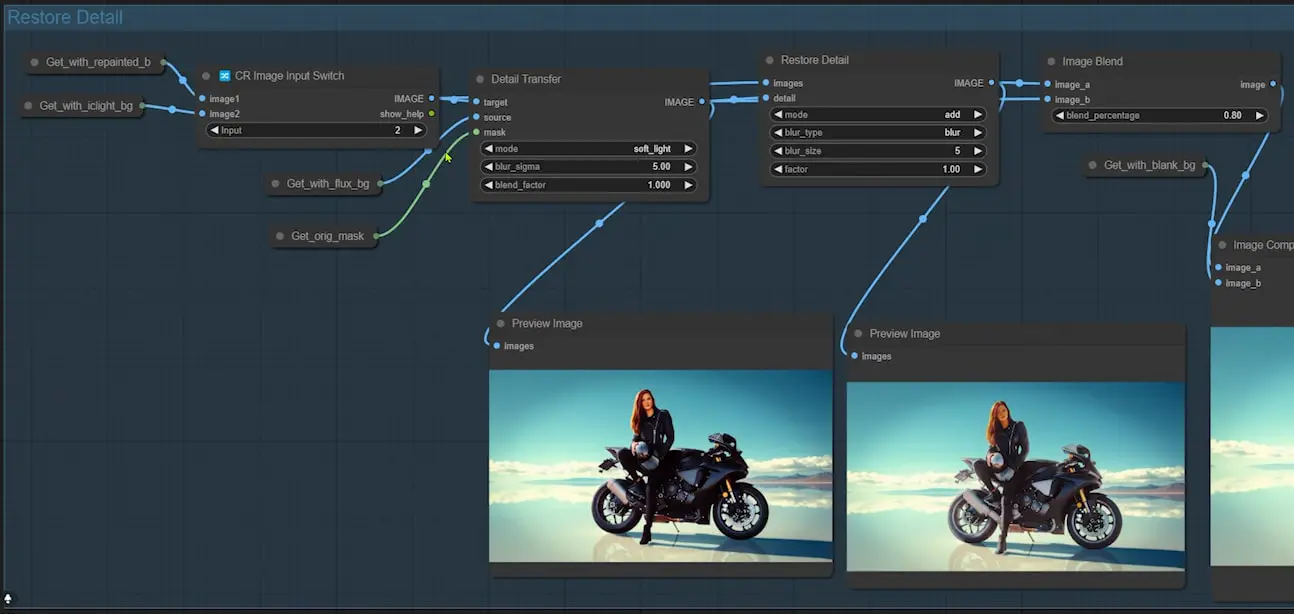
- Blend Final Image:
- The “Image Blend” node allows you to balance the two recovered images, adjusting the blend percentage to achieve a perfect final result.
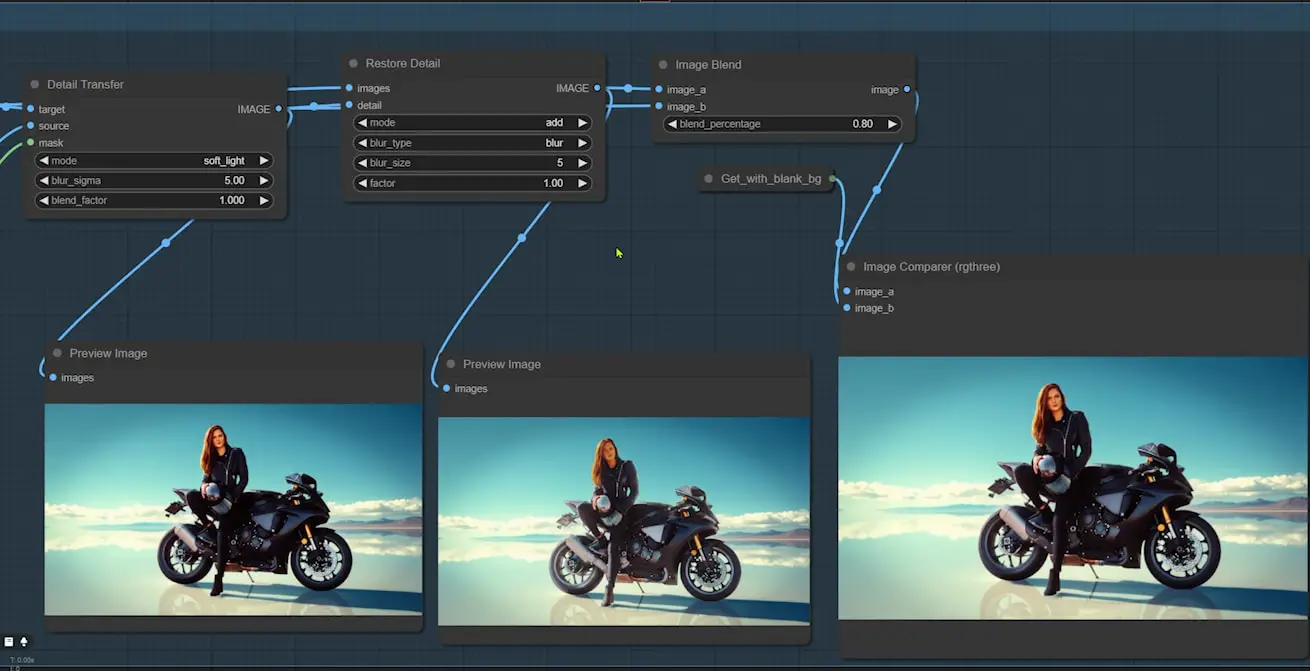
Final Result
After following these steps, your image should look naturally blended with the new background. The subject should appear seamlessly integrated, with accurate lighting and preserved details.
Conclusion
And there you have it! A comprehensive guide to changing backgrounds using ComfyUI and Flux models. This workflow is incredibly versatile and can be applied to various types of images, whether you’re working with people, objects, or complex scenes.