Enhancing Skin Realism for Flux-Generated Portraits (Workflow Included)
In our last article, we compared Flux with Midjourney. While Flux offers impressive advancements, it has a notable drawback—the generated skin often appears plastic-like.
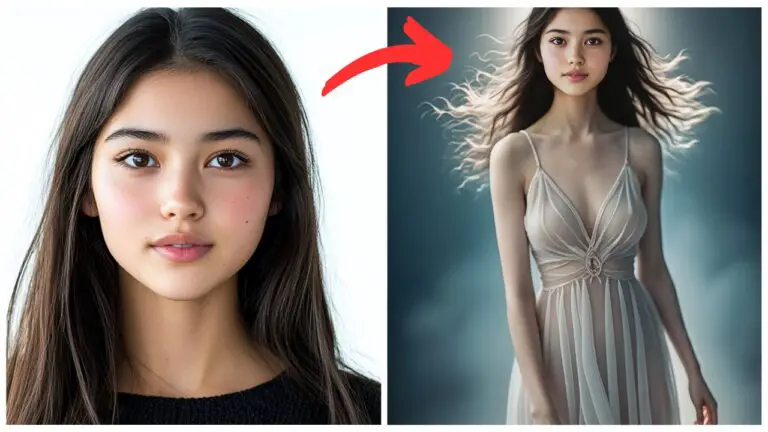
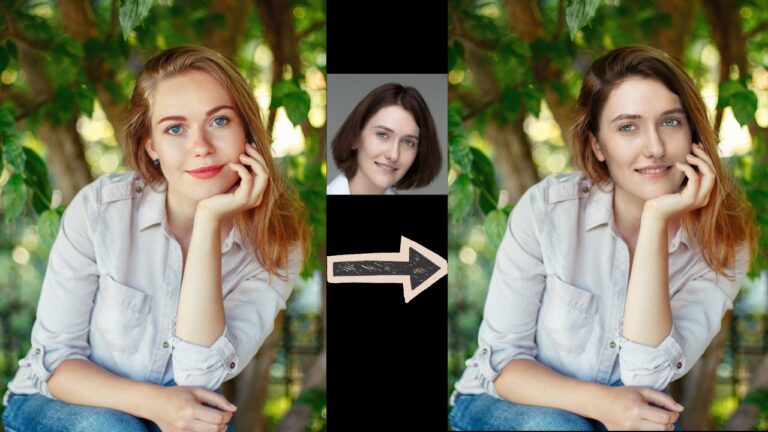
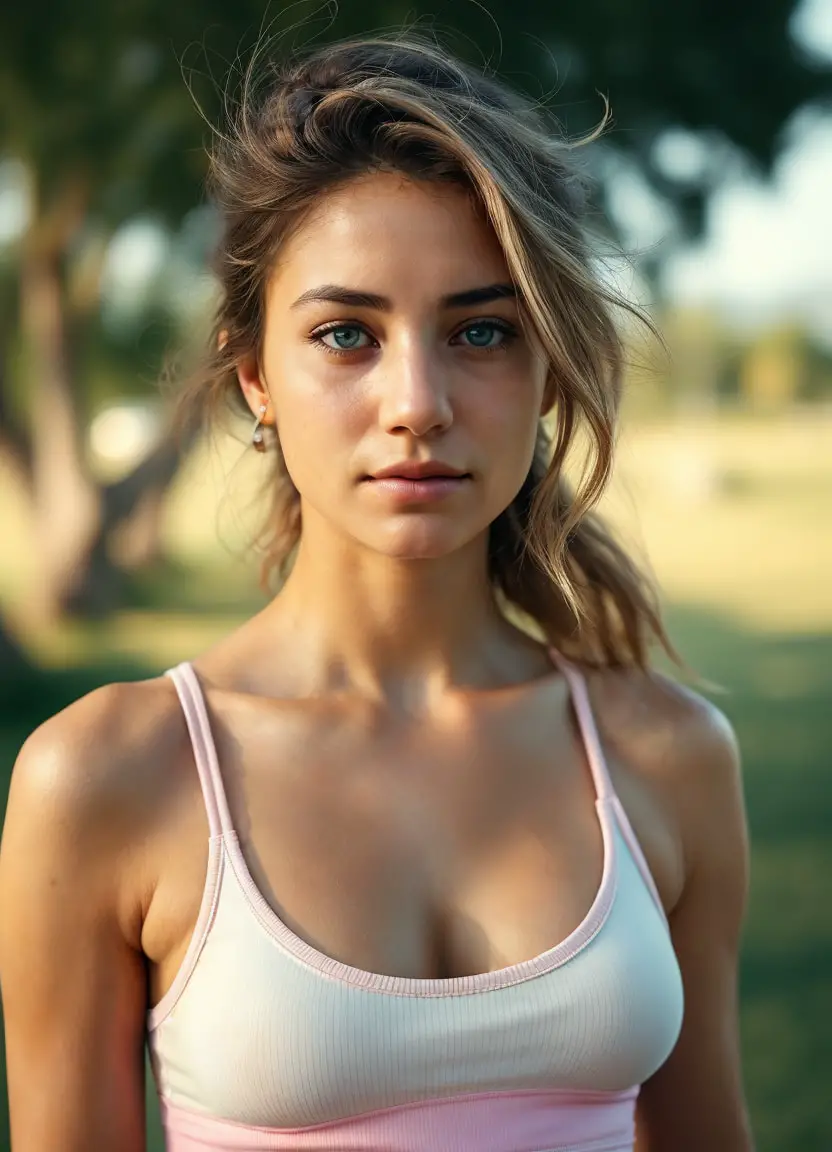
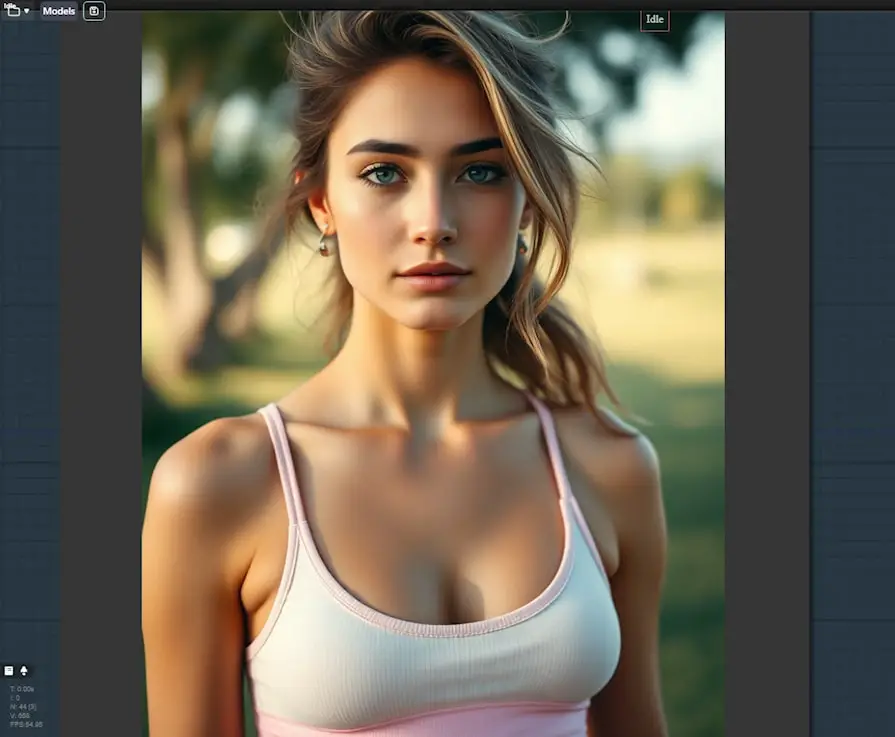
For example, take a look at an image generated using Flux.
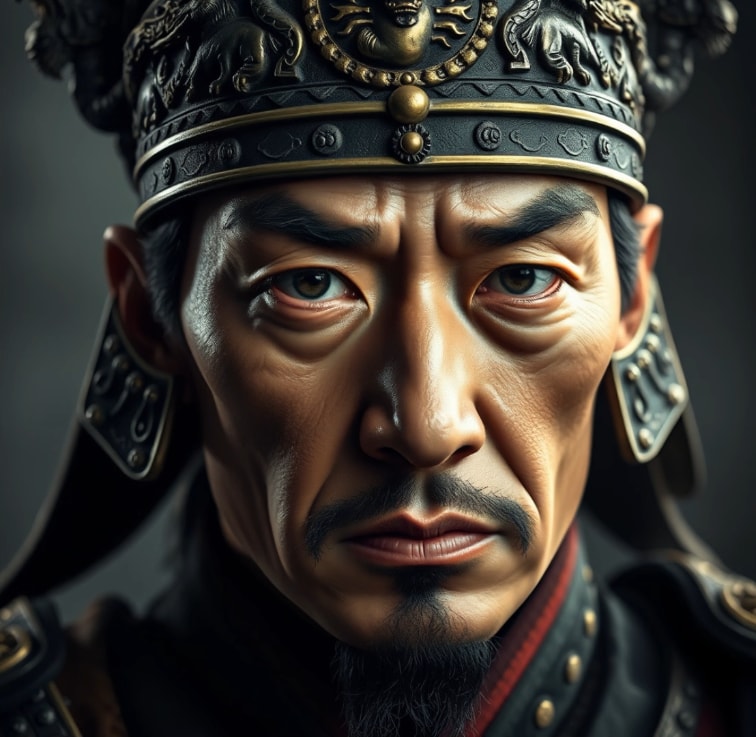
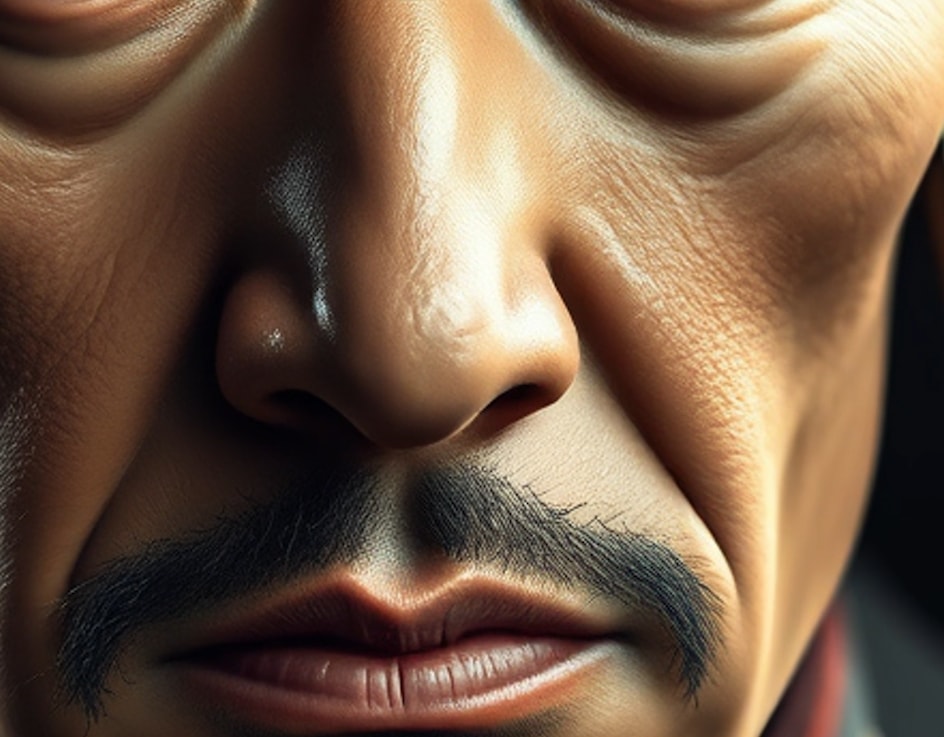
Despite adding extensive details with LoRA to increase realism, some areas still look artificial. The skin texture on the face, for instance, lacks a convincing appearance, and the direction of the whiskers appears unnatural.
To counter this, I’ve developed a ComfyUI workflow designed to enhance portraits generated by Flux models.
You can download this workflow here:
https://openart.ai/workflows/myaiforce/hRD5i3MiCrJKJqylQdKP
Here’s the Youtube tutorial for this workflow:
Gain exclusive access to advanced ComfyUI workflows and resources by joining our community now!
Here’s a mind map illustrating all the premium workflows: https://myaiforce.com/mindmap
Run ComfyUI with Pre-Installed Models and Nodes: https://youtu.be/T4tUheyih5Q
Key Features of the Workflow
This workflow offers three standout features:
1️⃣ Speed: I opted not to include a “Face Detailer” or other resource-heavy detailers because Flux is already memory-intensive, and adding more would slow down the process.
2️⃣ Comprehensive Skin Texture Enhancement: It improves not just the face skin but also the skin texture across the entire body.

3️⃣ Optional Eye Detail Enhancement: Sometimes, Flux generates stunning eyes, and adding more detail can detract from their natural light. With this workflow, you can choose whether to enhance the eye details or leave them as they are.
Workflow Overview
The workflow is divided into three groups:

1. Generating Portraits with Flux
The first group uses Flux models to generate portraits. Initially, the skin on the generated portrait may appear overly smooth and unrealistic.
Here’s how to address this:
- Start by generating the base image with Flux. You might notice that the skin lacks texture and realism.
- The next step involves turning on the second group, which adds more realistic skin textures.
I used the “schnell fp8” checkpoint in this example, but you can use other Flux checkpoints. I also added a LoRA to further enhance realism.
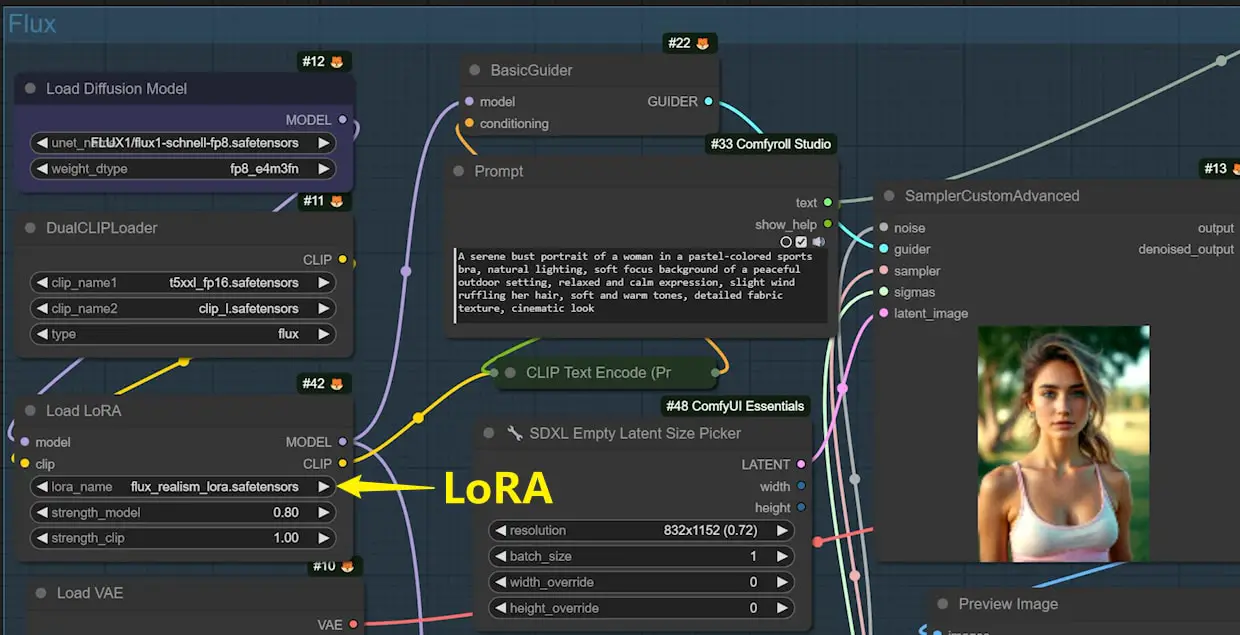
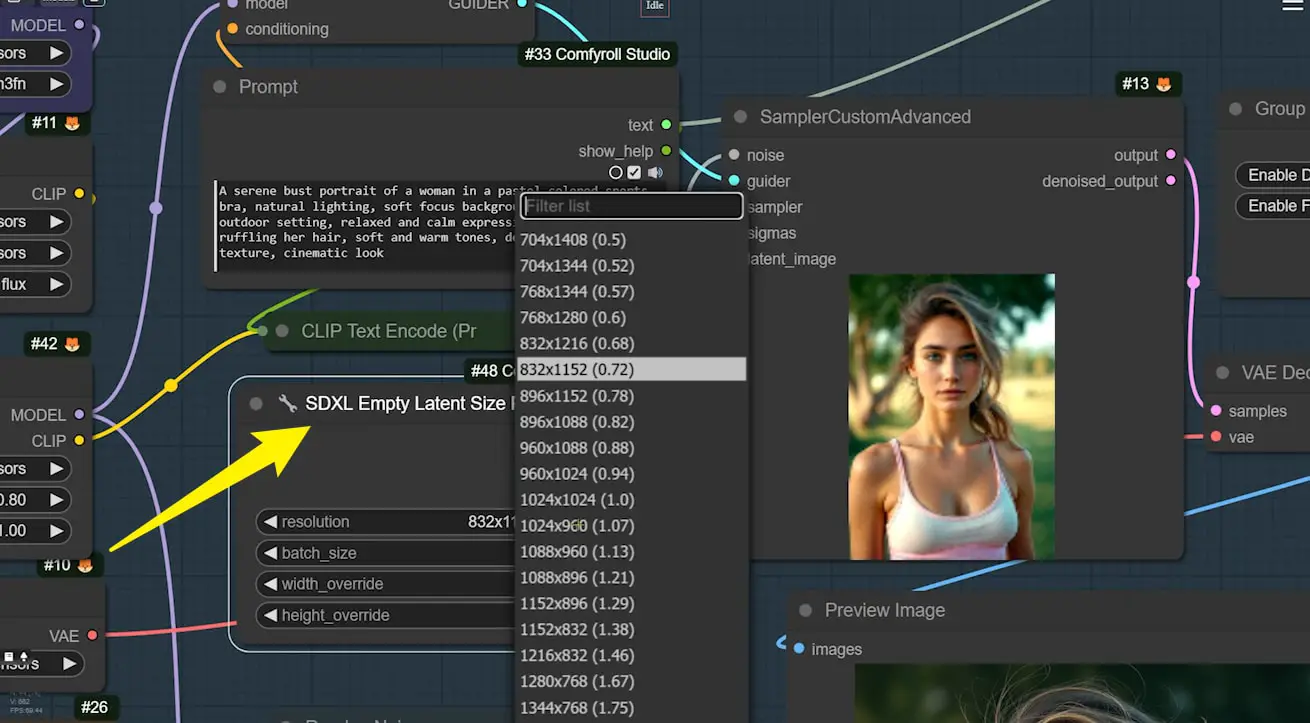
Customizing Image Size
In the basic Flux text-to-image workflow, there’s a node for setting the image size. I replaced it with a node that allows you to select the SDXL image size, eliminating the need to manually input dimensions. Flux supports various aspect ratios, so if you want to create images of different sizes, you can use the basic “Empty Latent Image” node.
Node Configuration
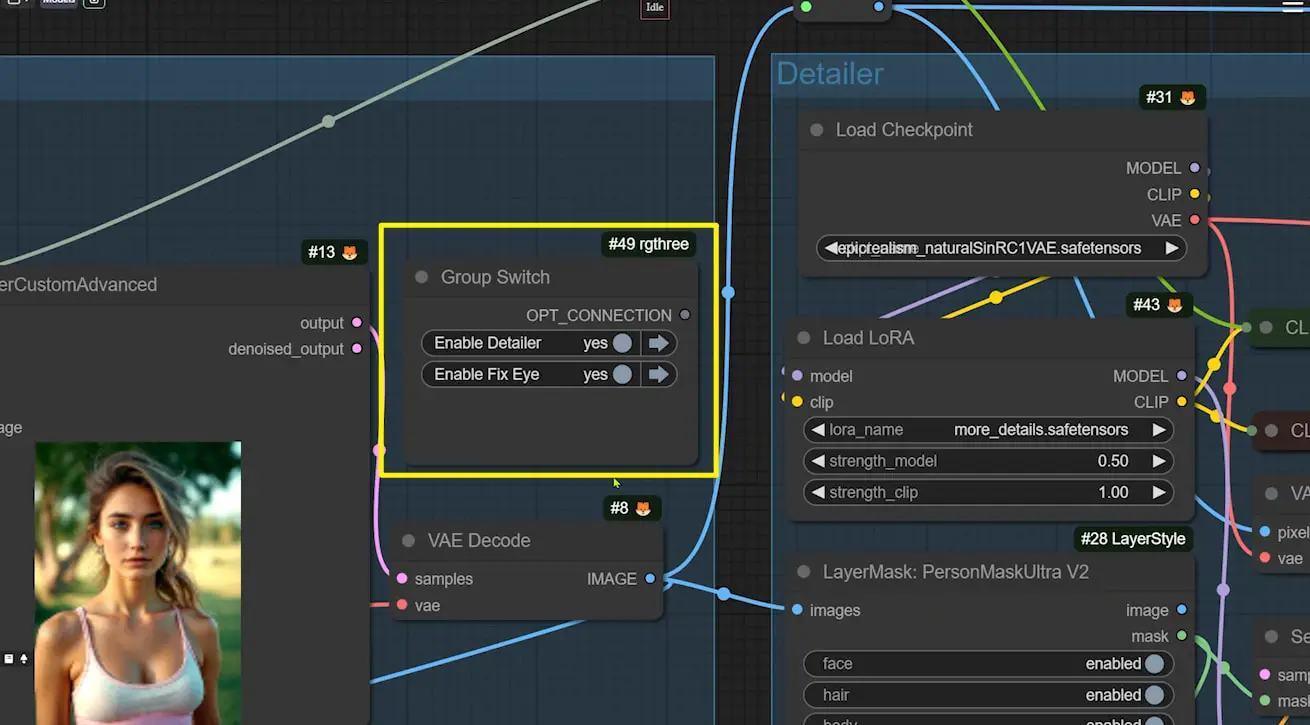
There’s a node that controls the on/off state of the 2 groups on the right. Initially, keep these nodes turned off. Once you’ve generated a satisfactory base image with Flux, turn them on to enrich the details.
2. Enhancing Skin Texture
This group begins by creating a skin mask. Then, an SD1.5 model is used for image-to-image repainting of the skin, utilizing the “Epic Realism” checkpoint known for its strong sense of realism. A LoRA is added to further enrich the details—links to both the checkpoint and LoRA are provided in the description.
Link to the checkpoint: https://civitai.com/models/25694/epicrealism
Link to the LoRA: https://civitai.com/models/82098/add-more-details-detail-enhancer-tweaker-lora
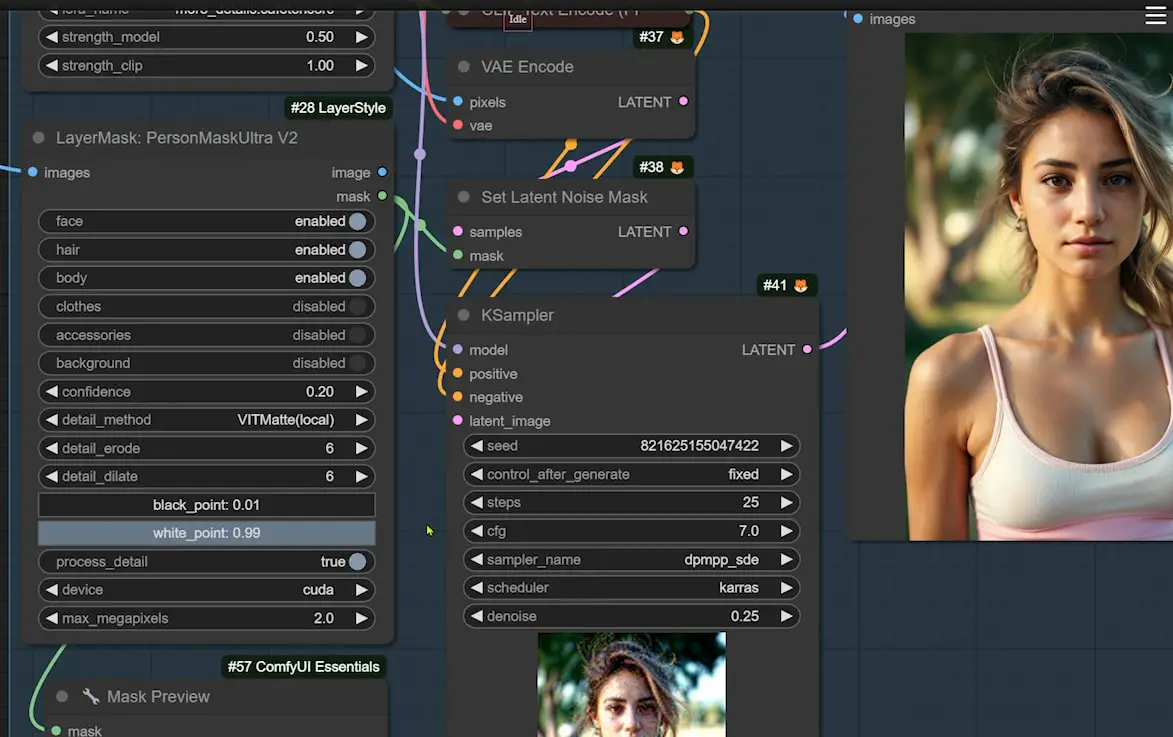
Masking the Person
- A node dedicated to masking the person is used, enabling the face, hair, and body switches. The mask includes all three, though it’s not perfect at recognizing skin. For example, it may miss shadows on the chest or mistakenly identify highlights on a sports bra as skin. However, as long as it captures key areas, it’s sufficient to enhance the details.
- Over-precision could slow down the image generation process, so balance is essential. You can adjust the mask’s accuracy by tweaking the “confidence” parameter—the lower the value, the larger the mask area.
- Typically, masks are created for the face, body skin, and hair. If you’re working on a headshot, you can turn off the “body” option. There are also switches below that allow masking of clothing, accessories, or the background, though these generally don’t need enhancement as Flux handles them well.

With the second group of nodes, the hair, face, and body details are enriched. However, this process may cause the eyes to lose some of their original light.

3. Restoring Eyes
The third group focuses on restoring the eyes generated by Flux:
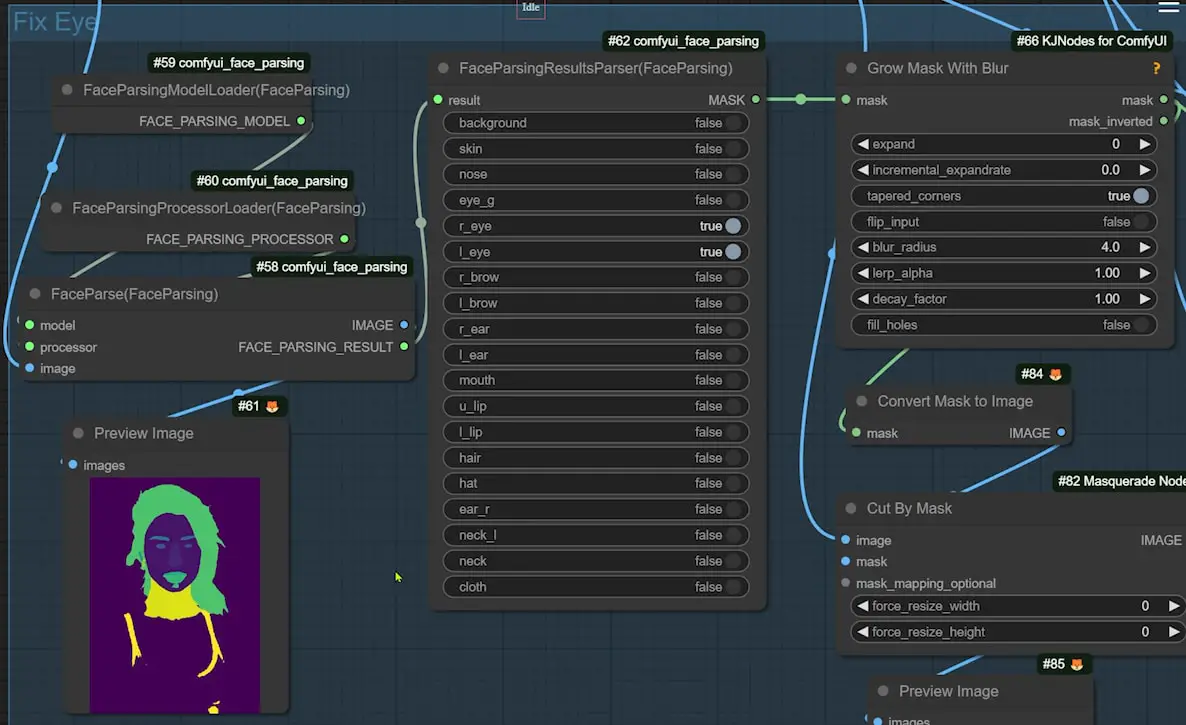
- First, use the “Face Parse” node to segment the face, including the hair.
- Then, use a node to select the “eyes” and create a mask. The “Grow Mask With Blur” node allows resizing or blurring the mask.
- Once the eye mask is ready, use the “Image Composite Masked” node to restore the original Flux-generated eyes.
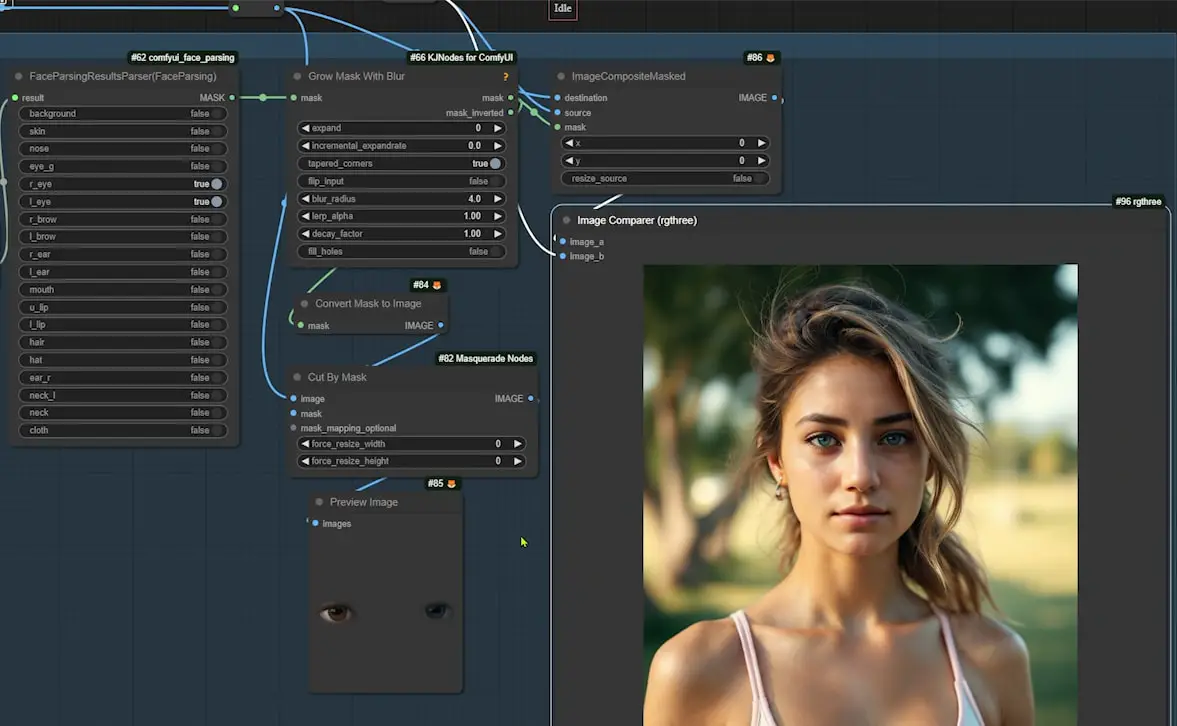
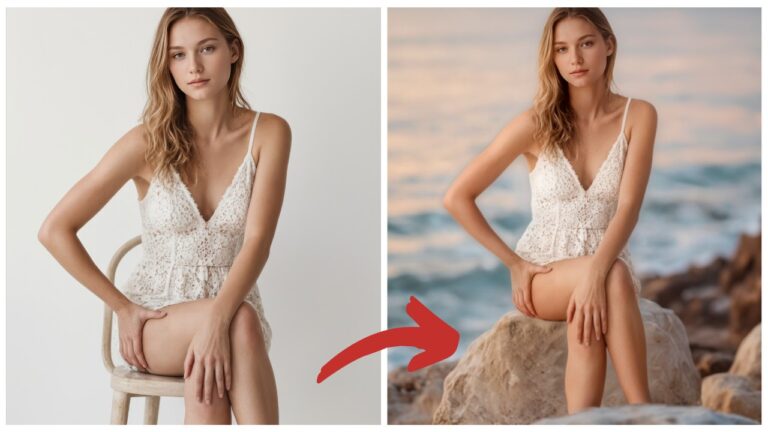
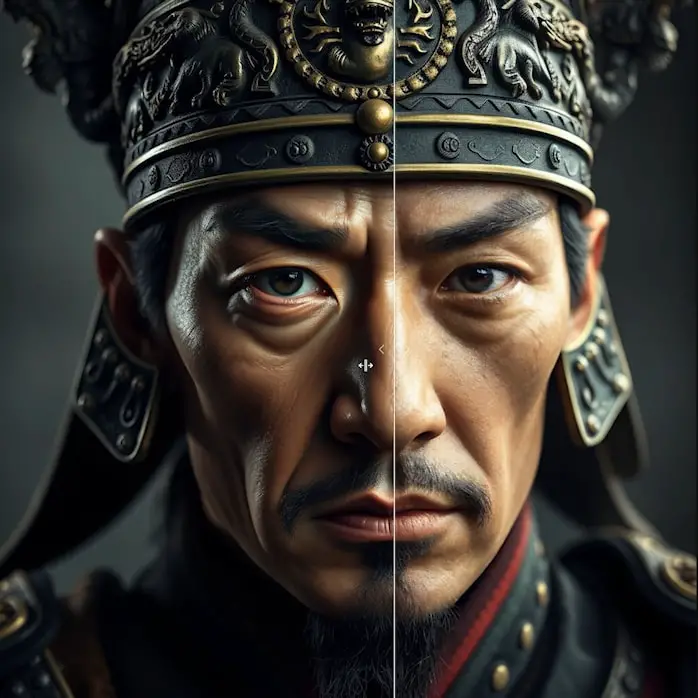
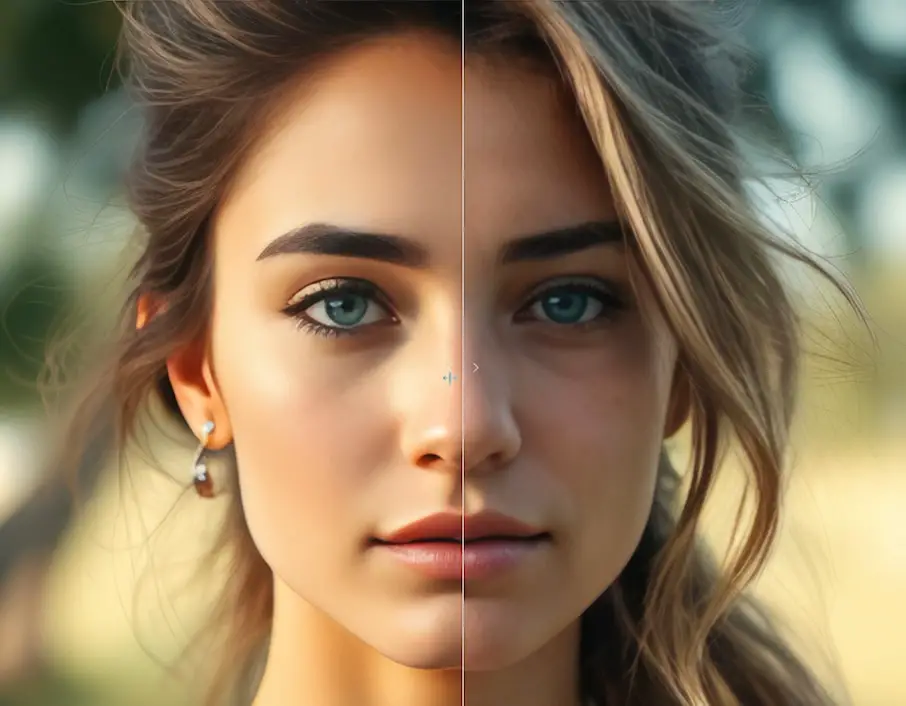
When you compare the final image to the one generated solely by Flux, you’ll notice that while the skin is more detailed, the eyes retain their original appearance.

Conclusion
This workflow offers a comprehensive solution to enhance the realism of Flux-generated portraits. I hope this article helps you understand how to download and use this workflow effectively.