LanPaint + Qwen Image Edit 2509: The Secret to Higher Quality & Consistency
Qwen Edit is a popular tool for editing images, but it comes with certain limitations that can affect the quality of your output.
One of the most common issues users face is the image size restriction—Qwen Edit can only handle images up to 1 megapixel, which often results in blurry or distorted outputs. Additionally, working with intricate details, like adding or changing clothing, can sometimes cause unwanted artifacts or loss of quality.
In this article, we’ll dive into a newly developed workflow designed to fix these problems, allowing you to produce high-quality images without sacrificing details or image resolution.
This new method incorporates several innovative tools and techniques, such as LanPaint, to streamline the process and deliver better results. Let’s explore how this workflow can transform your Qwen Edit experience.
YouTube Tutorial:
Group 1: Masking and Resizing for Seamless Inpainting
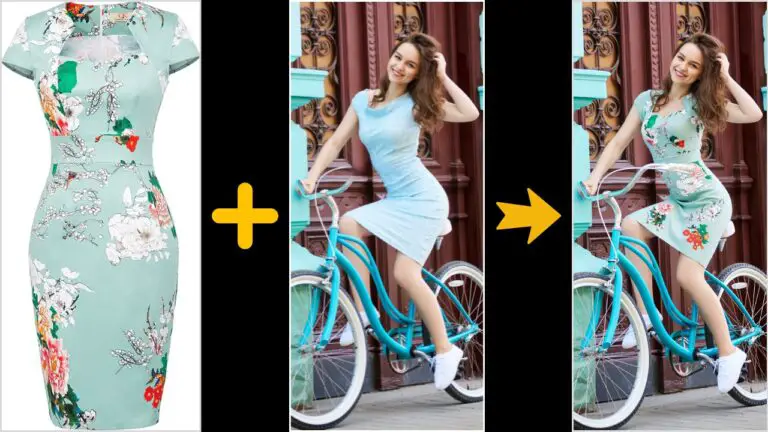
The first step in the new workflow involves preparing the image by masking the area that needs modification. In this case, we’ll focus on changing a dress in the image, but the technique can be applied to other elements as well.
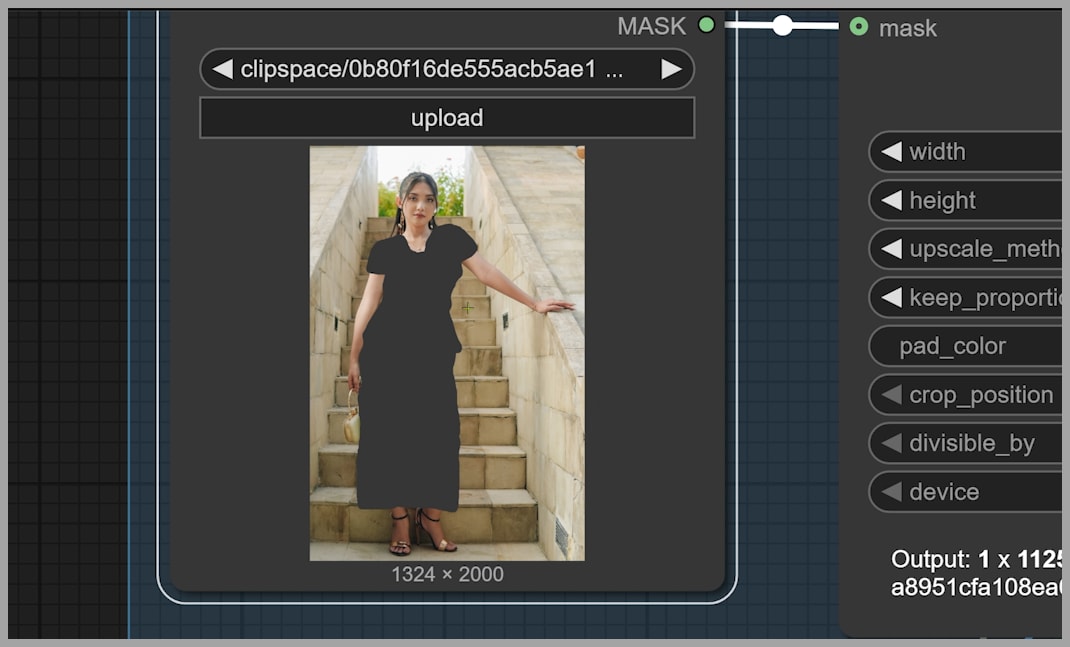
Step 1: Upload and Mask the Image
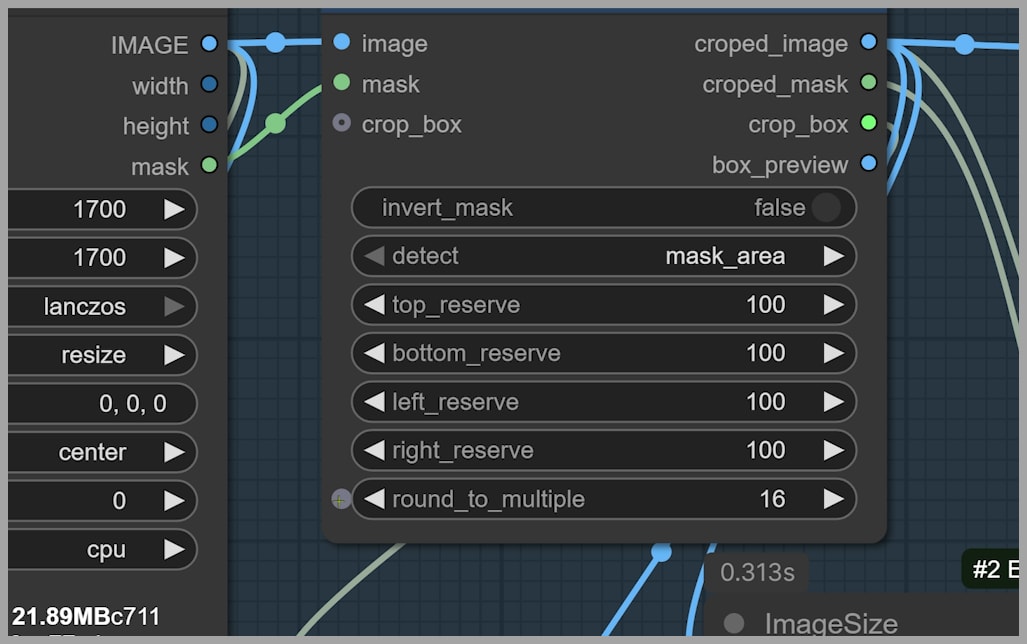
After uploading your two images (one with the original dress and one with the new one), you need to mask the area you want to modify—in this case, the dress. It’s crucial that the mask is large enough to accommodate the new item you’re adding to the image.
Step 2: Resizing for Qwen Edit’s Limitations
Once the mask is in place, we face a limitation of the Qwen Edit model: the maximum image size it supports is 1 megapixel. To solve this, we use a Resize Image node to reduce both the original image and the mask to fit within this size limit.
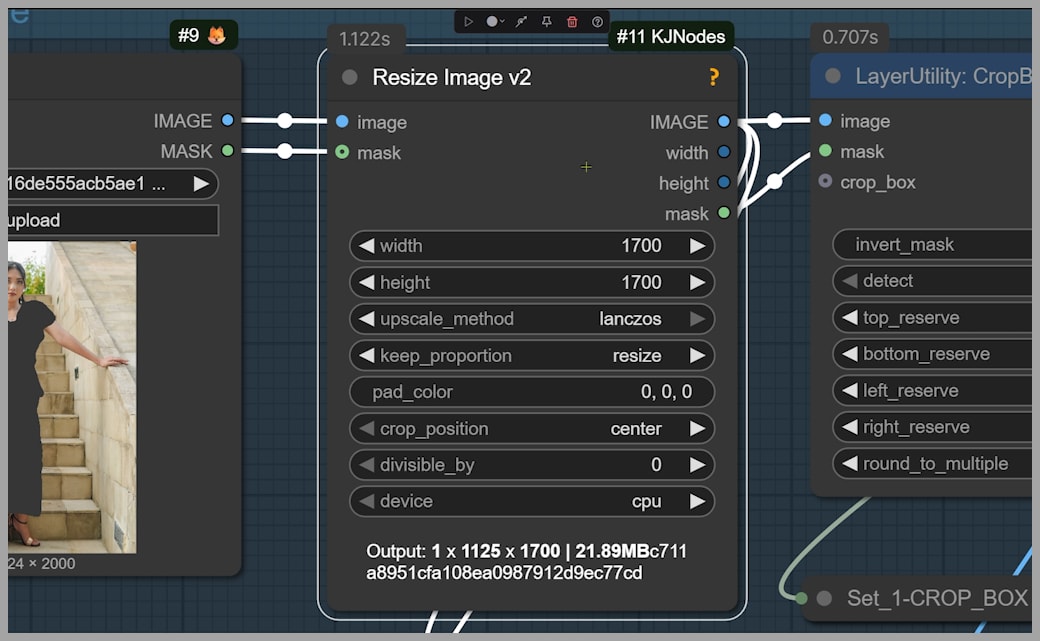
However, the goal is to retain the final output size, which should match the original dimensions. To achieve this, we crop the image to focus on the area that will be repainted, ensuring that only this portion of the image is under the 1-megapixel limit. After the change is made, this cropped section will be pasted back into the original image.
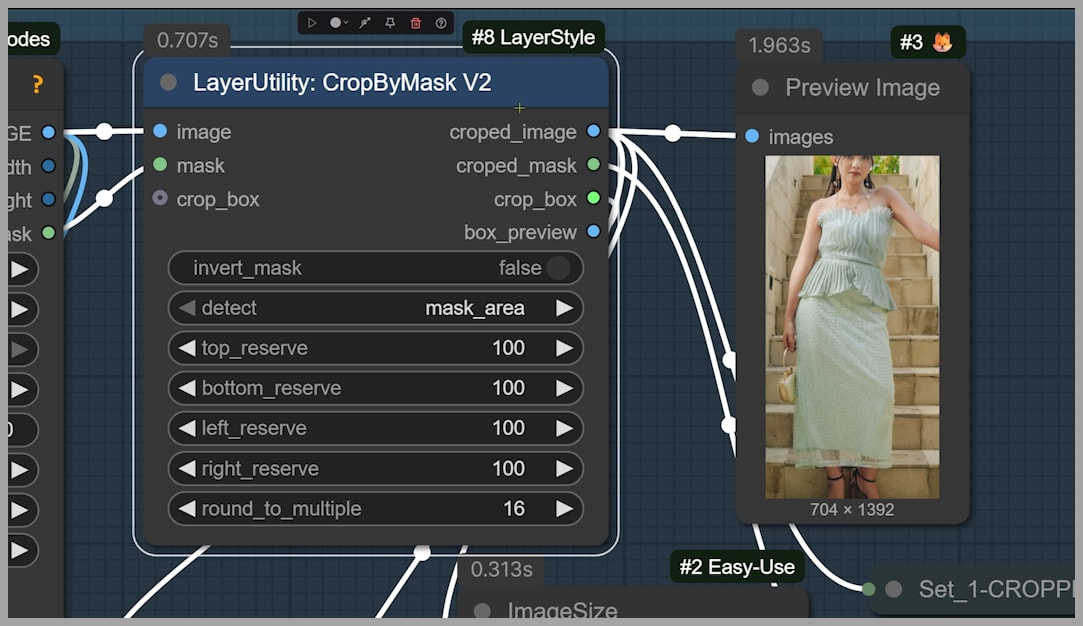
Step 3: Cropping and Final Adjustments
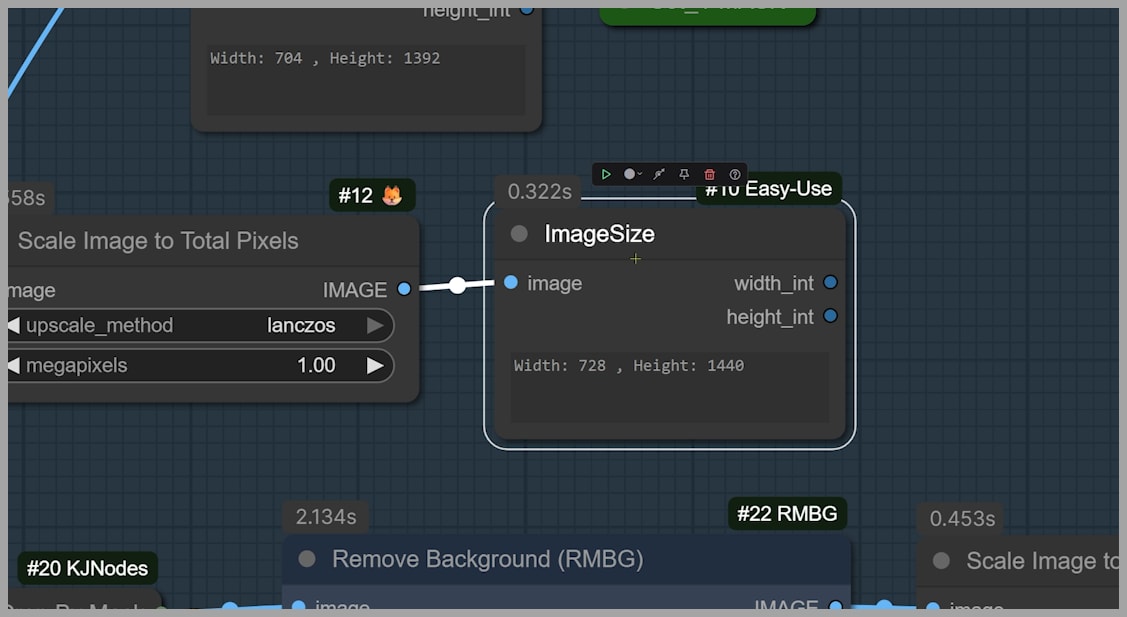
The Resize Image node also helps to ensure that the target dimensions for the cropped image are approximately 728 x 1440 pixels, which keeps the image under the 1-megapixel threshold.
Additionally, I recommend setting the ‘round to multiple’ parameter to 16. This ensures the image dimensions are divisible by 16, preventing any slight shifts or pixel misalignment during processing.
Group 2: Perfecting Inpainting with LanPaint KSampler
Now that the image is resized and prepared, the next step is to inpaint the masked area using LanPaint KSampler. This tool is designed specifically for inpainting tasks, and it works well with most diffusion models, including Qwen Edit.
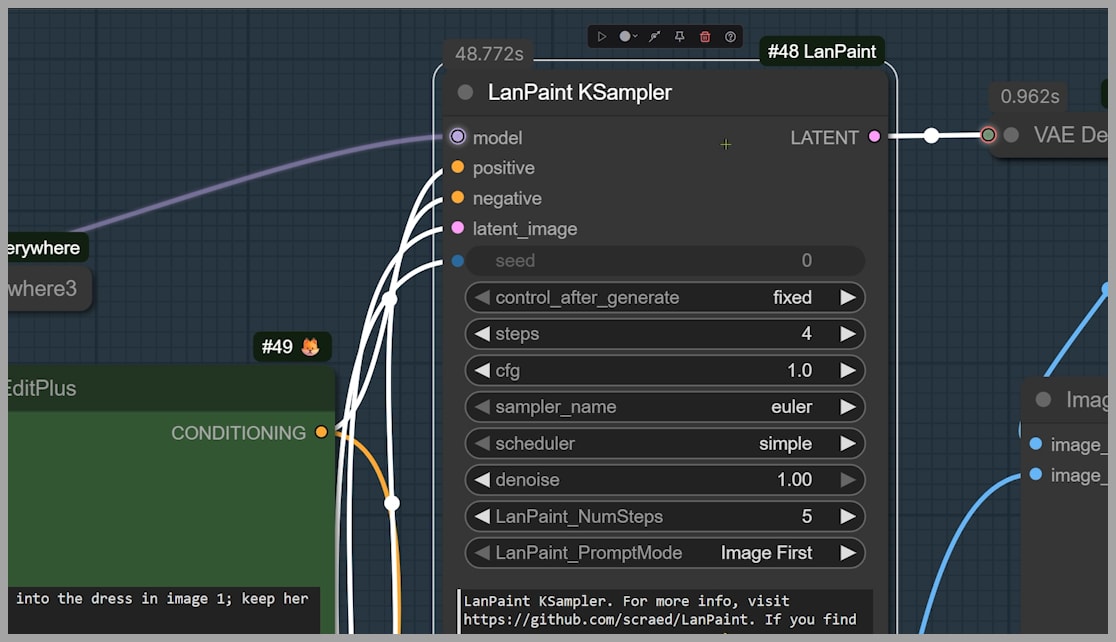
Step 1: Adjusting the Inpainting Settings
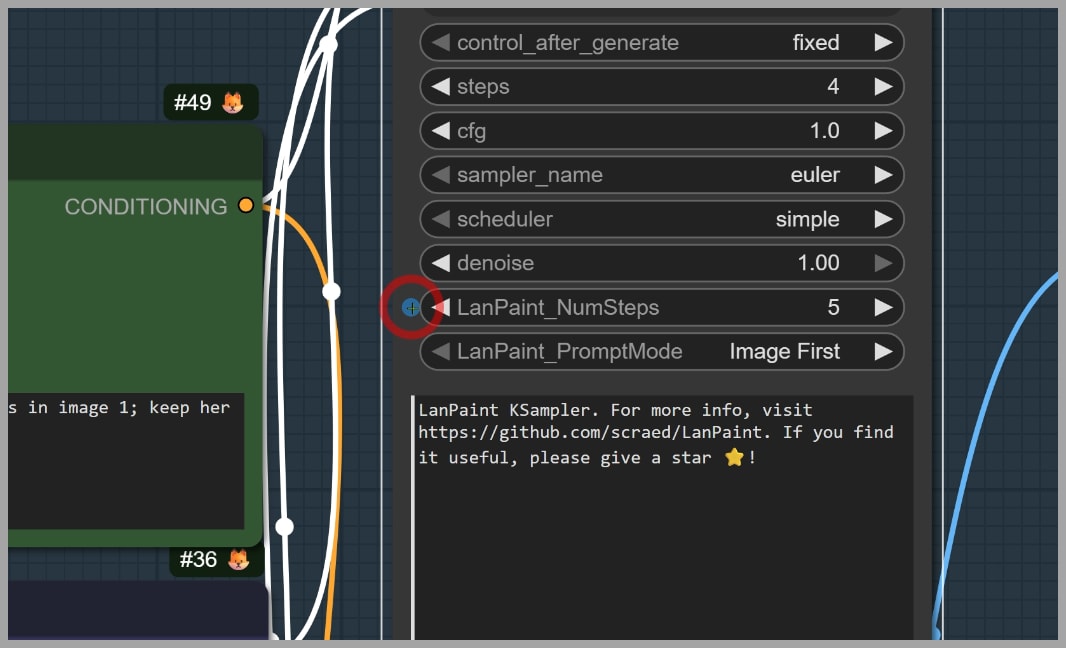
The key setting to adjust in LanPaint KSampler is the NumSteps parameter. For most tasks, I recommend using 5 steps for optimal results, though more challenging images may benefit from 10 steps.
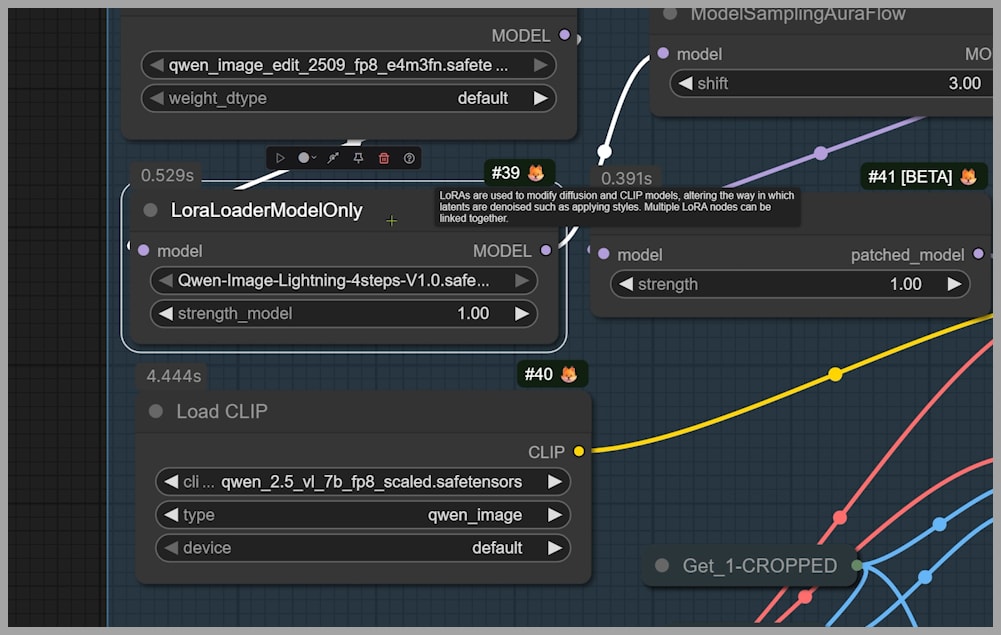
In this example, the steps were set to 4 since I’m using the Lightning 4-step LoRA. There is also an 8-step version, which might give you slightly better quality, depending on your needs.
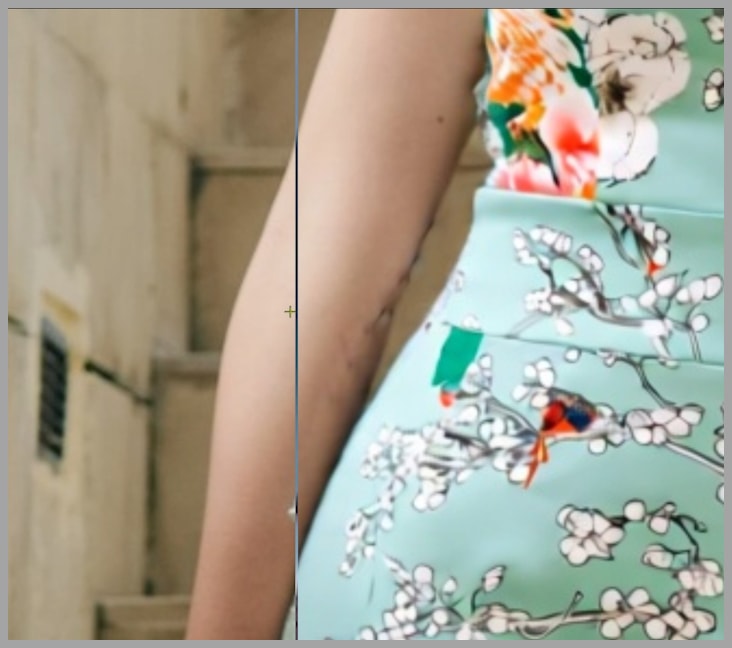
Step 2: Evaluating the Initial Output
Once the inpainting process is complete, you’ll notice that the modified section of the image, such as the new dress, appears in place. However, there may be some issues, such as unwanted distortions or artifacts—like the ones visible on the arm in our example. Don’t worry; we’ll address these issues in the next step.
Group 3: Blending the New Details and Restoring the Final Image
Now that the inpainting has been done, we need to focus on seamlessly integrating the new details back into the image.
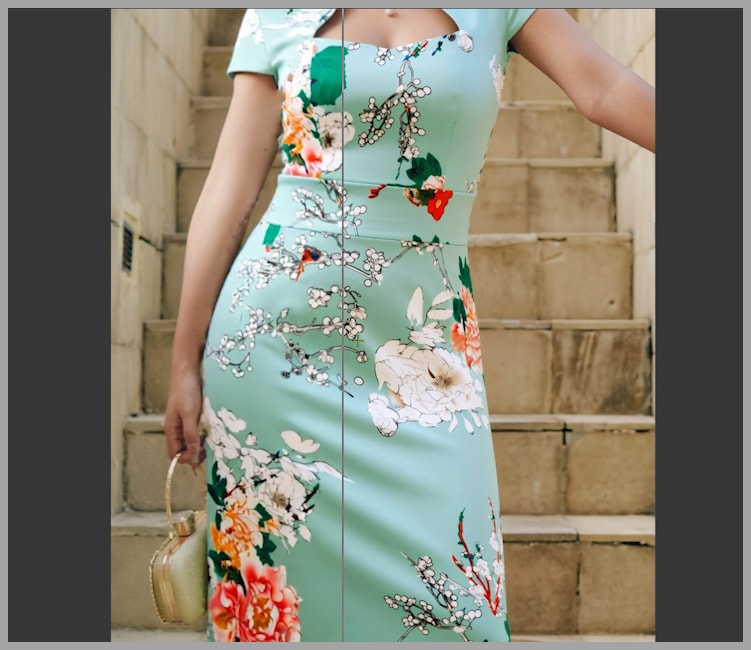
Step 1: Upscaling and Repainting
To enhance the details of the new dress and refine the overall image, we upscale and repaint the image. This step is akin to performing a “high-res fix,” where the image quality is increased, and any small distortions are corrected. In the example, the dress now has more detail, and the issues on the arm have been resolved.
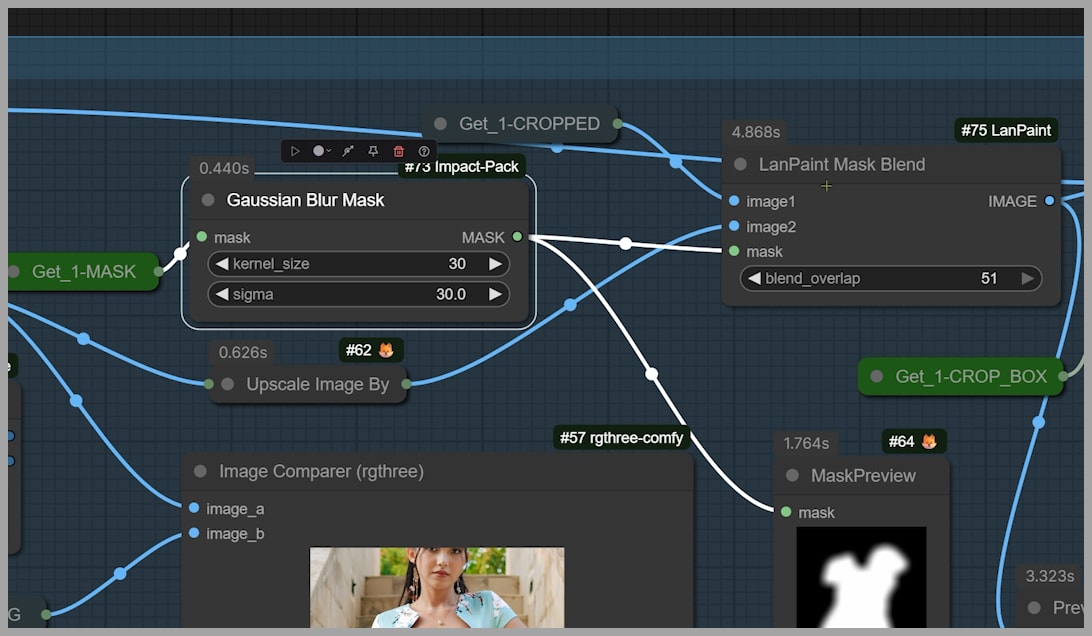
Step 2: Using the LanPaint Mask Blend Node
Despite the improvements, there’s still one challenge: the area outside the dress may have been unintentionally altered during the inpainting process. To avoid this, we use the LanPaint Mask Blend node, which ensures that only the repainted dress area is affected. The new section is blended back into the original image, keeping the surrounding areas untouched.
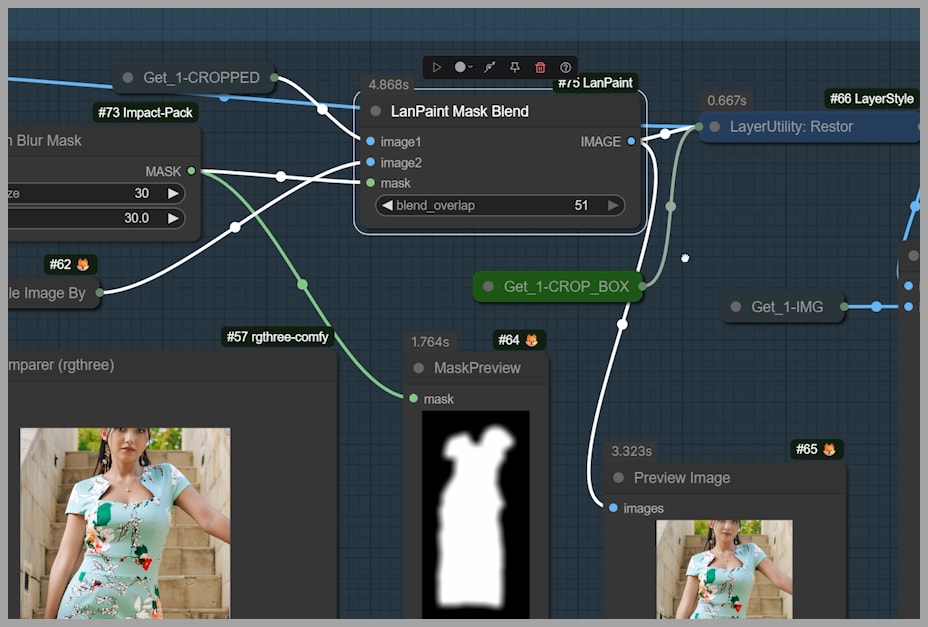
If you notice any visible seams in the final image, you can adjust the settings in the Gaussian Blur Mask and LanPaint Mask Blend nodes to smooth out the edges and make the transition even more seamless.
Step 3: Final Refinements with the “kl_optimal” Scheduler
To preserve the image’s original structure while adding the new details, I use the kl_optimal scheduler in the KSampler.
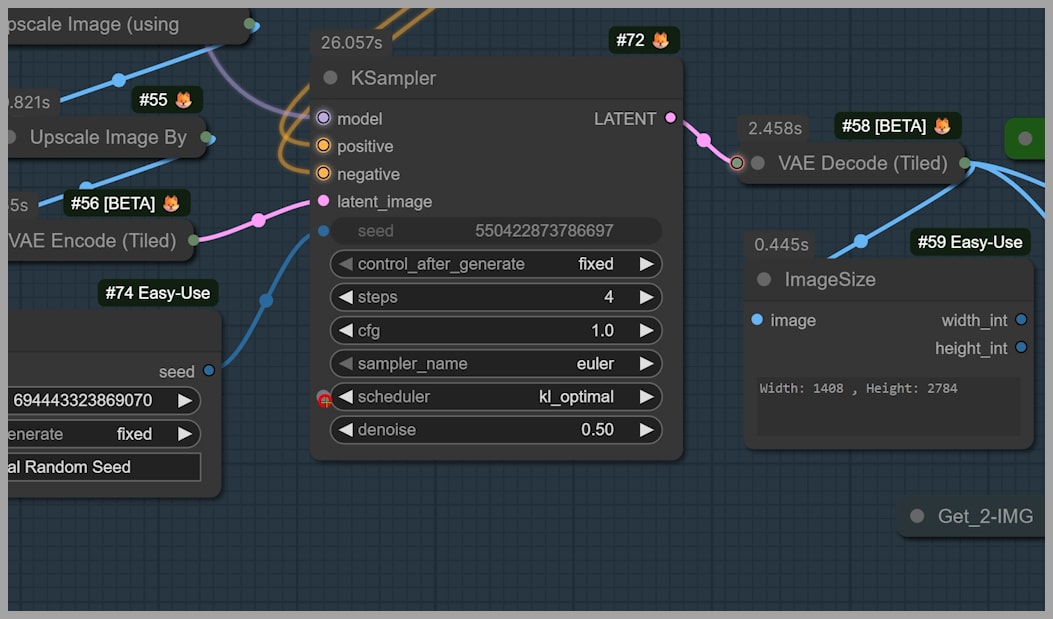
This scheduler is great for maintaining the integrity of the image, ensuring that the newly added details blend naturally into the original content. However, if you’re not as concerned with preserving the image structure, you can experiment with other schedulers for different results.
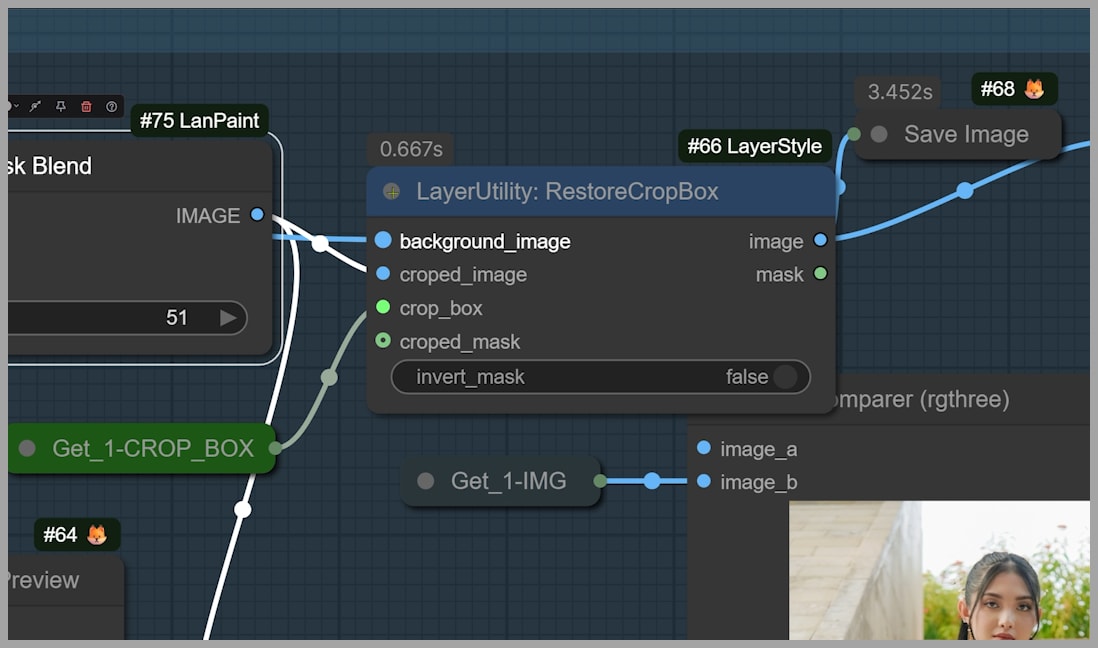
Step 4: Restoring the Full-Size Image
Finally, we restore the full-size image using the Restore Crop Box node, which pastes the modified section back into the original image. The result is a seamless, high-quality image with the new dress, as if it was always part of the original scene.
Conclusion
This new workflow solves many of the common problems creators face when working with Qwen Edit, such as image size limitations, quality loss, and unwanted artifacts. By using tools like LanPaint and RunningHub, you can achieve high-quality, seamless edits without the usual hassle.
If you found this article helpful, consider joining our community to access this workflow and experiment with it for yourself.
I’m excited to see what you can create, and I look forward to sharing more tips in the future. Happy editing!