Best Way to Use Qwen Image Edit: My Secret Multi-Image Workflow Revealed!
Meet your new creative powerhouse: the Qwen Image Edit 2509 model.
As an AI artist constantly exploring ComfyUI workflows, I was stunned by its revolutionary approach to multi-image editing. Forget clunky composites – this tool blends elements so seamlessly that product integrations look like original photography and portraits merge with backgrounds as if they were always there. Let’s dive in!
Showcase of Workflow Capabilities
The Qwen Edit 2509 workflow tackles two complex scenarios with finesse:
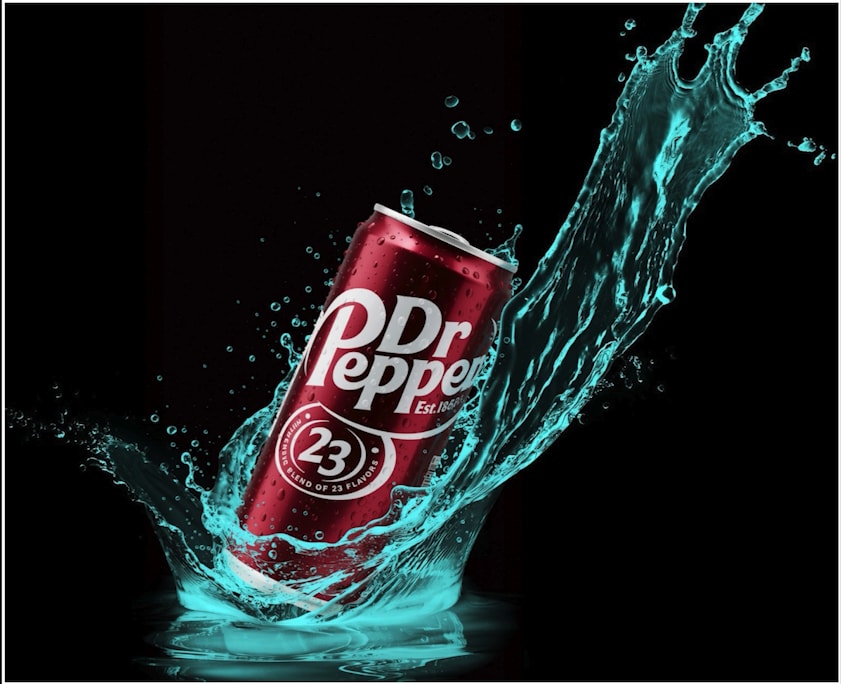
Product Integration
Take a vibrant liquid splash image. With this workflow, I merged a beverage can directly into the splash while maintaining:
- Consistent fluid dynamics around the can
- Matching lighting/textures between the can and splash
- Zero distortion of the original splash background
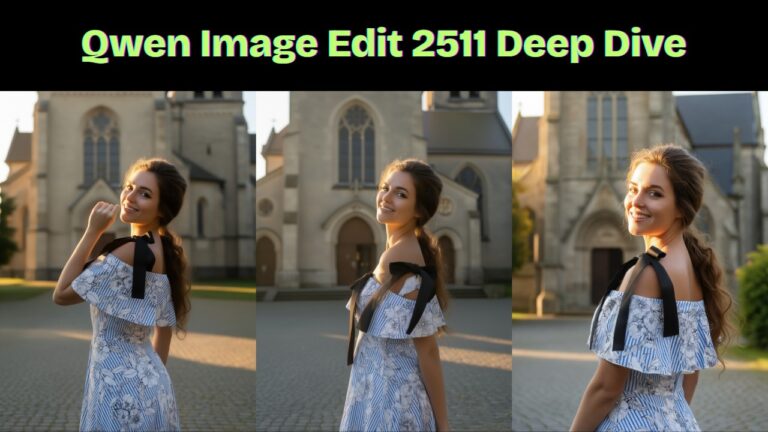
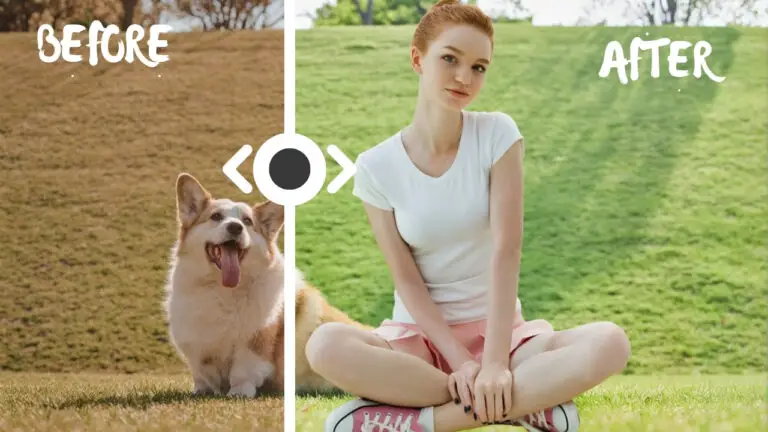
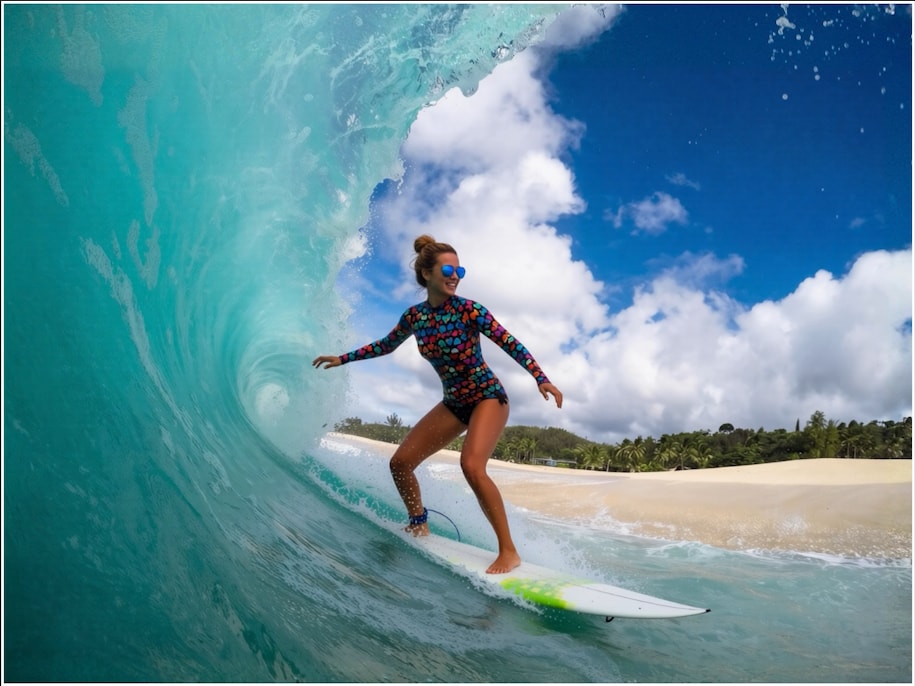
Portrait Blending
That same magic applies to human subjects. Blending a woman into a beach scene achieved:
- Natural positioning of her feet in water
- Harmonious color grading between subject and environment
The Power of Prompt Control
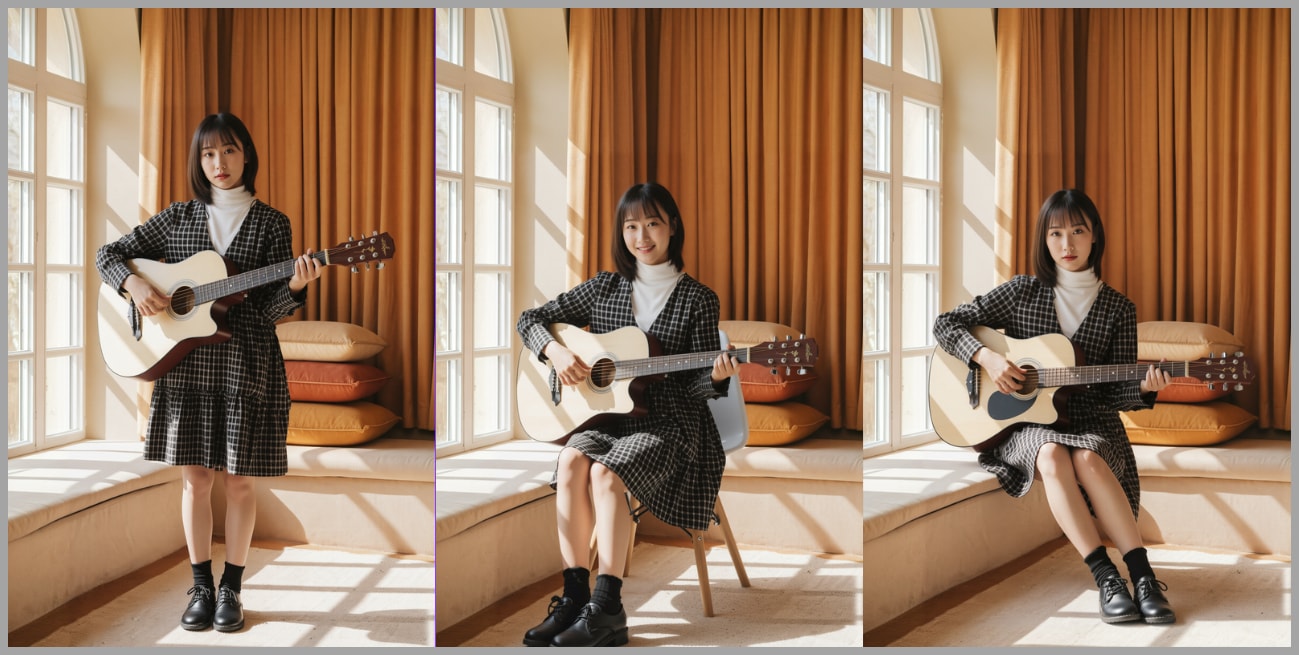
Unlike traditional editing, prompts drive your creative direction. When integrating the woman into the beach scene, I experimentally tweaked prompts to reposition her:
"woman standing in the room"→ Shifts context entirely"sitting on a chair"→ Alters pose and composition"sitting on a window seat"→ Transforms environmental interaction
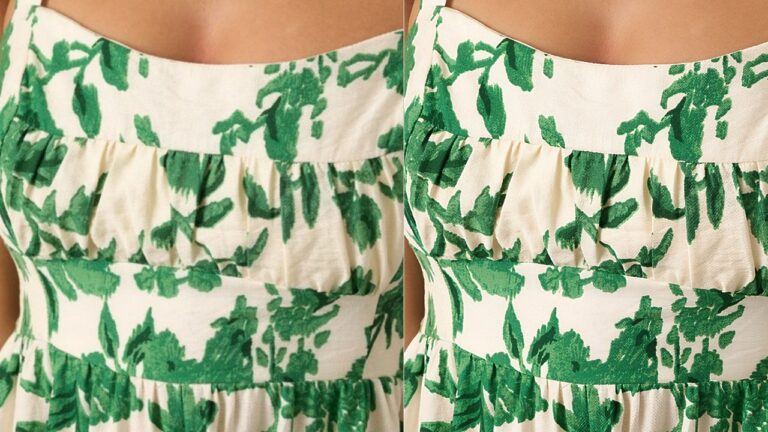
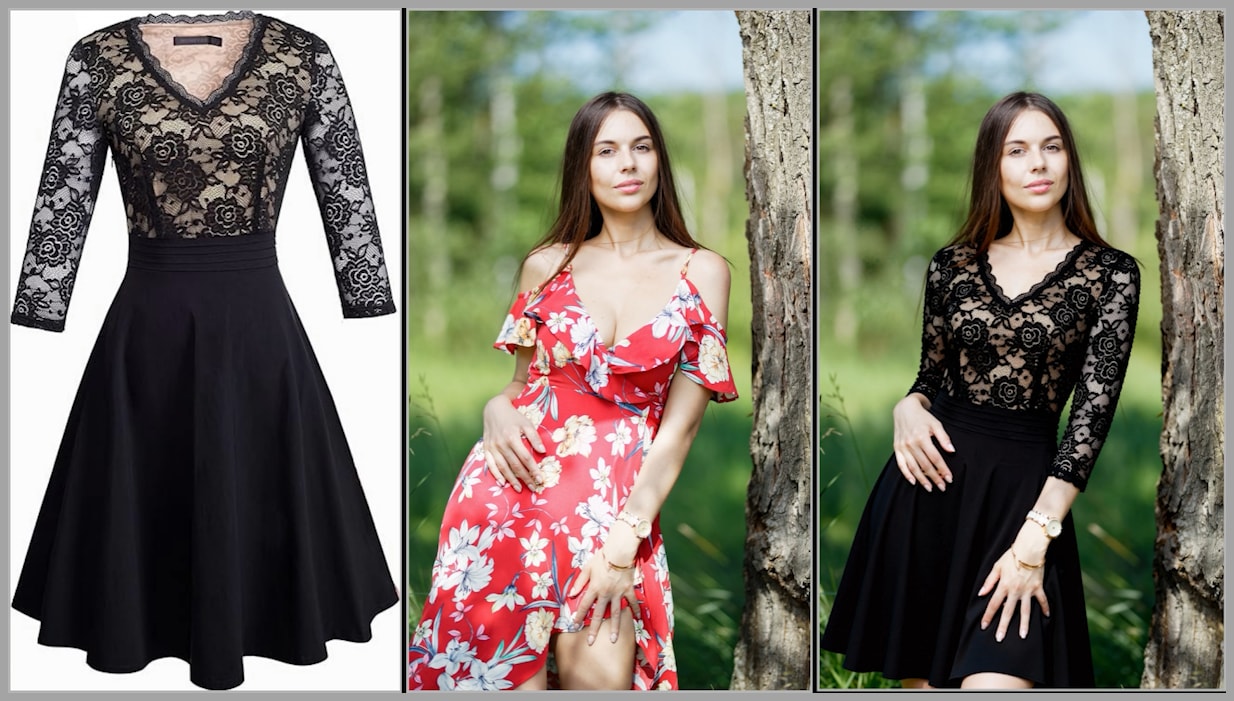
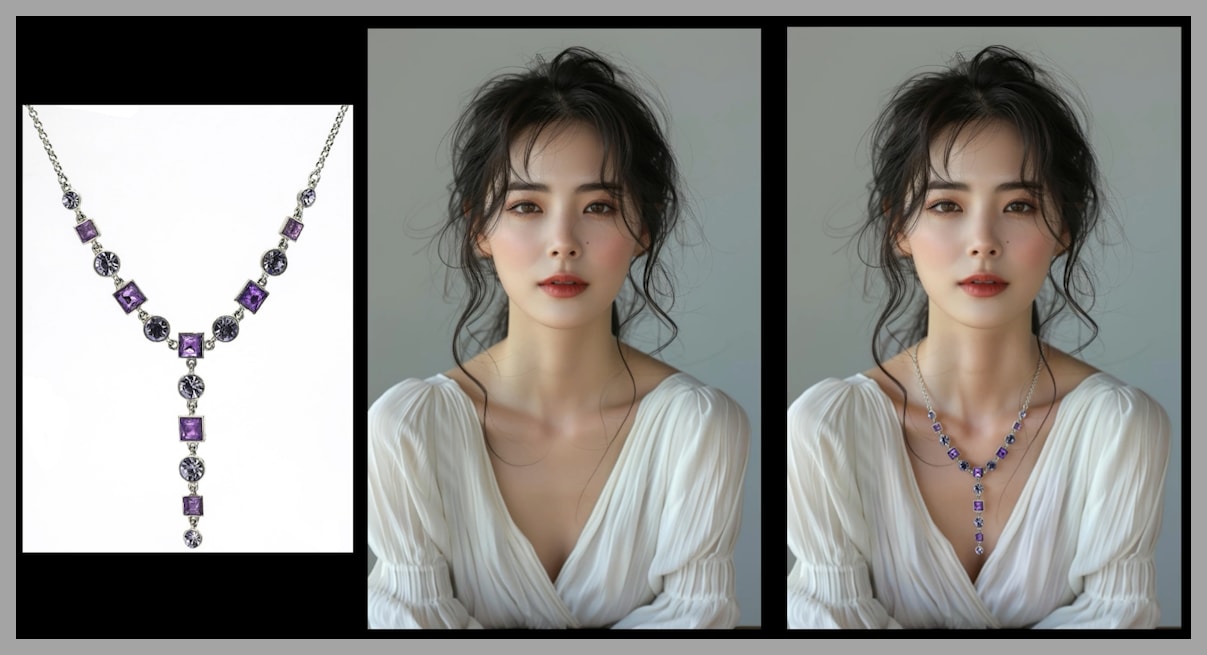
This granular control extends to accessories too. Adding a necklace? Simply describe it, and watch the model handle realistic fabric folds and light reflections.
Gain exclusive access to advanced ComfyUI workflows and resources by joining our community now!
Workflow Setup and Inputs
Environment Setup
I’m using ComfyUI via RunningHub (cloud service) for this workflow because it includes:
- Pre-installed Qwen Edit 2509 models
- All required custom nodes
Input Requirements
- Base image (e.g., beach background)
- Subject image (e.g., portrait/product shot)
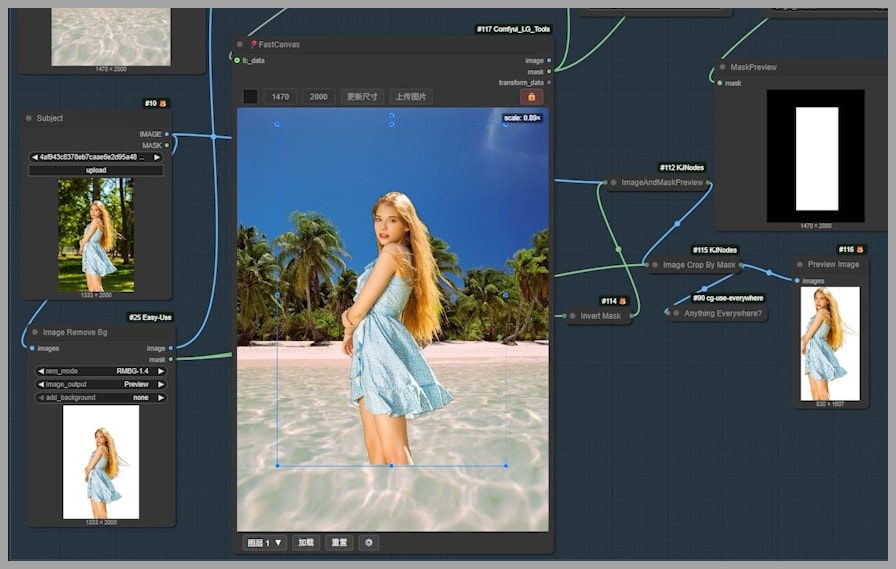
Step 1: Subject Positioning with FastCanvas
Positioning your subject is intuitive with the FastCanvas node:
- Upload both images to ComfyUI
- Locate the “lock” icon in FastCanvas’ upper-right corner
- Drag your subject freely while unlocked
- Critical step: Click the lock icon to freeze position
- Use “reset” to restart placement if needed
Pro Tip: Unlocked mode lets you experiment with compositions before committing.
Step 2: Mask Generation for Inpainting
Once positioned, the workflow automatically:
✅ Creates a precision mask around your subject
✅ Identifies pixels requiring contextual blending
✅ Prepares the mask for Qwen Edit’s inpainting engine
This mask travels downstream to Group 3 for actual editing – no manual masking needed!
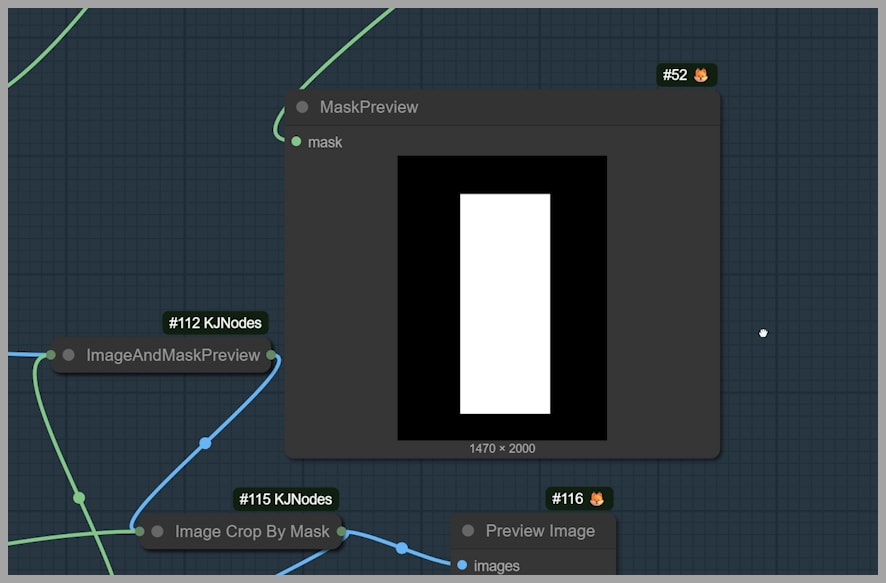
Step 3: Inpaint Crop Optimization
The Inpaint Crop node refines the editing area by:
- Analyzing the auto-generated mask
- Reducing processing load by excluding unchanged areas
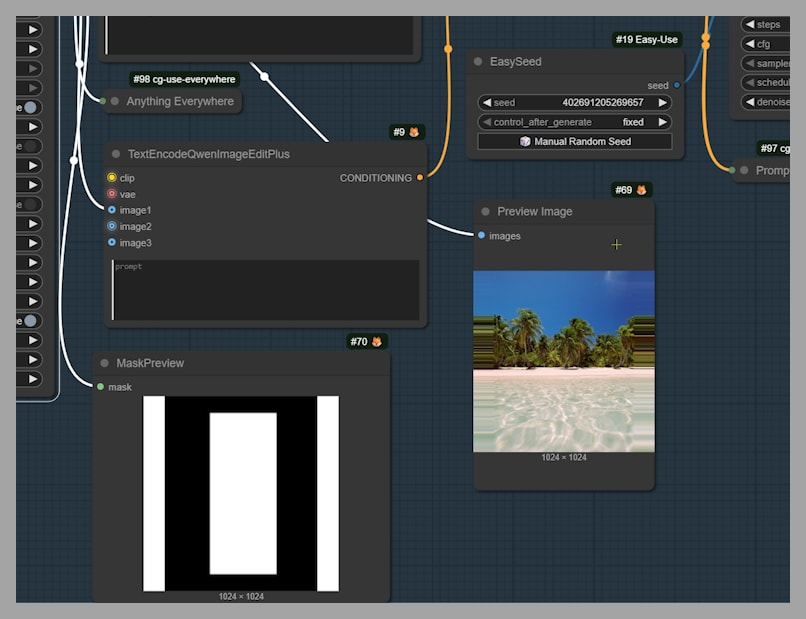
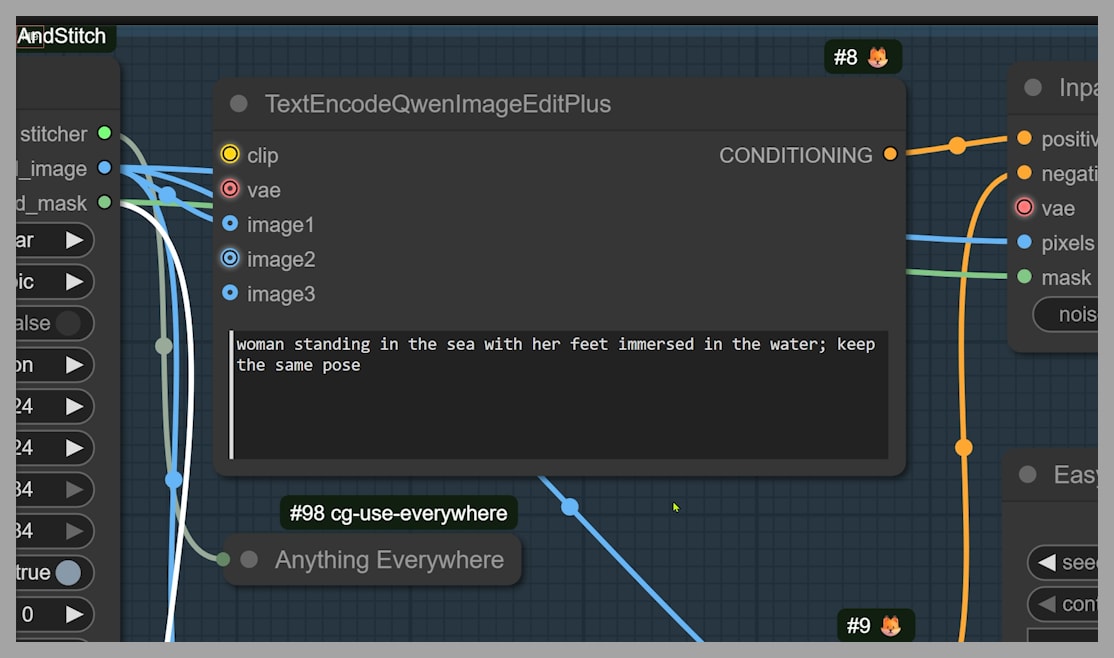
Step 4: Prompt Engineering Essentials
Your text prompt dictates success. Follow my formula: "[Action] + [Key Details] + [Consistency Command]"
Practical Examples:
- ✅
"A woman standing on beach, keep the same pose"→ Maintains original posture - ❌
"A woman on beach"→ May randomly alter pose/direction
Why “keep the same pose” matters: Without explicit instructions, Qwen Edit may reinterpret posture or perspective.
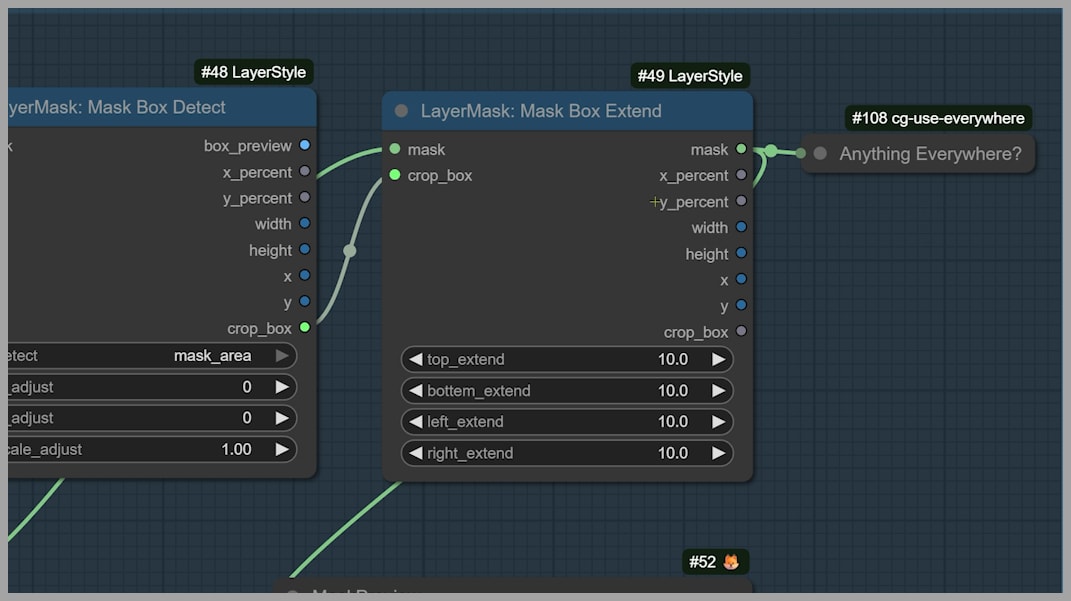
Step 5: Troubleshooting Mask Coverage
Notice artifacts? Expand the mask coverage:
- Locate the Mask Box Extend node
- Increase
pixelsvalue - Test render → repeat until edges blend naturally
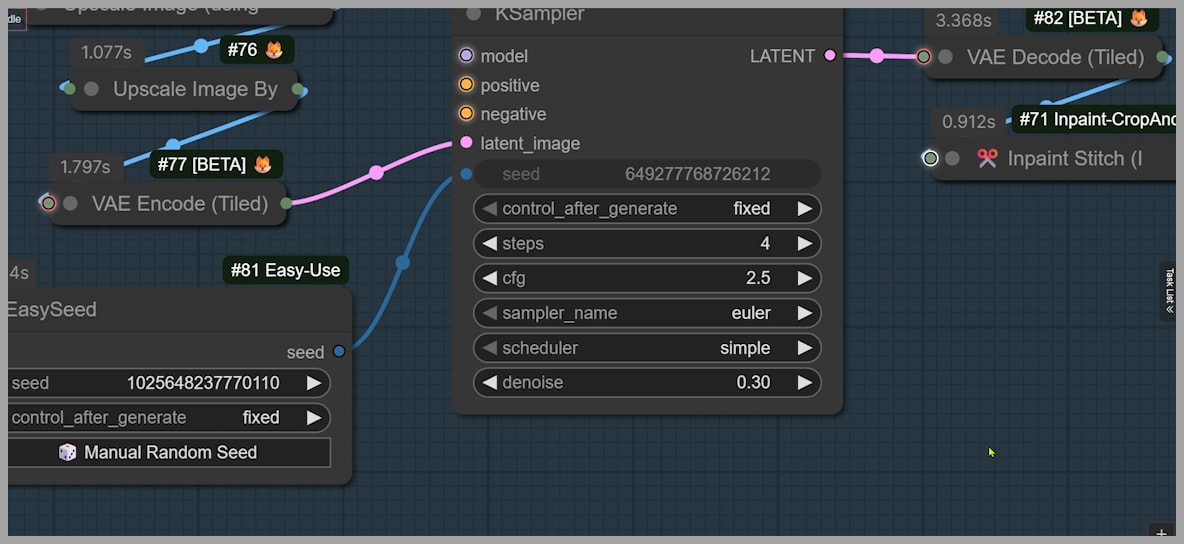
Step 6: Detail Refinement with Repainting
Initial outputs may show blurry details (especially faces). Solve this with:
- Second Inpainting Pass:
- Target ONLY problematic areas (face/hands/accessories)
- Adjust Denoising Strength:
- Start at 0.3 → increase incrementally to 0.5 if needed
Gain exclusive access to advanced ComfyUI workflows and resources by joining our community now!