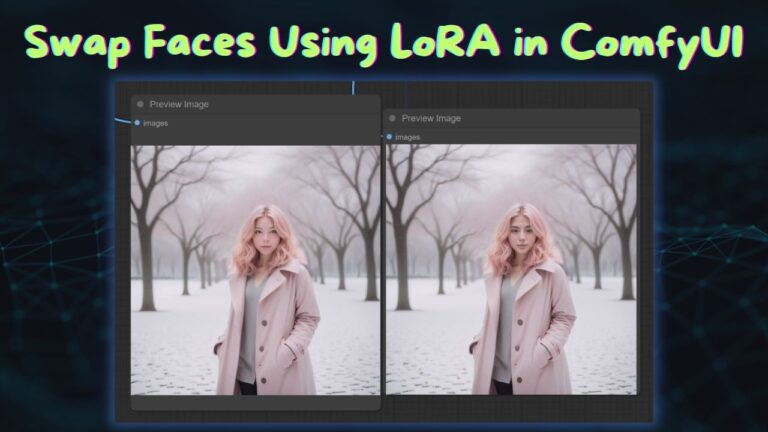
Using (Multiple) LoRA in ComfyUI: A Minimalist Workflow
ComfyUI’s LoRA workflow is well-known among users. The developers offer an array of built-in workflows that utilize default node functionality, demonstrating how to effectively implement LoRA.
Applying a single LoRA can be quite straightforward. Simply integrate a LoRALoader node into your existing workflow. However, if you need to incorporate multiple LoRAs, you would typically add additional LoRALoader nodes. This approach, while functional, tends to elongate and complicate the workflow, detracting from its elegance.
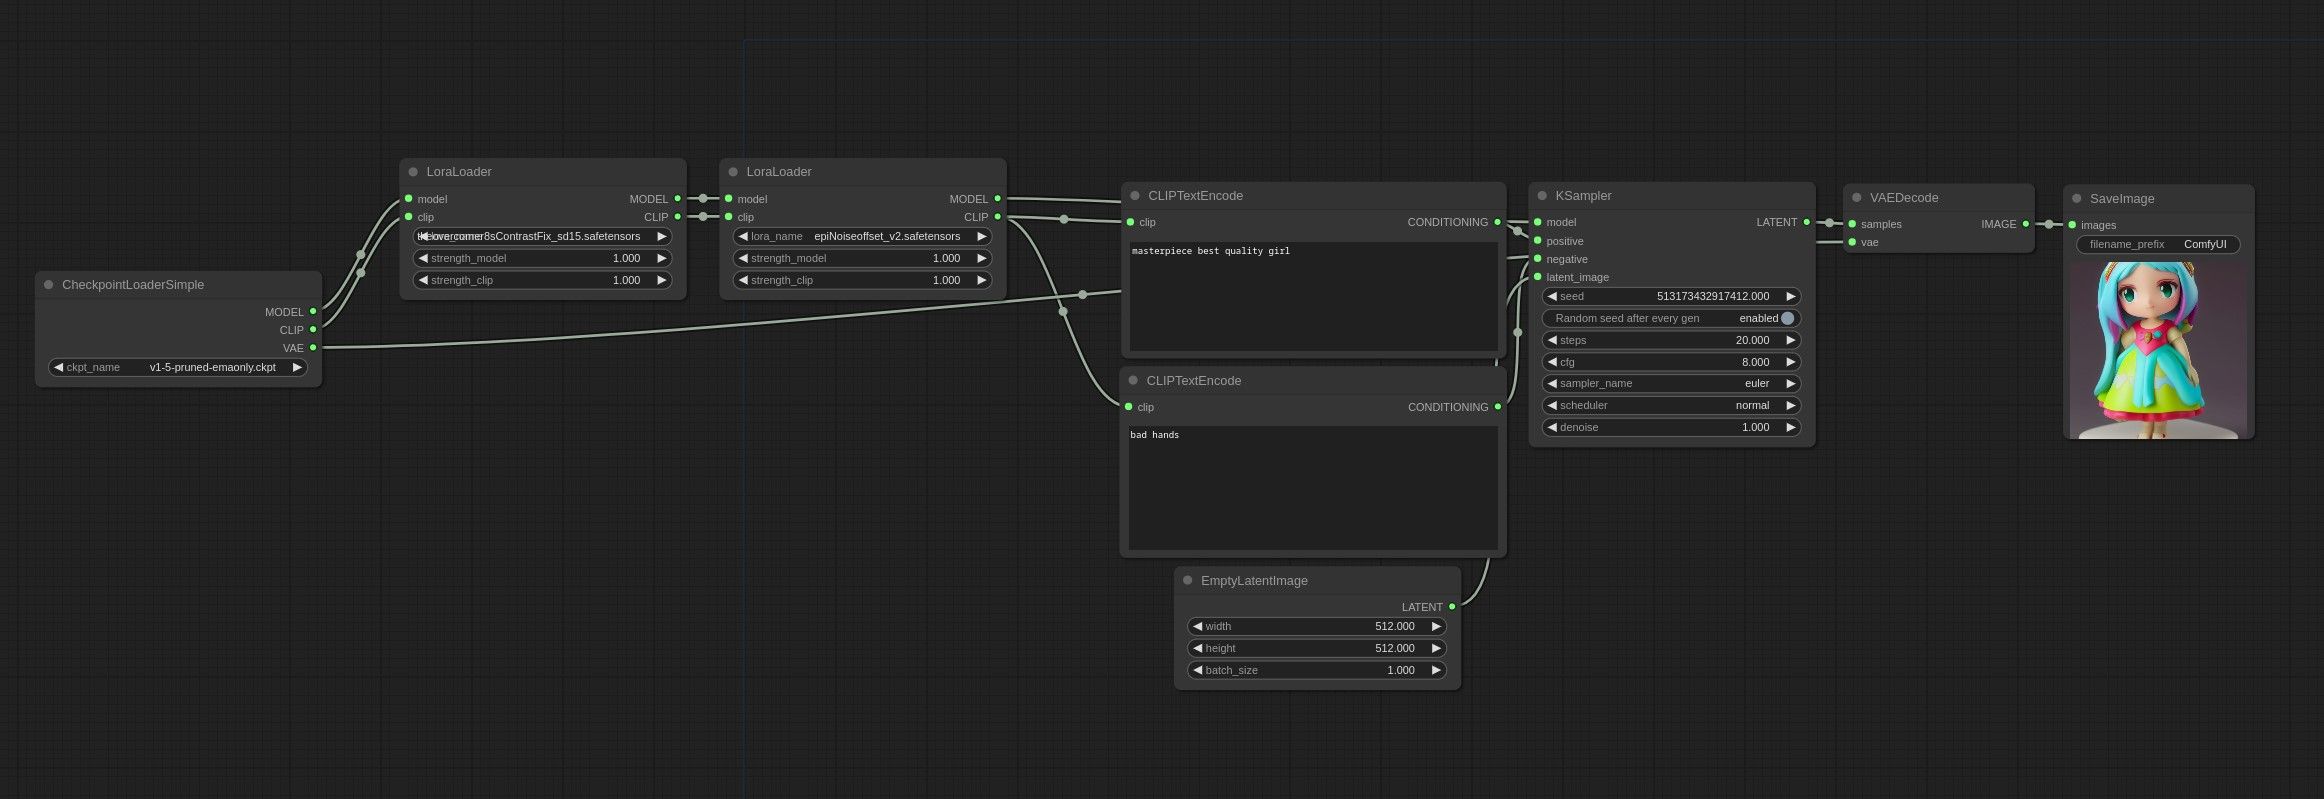
Today, let’s explore a minimalist approach to using LoRAs in ComfyUI. For a single LoRA, the process is incredibly streamlined, requiring only two nodes.
Adding more LoRAs is as simple as inserting another LoRA node into the sequence. Simple, right?
For those who love diving into Stable Diffusion with video content, you’re invited to check out the engaging video tutorial that complements this article:
Gain exclusive access to advanced ComfyUI workflows and resources by joining our community now!
Installing the Necessary Tools
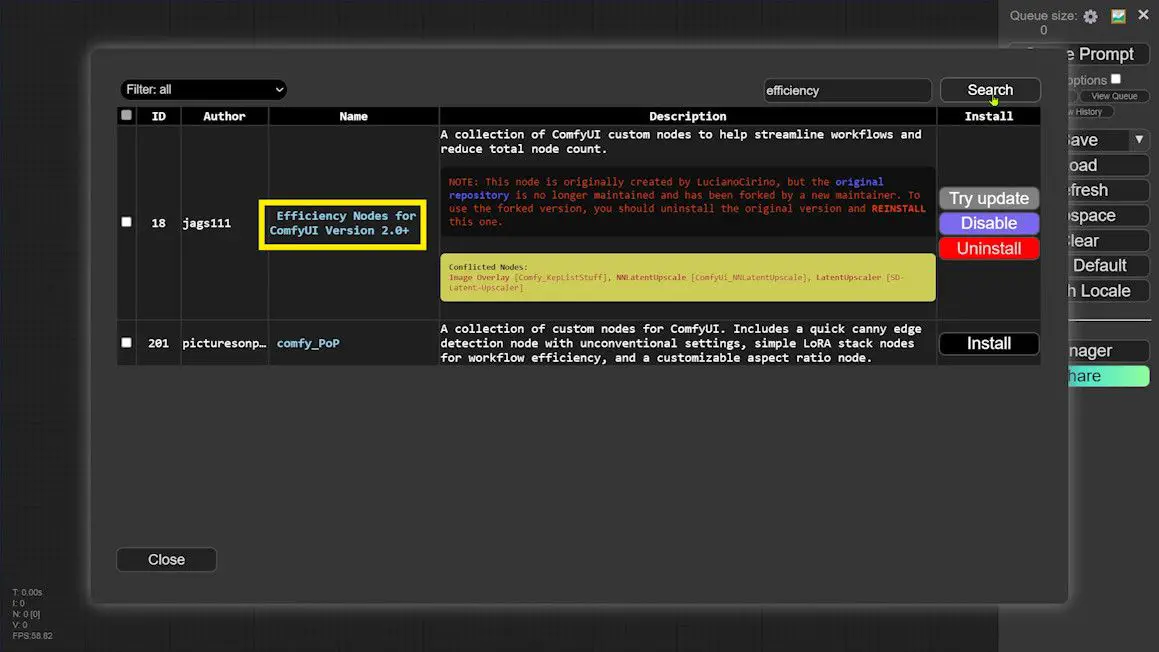
Before diving into the workflow, it’s essential to set up our environment with the right tools. Here’s how to install a set of custom nodes, aptly named “Efficiency Nodes”, assuming you have ComfyUI Manager already installed:
1️⃣Open the ComfyUI Manager interface.
2️⃣Click on the ‘Install Custom Node’ button.
3️⃣In the dialog box, enter “efficiency” and click ‘Search’.
4️⃣Select “Efficiency Nodes” from the results and proceed with the installation. Click ‘Restart’ once done.
Building a Basic LoRA Workflow
With the Efficiency Nodes installed, you’re ready to construct the LoRA workflow:
1️⃣In ComfyUI, double-click on the blank workspace to bring up the Search Nodes toolbar, and type “eff”.
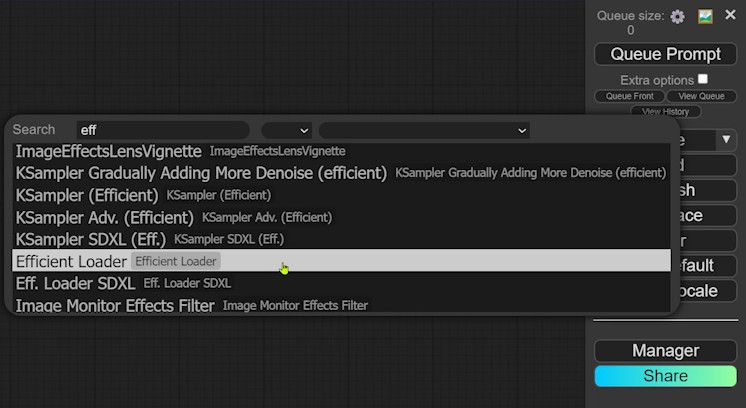
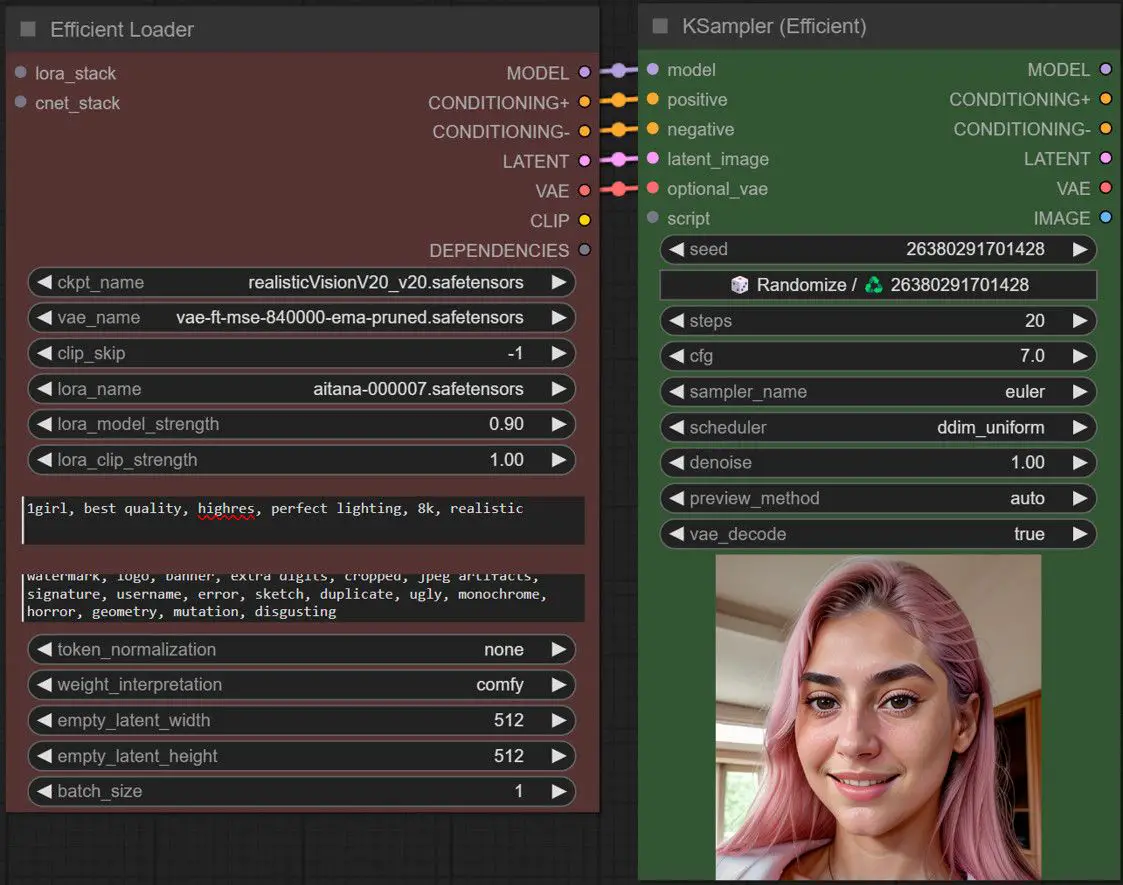
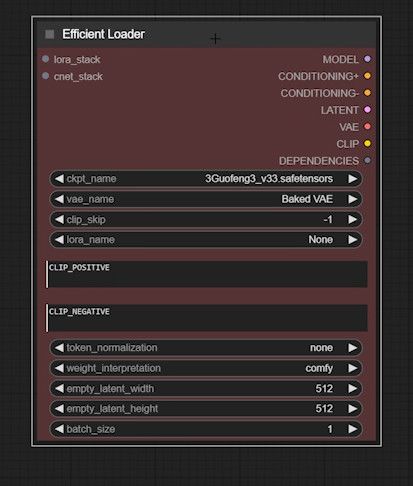
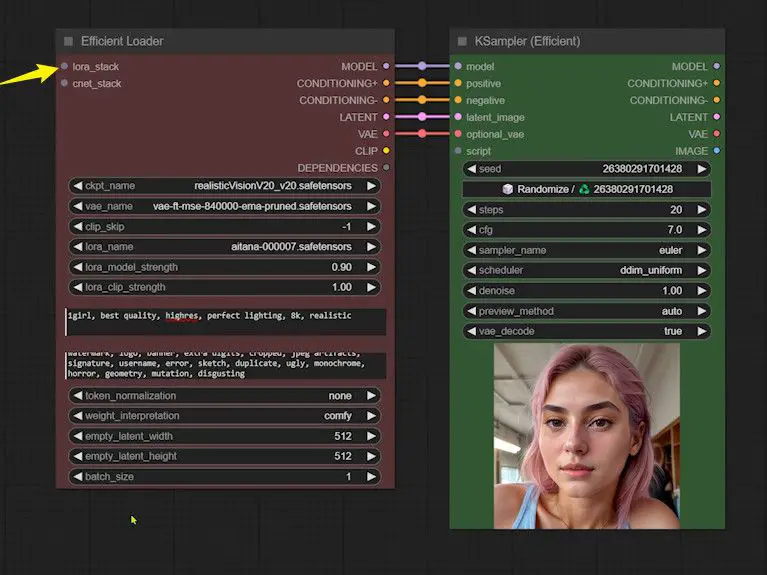
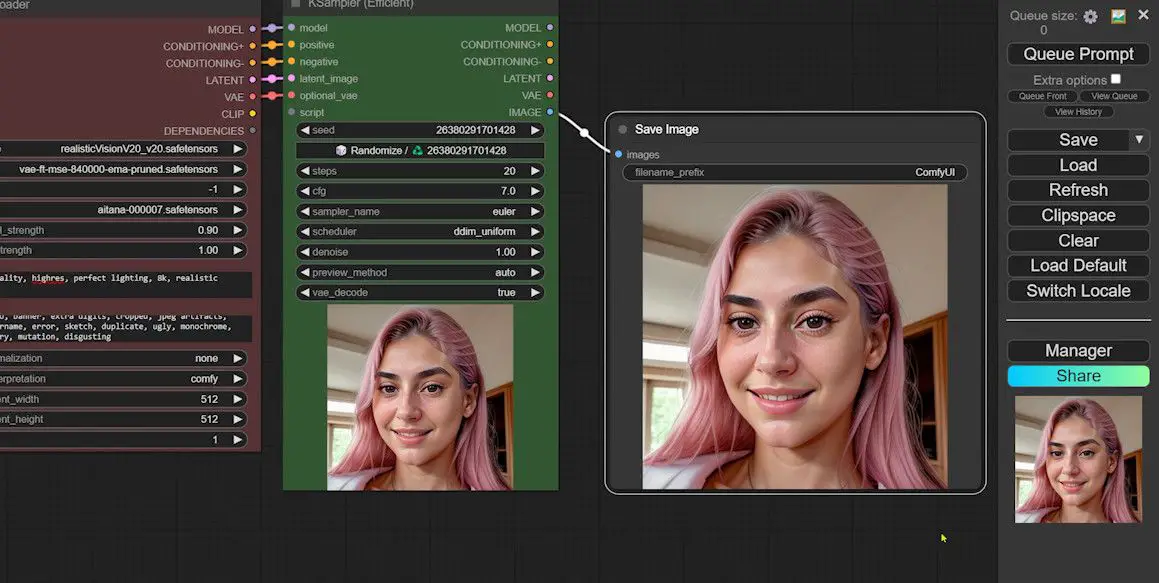
2️⃣From the search results, add the “Efficient Loader” node. This node supports SD1.5 and incorporates various features such as Checkpoint, VAE, Clip Skip Layer, LoRA, prompts, latent width, and batch size.
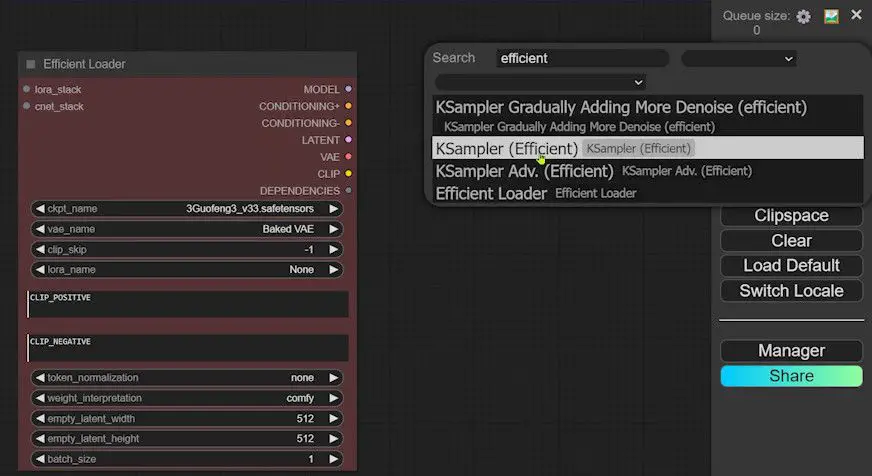
3️⃣To generate an image, pair this node with a Ksampler. Double-click in the workspace, search for “efficient”, and select a basic Ksampler.
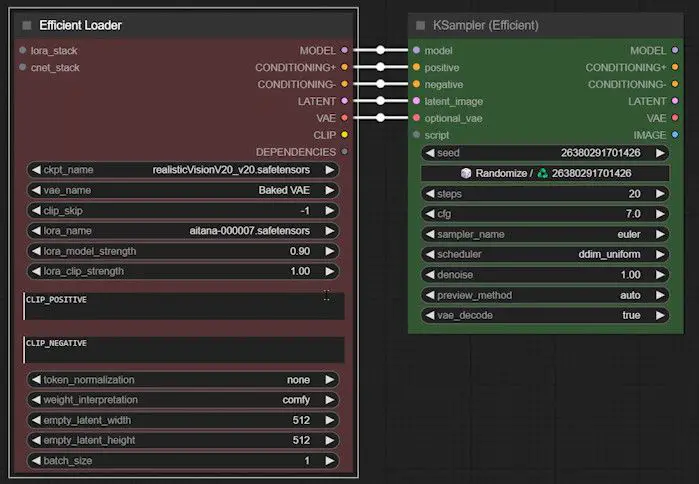
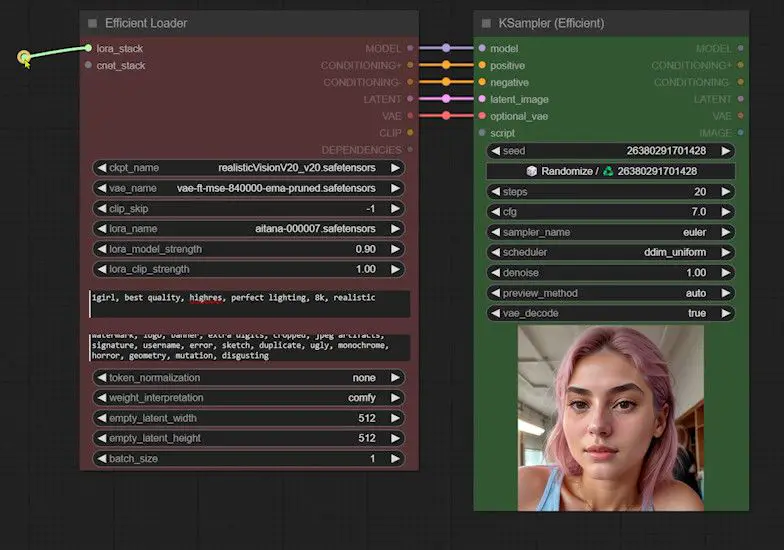
4️⃣Connect these two nodes using five straight lines.
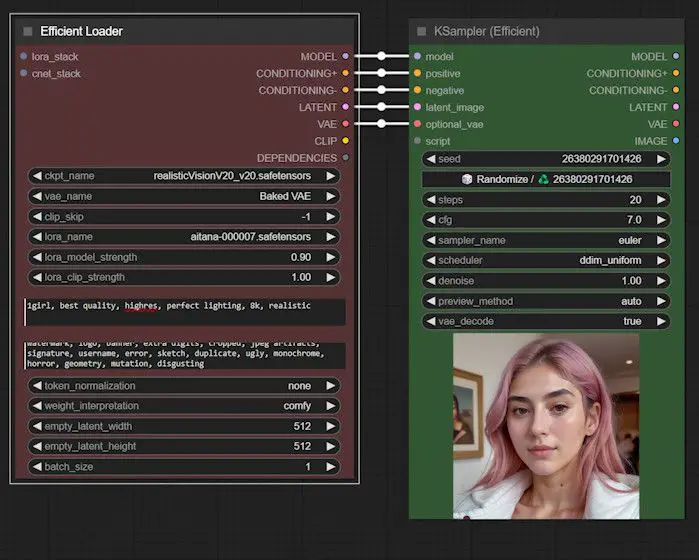
5️⃣Configure the model and LoRA parameters, craft your prompt, and initiate the image generation.
Using Multiple LoRAs Simultaneously
To utilize multiple LoRAs concurrently:
1️⃣Locate the “lora_stack” input on the “Efficient Loader”.
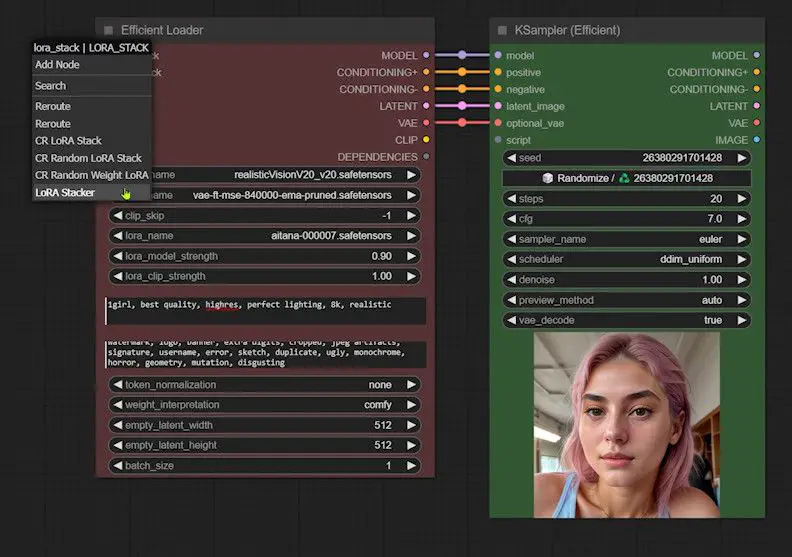
2️⃣Employ the “LoRA Stacker” to layer multiple LoRAs.
3️⃣Choose the number of LoRAs to stack—for instance, one for enhancing smiles and another for adjusting face size—and set their respective weights.
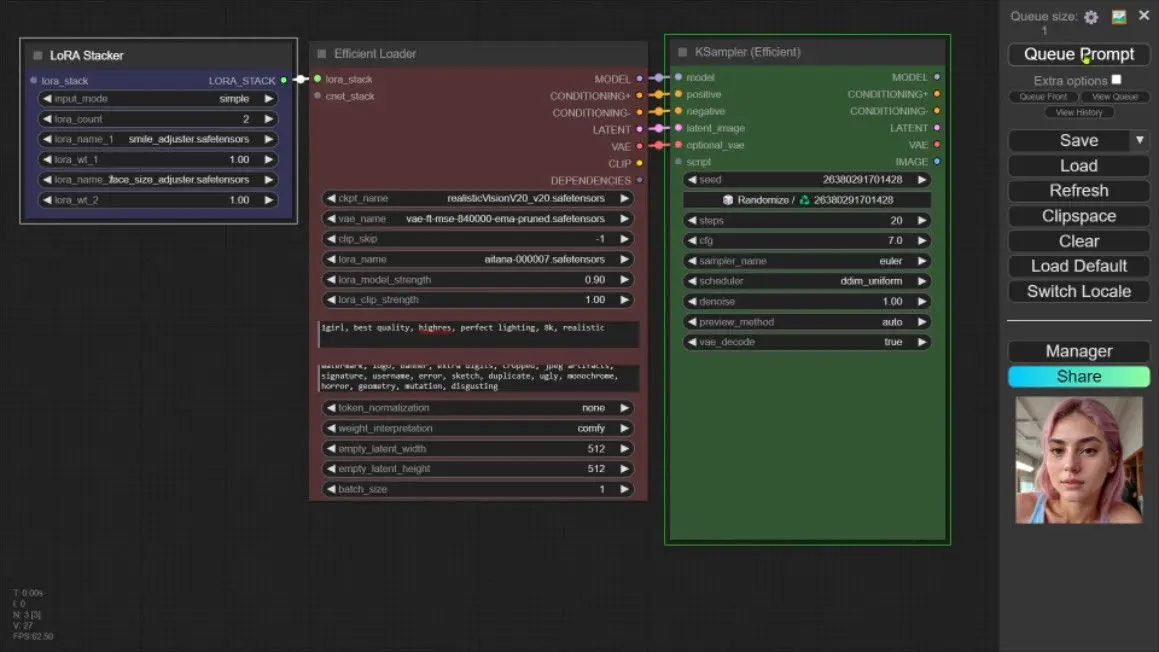
4️⃣Generate the image to see the effective changes from the LoRAs in both the smile and face size.

5️⃣If you wish to save the generated image during the process, easily add a save image node from the available nodes.
Summary
This guide illustrates how the use of ComfyUI along with Efficiency Nodes not only simplifies the traditional workflow but also preserves its efficiency and elegance. In an upcoming post, we’ll delve into how to use the XYZ plot in ComfyUI to further analyze the impacts of multiple LoRAs. Stay tuned!