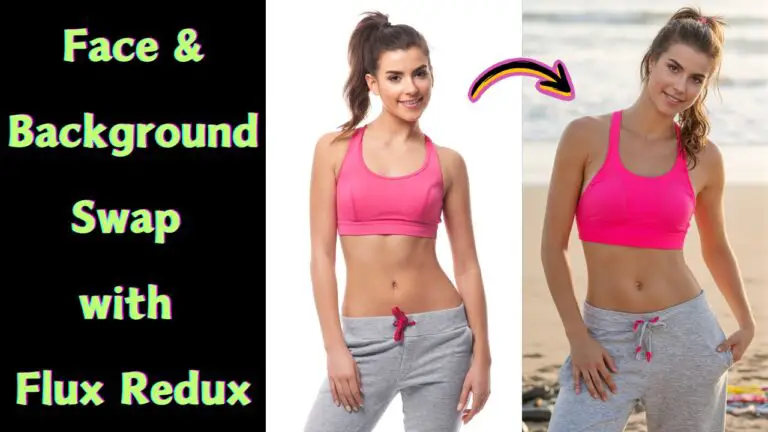
Style and Face Transfer with RF Inversion, Flux Turbo LoRA and PuLID
Hello and welcome! Today I have something exciting to share with you: RF Inversion. With it, I built a powerful ComfyUI workflow that unlocks creative possibilities I hadn’t imagined before. And the best part?
You can download the workflow for free: https://openart.ai/workflows/myaiforce/p3tGdtbvkAfzODW6MkiP
When paired with Alimama’s Turbo LoRA, image generation using Flux becomes incredibly fast, requiring only 8 steps to produce stunning results. Let’s dive in and explore what this workflow can do!
For those who love video content, you’re invited to check out the engaging video tutorial that complements this article:
Gain exclusive access to advanced ComfyUI workflows and resources by joining our community now!
Here’s a mind map illustrating all the premium workflows: https://myaiforce.com/mindmap
Run ComfyUI with Pre-Installed Models and Nodes: https://youtu.be/T4tUheyih5Q
Semantic Style Transfer: A New Approach to Pose and Style Control
The first feature I want to introduce is Semantic Style Transfer. Don’t worry if you’re new to the concept—I’ll walk you through it with examples.
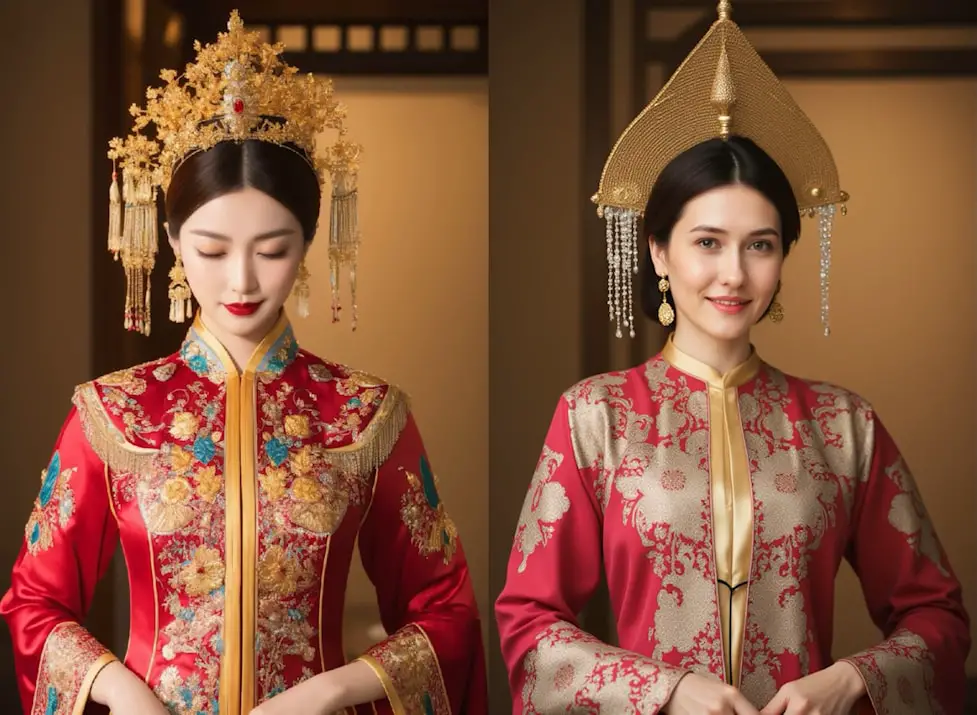
- On the left, I uploaded a reference image of a woman in traditional clothing into ComfyUI.
- On the right is the image generated by this workflow, and the pose and overall look closely match the original.
What’s remarkable is that I didn’t need IP-Adapter or ControlNet—the magic lies in RF Inversion combined with effective prompts.
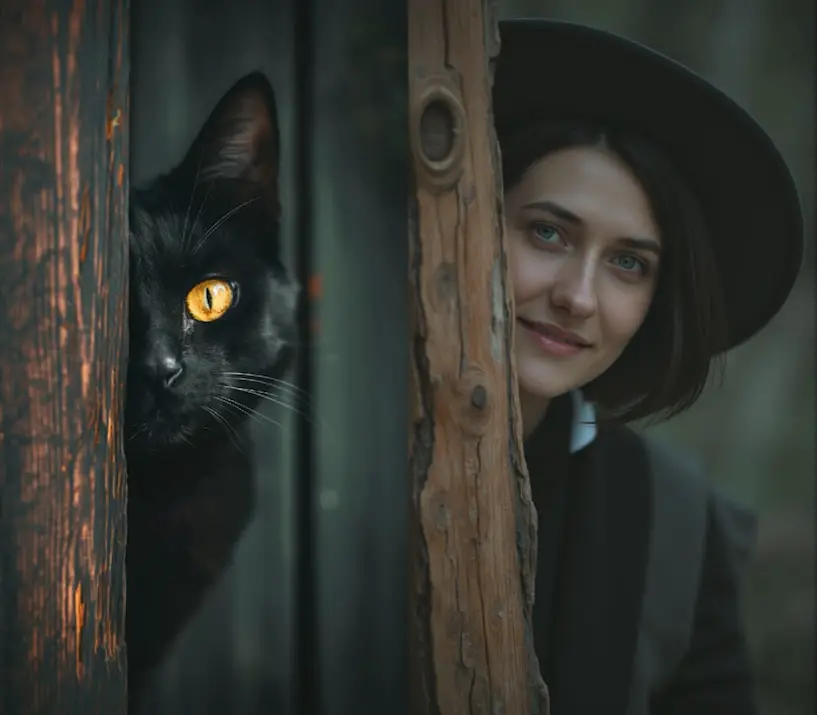
Let’s look at another example. On the left is a playful cat. On the right, the same woman mimics the cat’s pose almost perfectly. Achieving this kind of pose imitation isn’t possible with ControlNet’s OpenPose model, but this workflow makes it effortless.
Diverse Styles: Beyond Realism
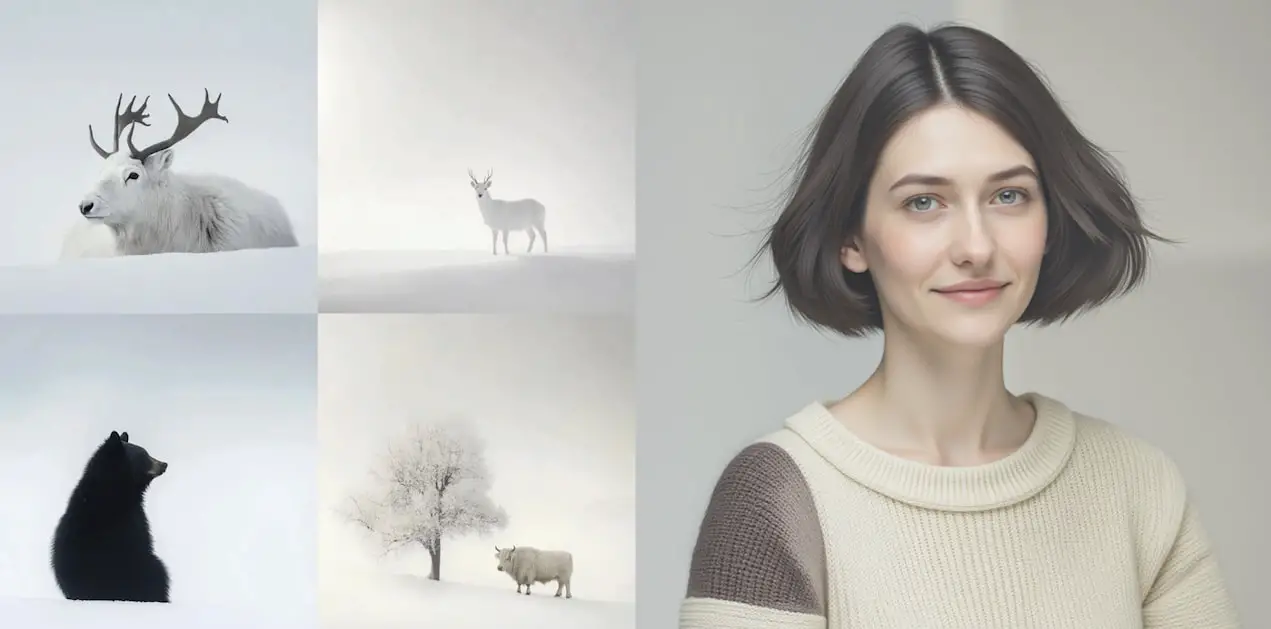
This workflow isn’t just limited to realism—it can replicate manga, illustration, or painting styles too! For instance, I found an image on midlibrary—a resource for Midjourney-style references—and used it to guide the generated output. The result? A seamless style transfer! You can also tweak various parameters to fine-tune how the style is applied.
Refining Lighting, Color, and Composition with RF Inversion
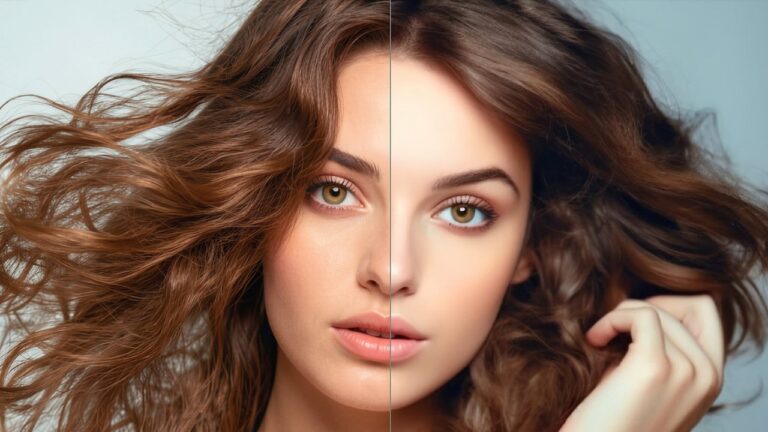
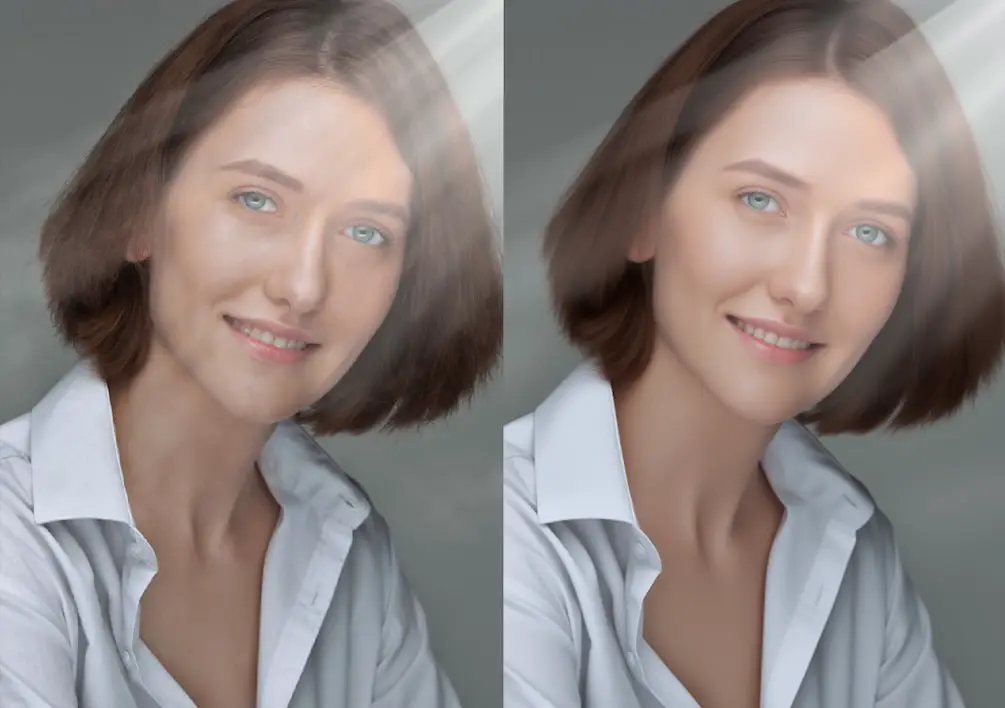
One of the most impressive features of this workflow is its ability to enhance lighting effects. Let’s compare two images:
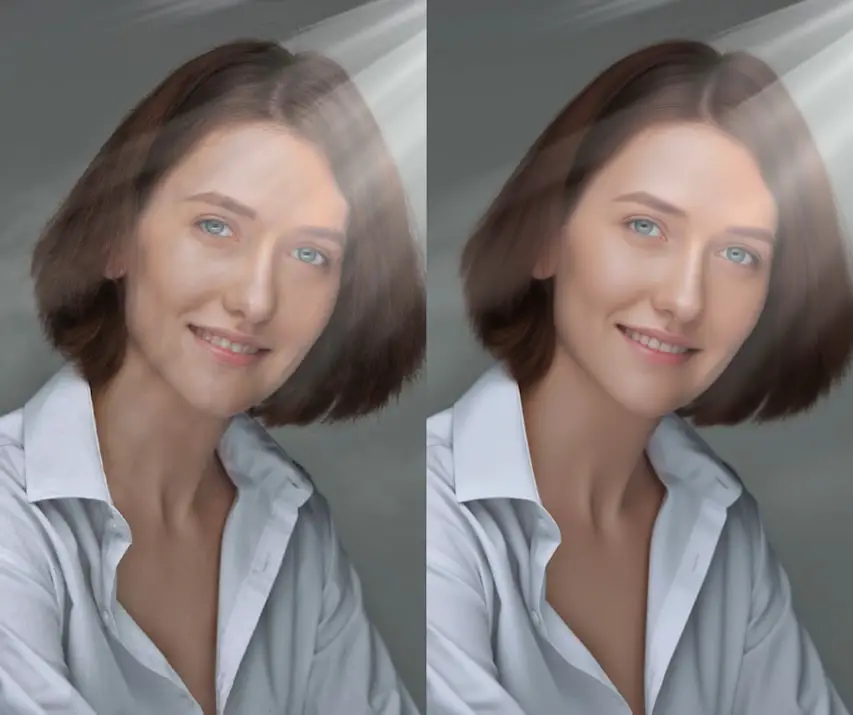
- On the left, I manually adjusted the lighting in Photoshop. While the effect is visible, it doesn’t look natural.
- After running the same image through the workflow, the lighting feels smoother and more lifelike. The skin texture and even the hair improve, thanks to RF Inversion’s fine control.
This workflow can transfer more than just styles—it also preserves lighting, color, and composition. For example, I tried applying Gaussian blur to the reference image. The generated result featured a gorgeous soft-focus effect, similar to professional photography.

Beyond stylistic adjustments, the workflow can upscale low-quality images, transforming them into sharp, high-resolution outputs.
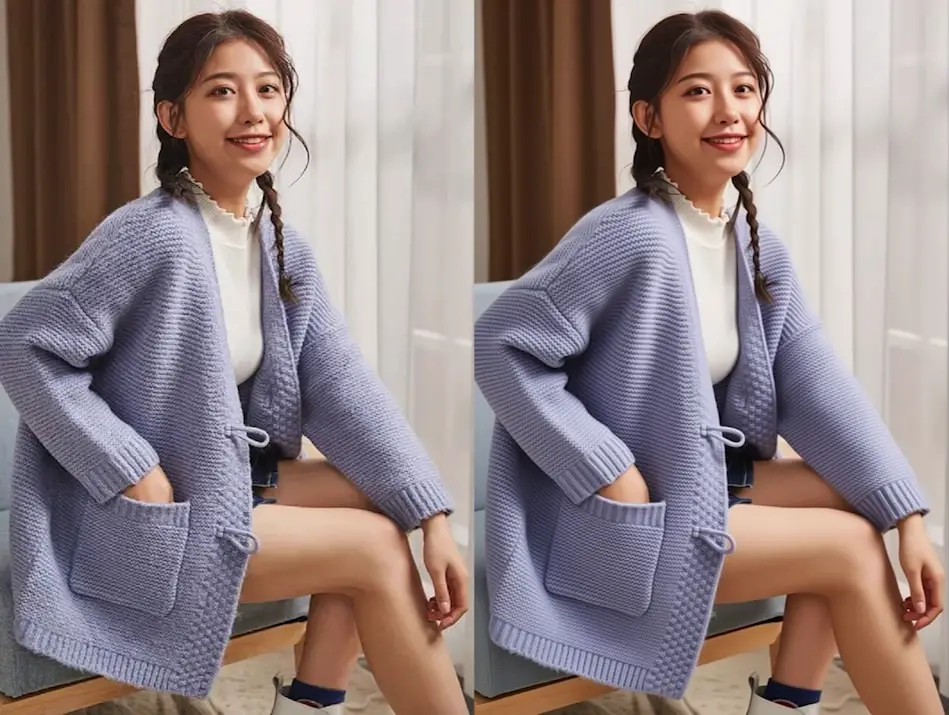
Consistent Faces Across Images with Face Reference Nodes
If you’ve noticed that many of the generated images feature the same person, that’s intentional.
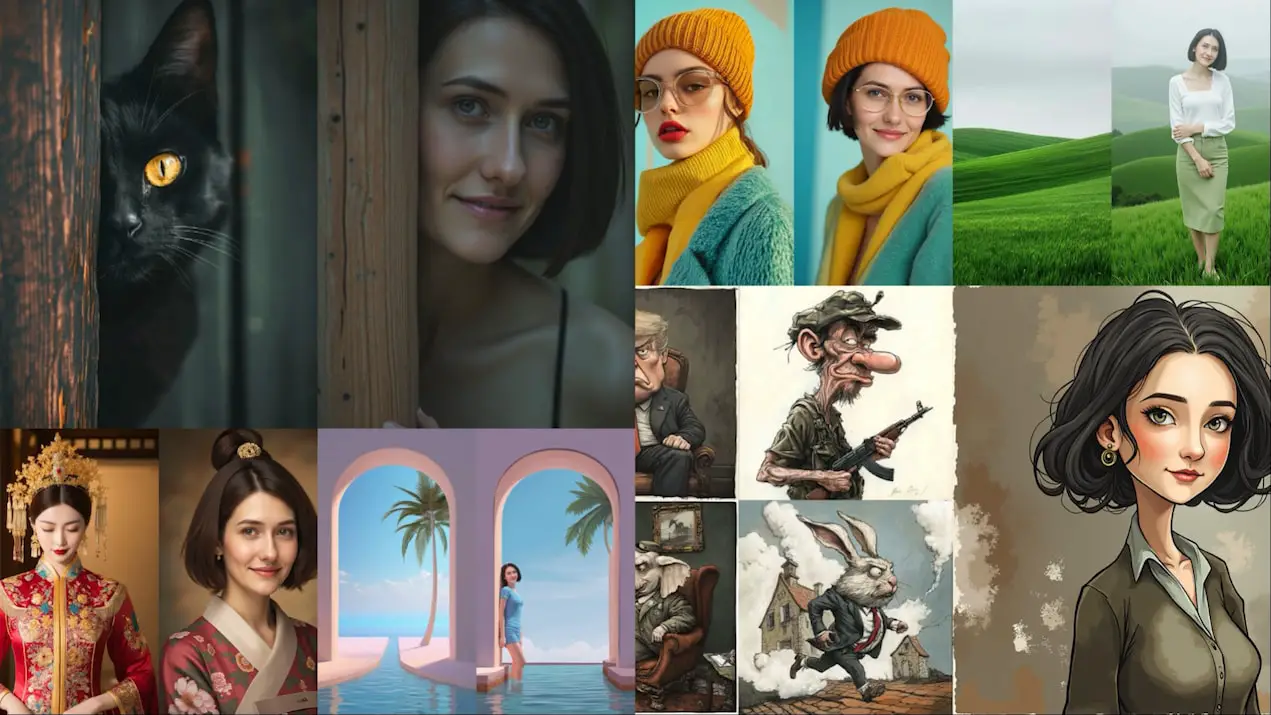
The workflow allows you to use a face reference image to maintain consistency across multiple outputs. This is a handy feature for portrait work or when you need a cohesive series of images.
And here’s the best part—you don’t need ControlNet or IP-Adapter models to use this workflow. It’s straightforward to set up and get started.
Understanding the Workflow Structure
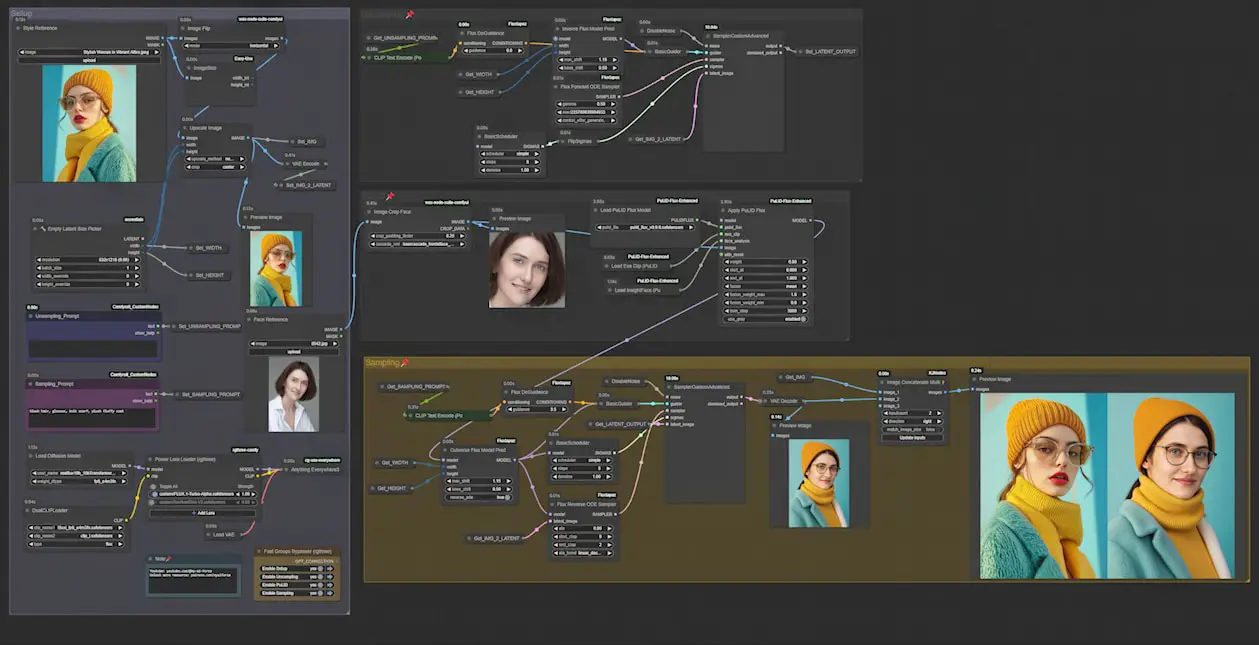
The workflow is divided into four main groups:
- Basic Settings (Left):
- Upload reference images, set dimensions, enter prompts, and specify the model path.
- Unsampling Node Group (Upper Right):
- Processes the reference image, creating a noise representation in latent space.
- PuLID Node Group (Below Unsampling):
- Helps the workflow interpret the subject’s appearance from the reference image. If you aren’t working with portraits, you can skip this section.
- Resampling Node Group (Bottom):
- Resamples the noise image to generate the final output.
Since this workflow offers a lot of flexibility, experimentation is encouraged to achieve the best results. Now, let’s explore each section in detail.
Working with Reference Images: Tips for Success
Uploading the right reference image is crucial. Select an image that closely aligns with the effect you want to achieve. For example, to generate the portrait on the right, I used the image on the left as a reference. The closer the two images are in content, the better the results.
If your reference image contains unwanted elements, don’t worry—you can adjust them using prompts later. Alternatively, inpainting specific areas beforehand gives you even more control.
If you need a full-body portrait but only have a half-body reference, consider outpainting the reference image to extend it. This can ensure the generated output matches your expectations.
Understanding Key Parameters: eta and end step
Let’s now dive into the most critical parameters—eta and end step—which you’ll find in the Flux Reverse ODE Sampler node.
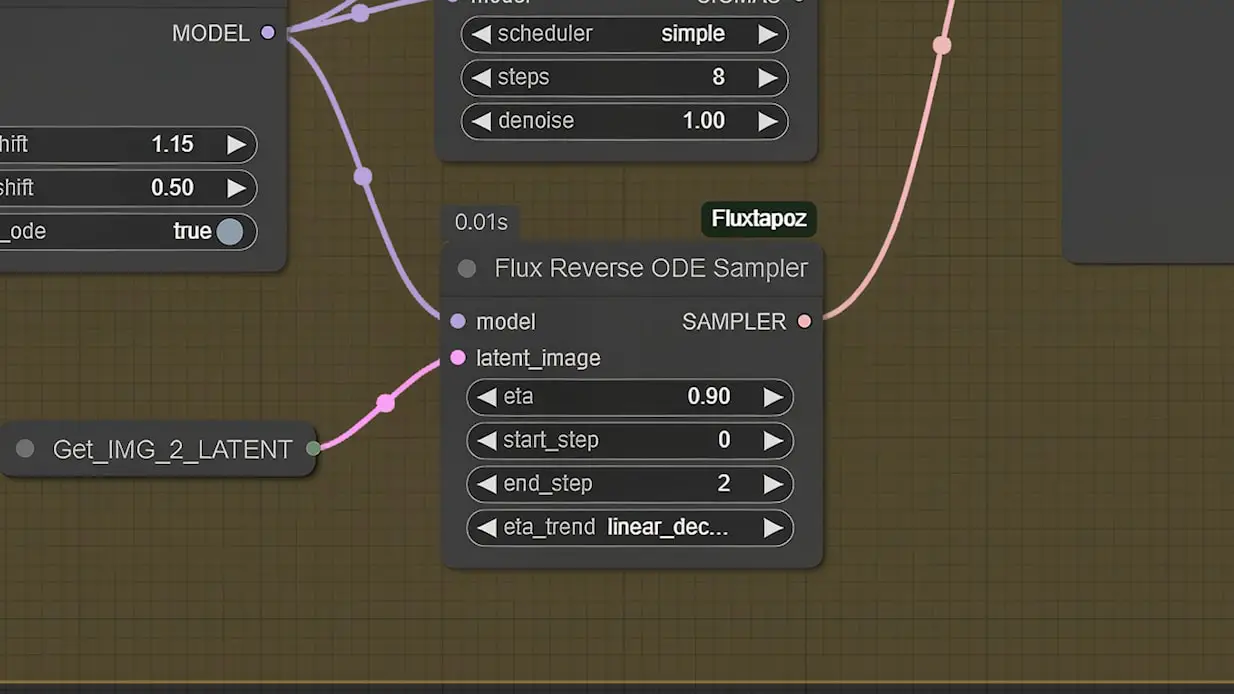
- eta: Think of it as the “weight” that controls how much influence the sampler has over the generated image.
- end step: This defines where the sampling process ends, with typical values between 2 and 8. Exceeding this range will cause errors.
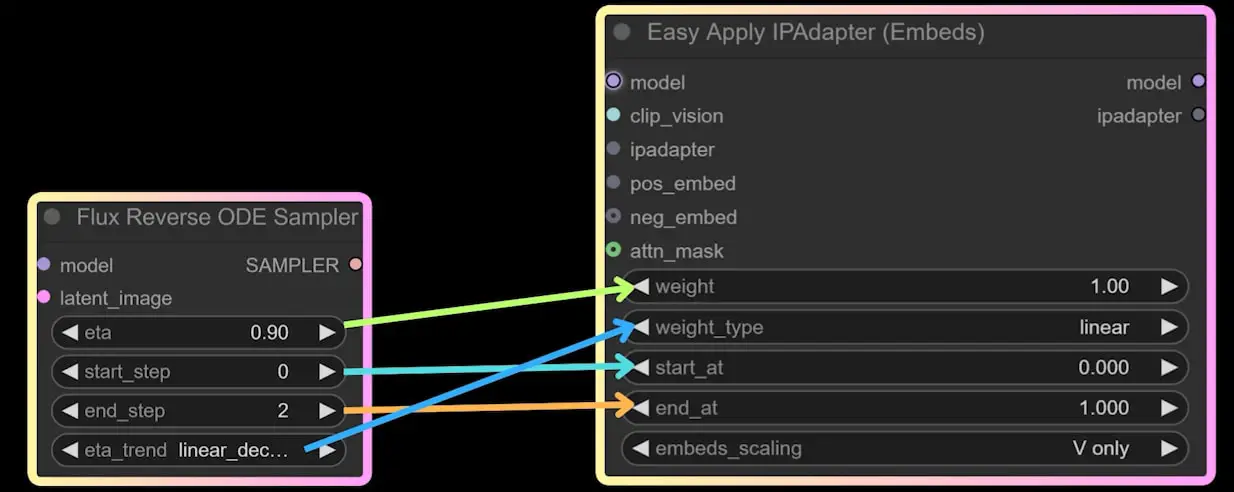
You’ll also encounter the eta trend setting, which controls how eta behaves throughout the sampling process. It offers three options:
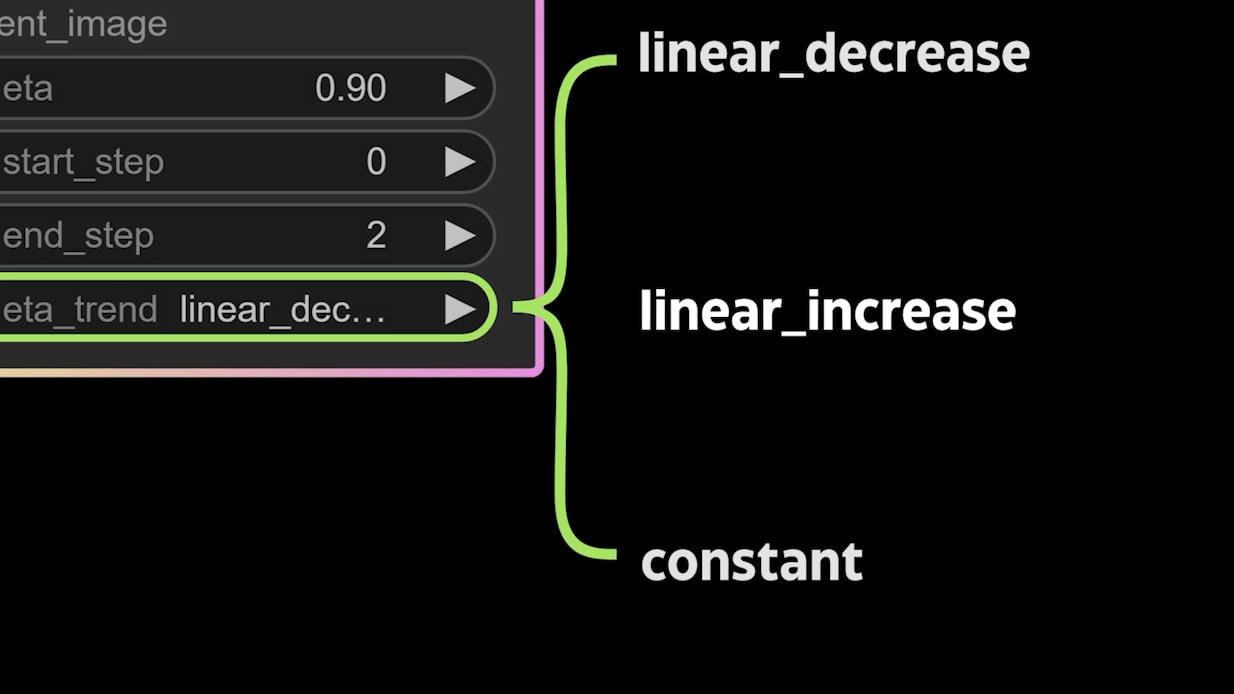
- Linear decrease (default): Gradually lowers eta’s influence.
- Linear increase: Keeps composition stable but enhances lighting.
- Constant: Maximizes eta’s influence, though it may reduce subject relevance.
Think of eta as a sledgehammer—it makes bold changes to the image. Meanwhile, end step acts like a sculpting knife, refining the finer details after the broad changes have been made.
Crafting Prompts for Maximum Impact
The workflow uses two types of prompts:
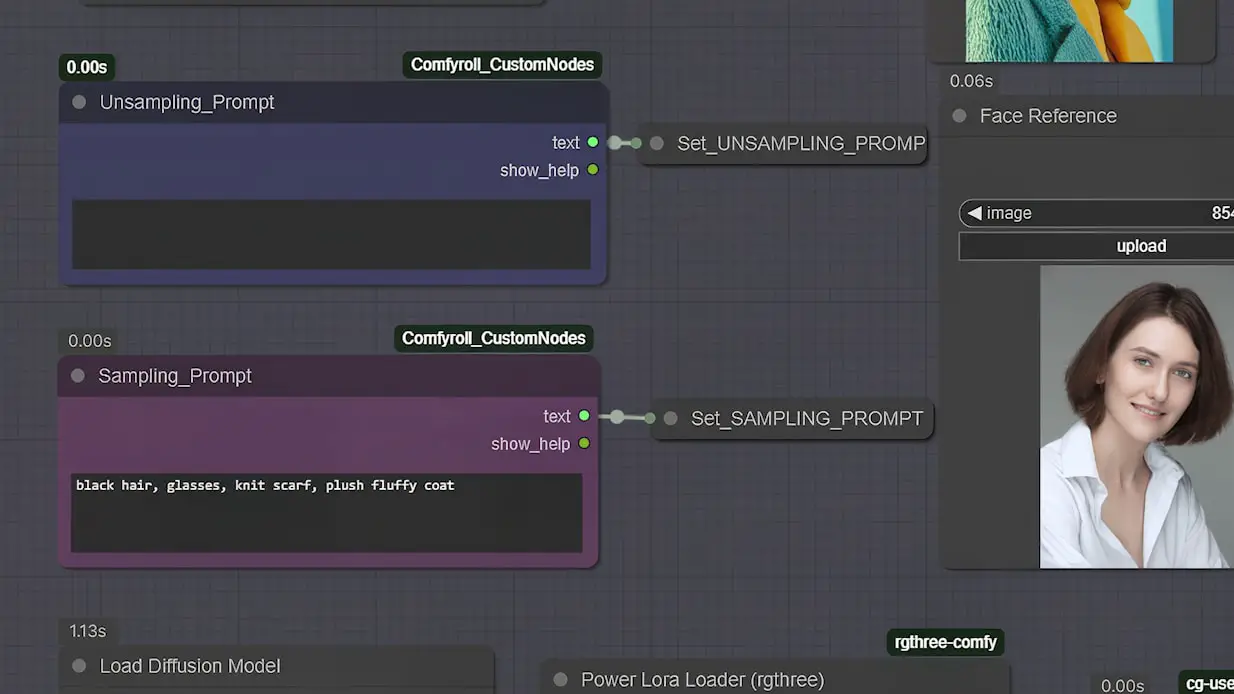
- Unsampling Prompt (Upper Right):
- Guides the unsampling process, similar to how tags are used when training a LoRA.
- Sampling Prompt (Lower Right):
- Works like a standard prompt in text-to-image generation, directly influencing the final output.
If you’re unsure about what to include in the unsampling prompt, feel free to leave it blank initially and refine it later.
Conclusion: Create Stunning Images with RF Inversion
That wraps up our exploration of RF Inversion! This workflow offers incredible versatility, from style transfer and pose control to lighting adjustments and image upscaling. With a little practice, you’ll be able to generate stunning, high-quality images in just 8 steps using Turbo LoRA.
I hope you found this guide helpful. Give it a try and see what creative results you can achieve.

