Midjourney Inpainting Unveiled: A Step-by-Step Guide to Mastering Vary (Region)
Ever struggled with a Midjourney prompt that doesn’t render despite its continuous attempts?
Or crafted an impeccable image only to find a minor element diminishing its overall appeal?
Perhaps you’re aiming to design a sequence of characters or animations with a unified style, but wish for varied expressions or accessories for each.
Good news. Midjourney now introduces its much-anticipated inpainting feature. This allows you to pinpoint a specific area and direct Midjourney to modify its content based on your prompt.
So, how does this function? Let’s dive in.
Guide on Usage
Begin by accessing the settings using the command “/settings”. Then, target the “Remix mode” option.

Once you’ve produced four images, select any of the U buttons to magnify the image of your choice.
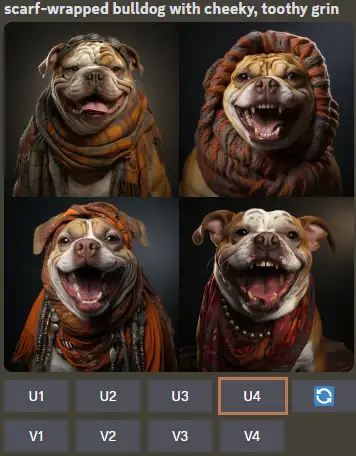
Upon doing so, you should notice the emergence of the “Vary (Region)” button. If it’s absent, consider updating your Discord client for compatibility.
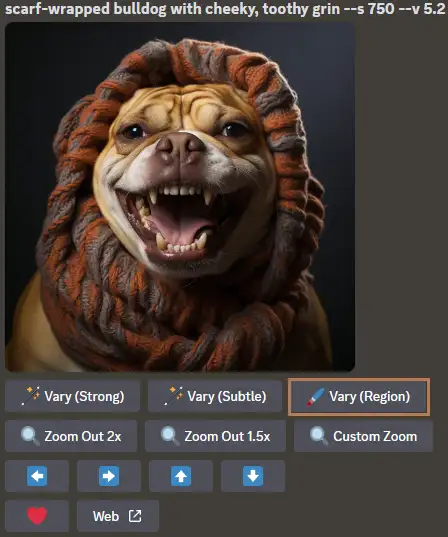
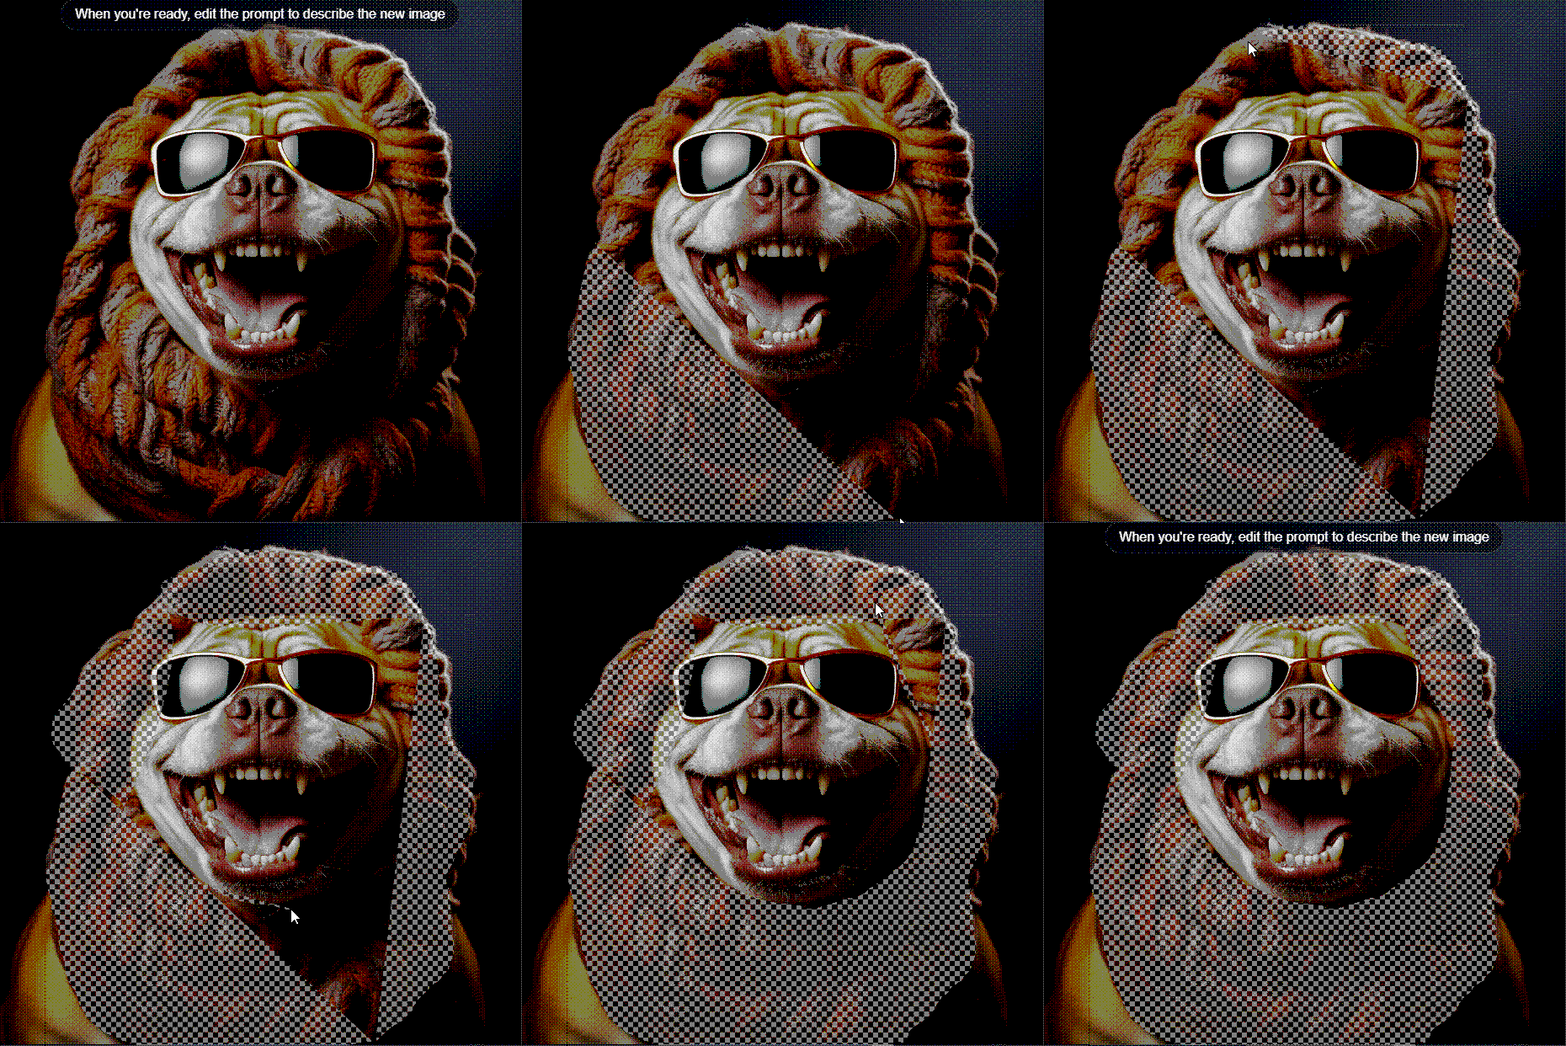
Upon activating the “Vary (Region)” option, a dialogue box materializes. Within it, you can intuitively drag to earmark the desired editing zone. As depicted in the subsequent visual aid, the duo of buttons positioned at the bottom-left lets you alternate the region-selection method.
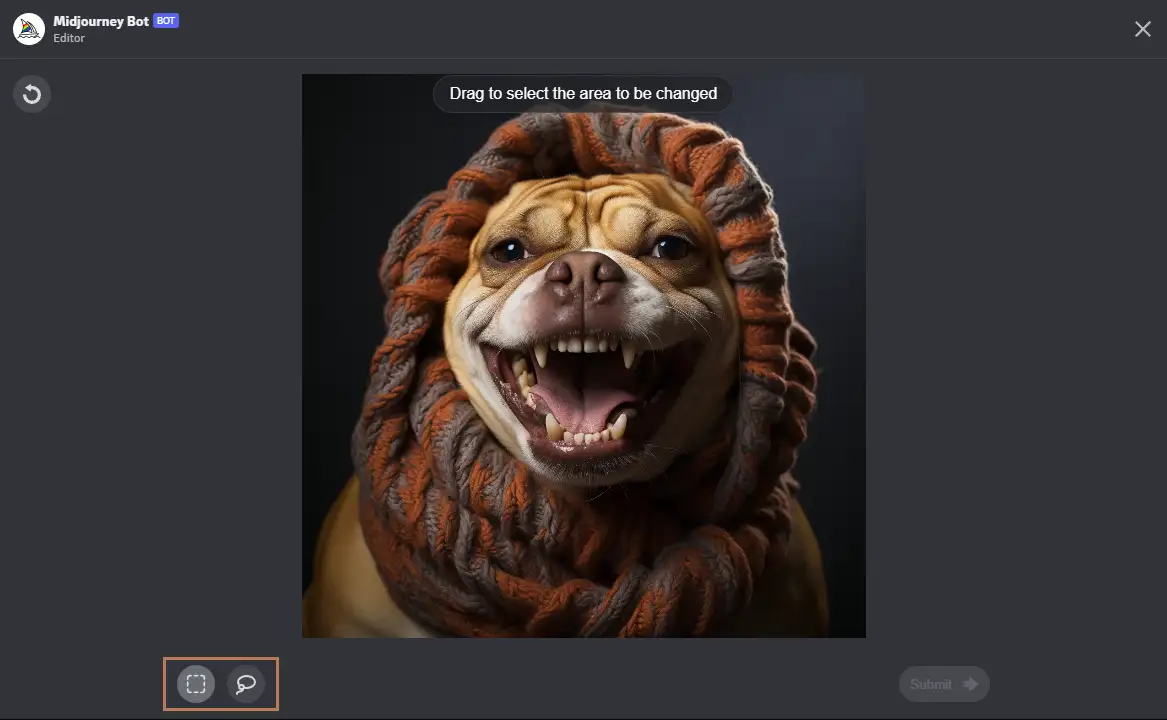
By default, you’re provided with the Rectangle tool, evidenced below.
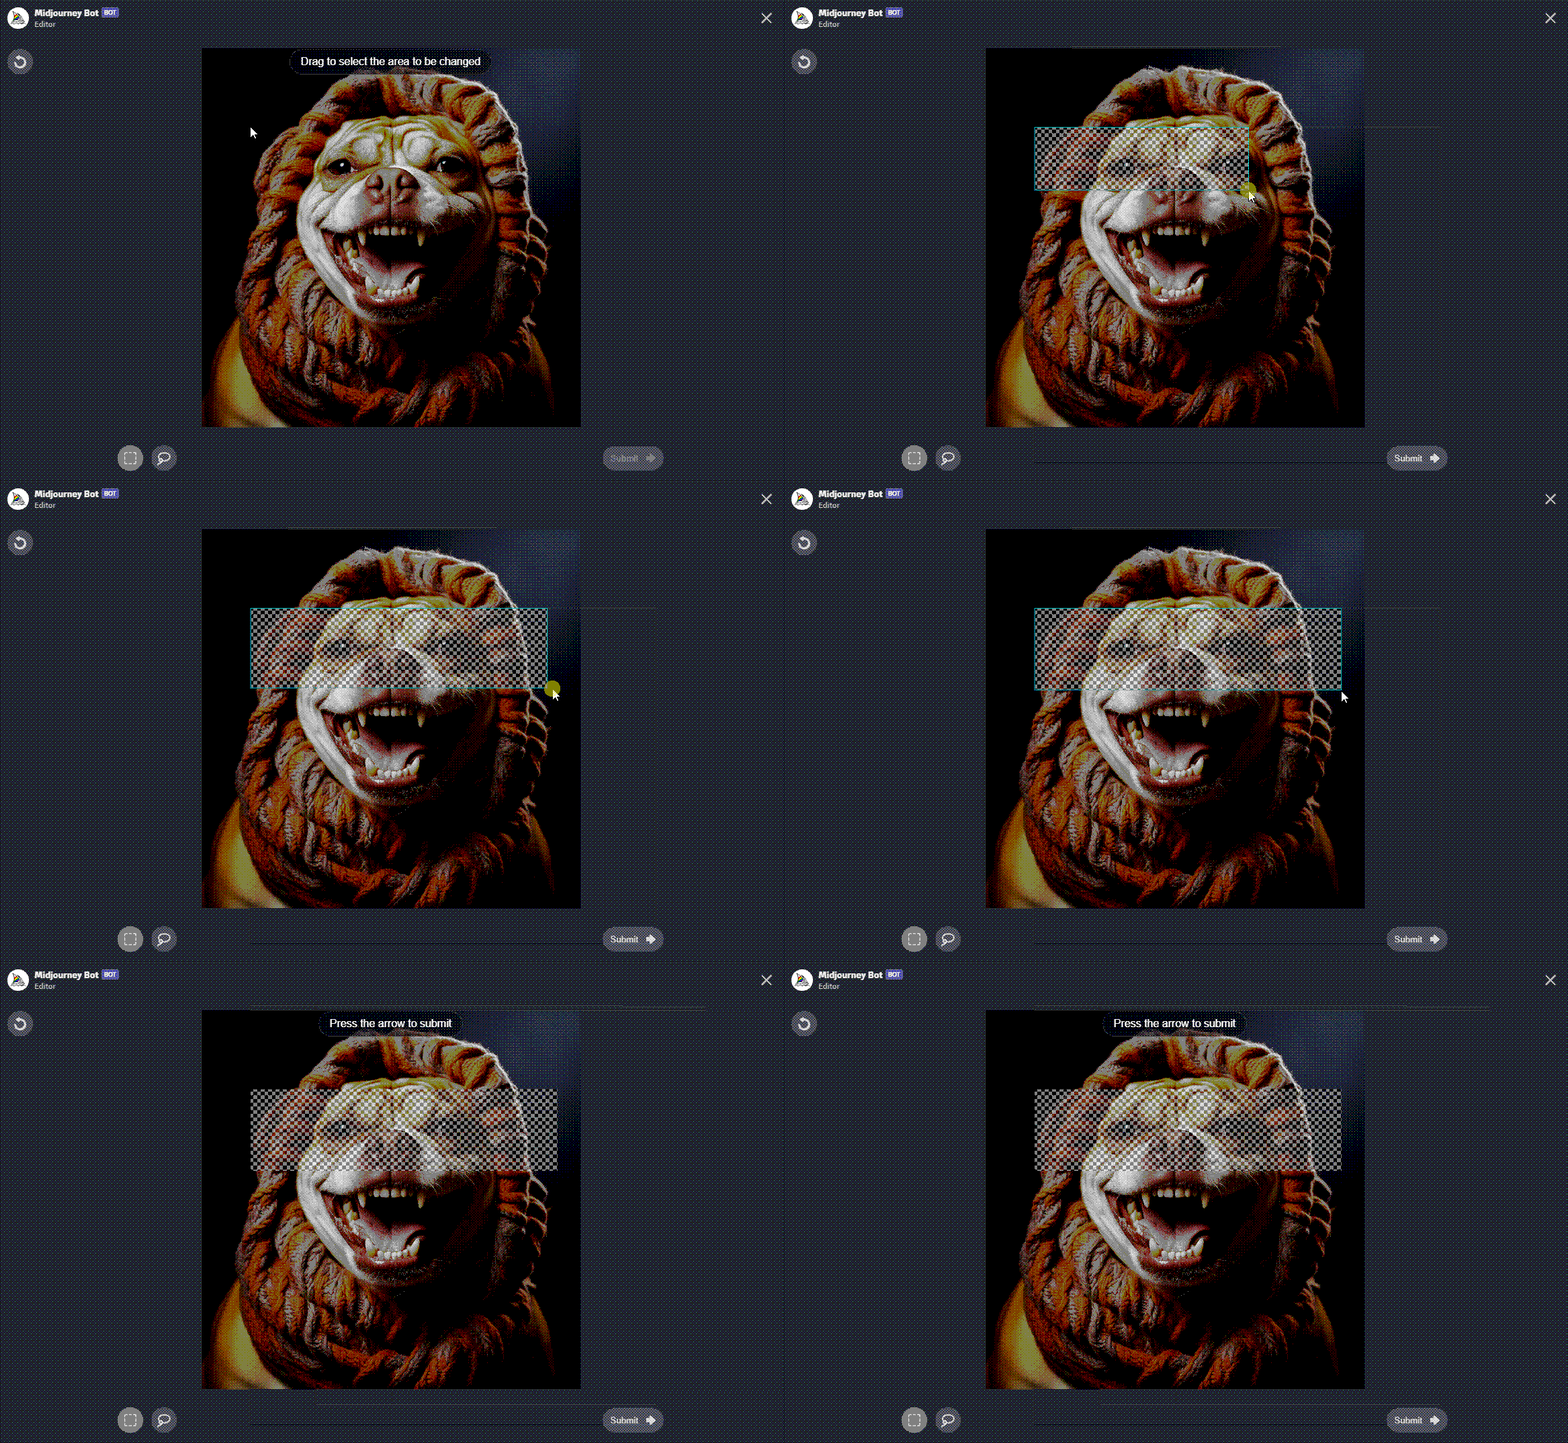
A click on the adjacent button swaps to a freehand selection tool, visually demonstrated in the following animation.
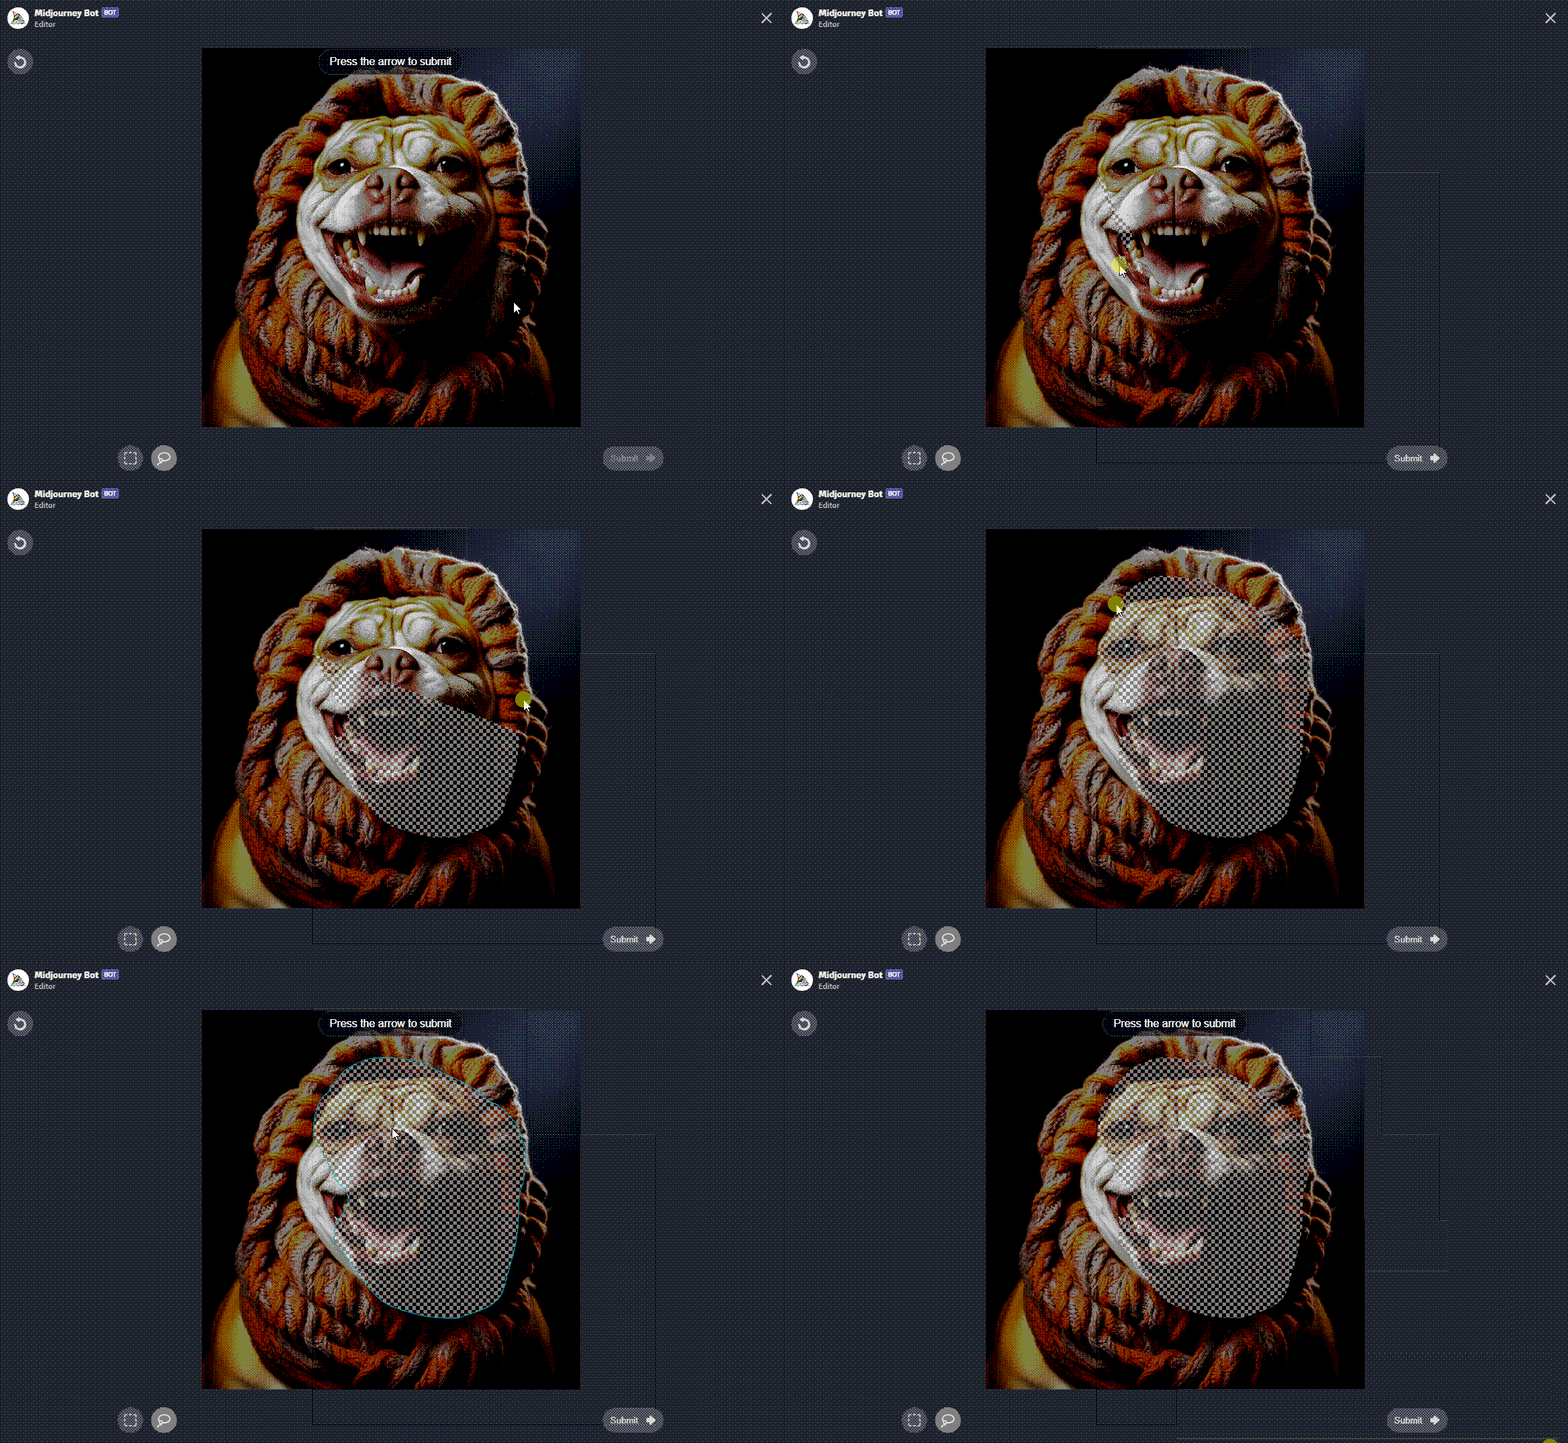
Interestingly, Midjourney retains your delineated area as the default, even post-closure of the interface. Do note, the dimension of the chosen area has an inherent influence on the resultant modifications. Expansive zones provide Midjourney a broader canvas, inviting more imaginative outputs. Conversely, confined spaces yield nuanced, refined alterations.
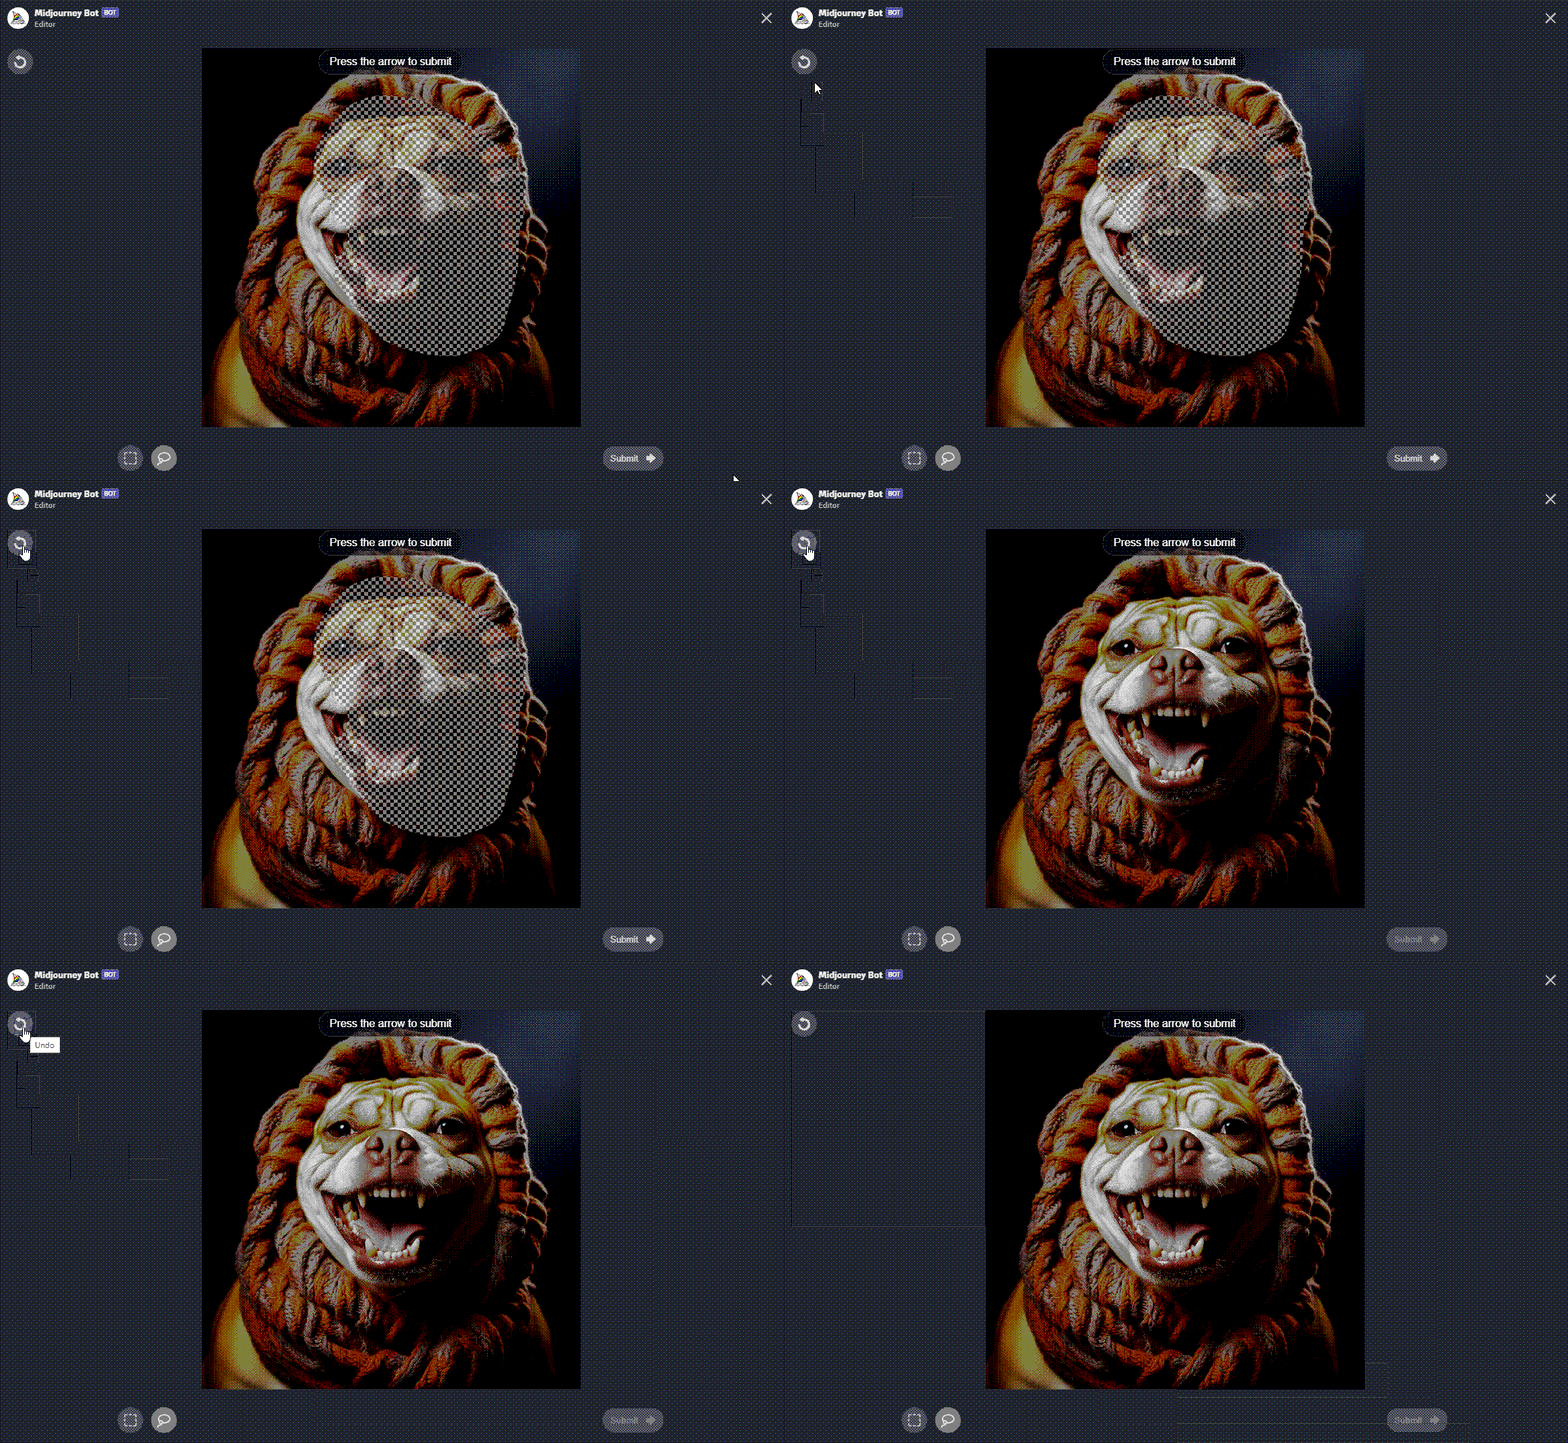
In the event of a misstep, or the desire to revert a selection, simply click the Undo icon situated at the window’s top-left corner. Alternatively, the CTRL + Z shortcut offers the same functionality, illustrated below.
For instance, to bestow sunglasses upon Bulldog, as presented below, the preliminary step involves erasing the pre-existing prompt within the textbox. Subsequently, type “sunglasses” followed by activating the arrow button to initiate.

Post-submission, Midjourney unveils four newly-minted variants, as showcased below.
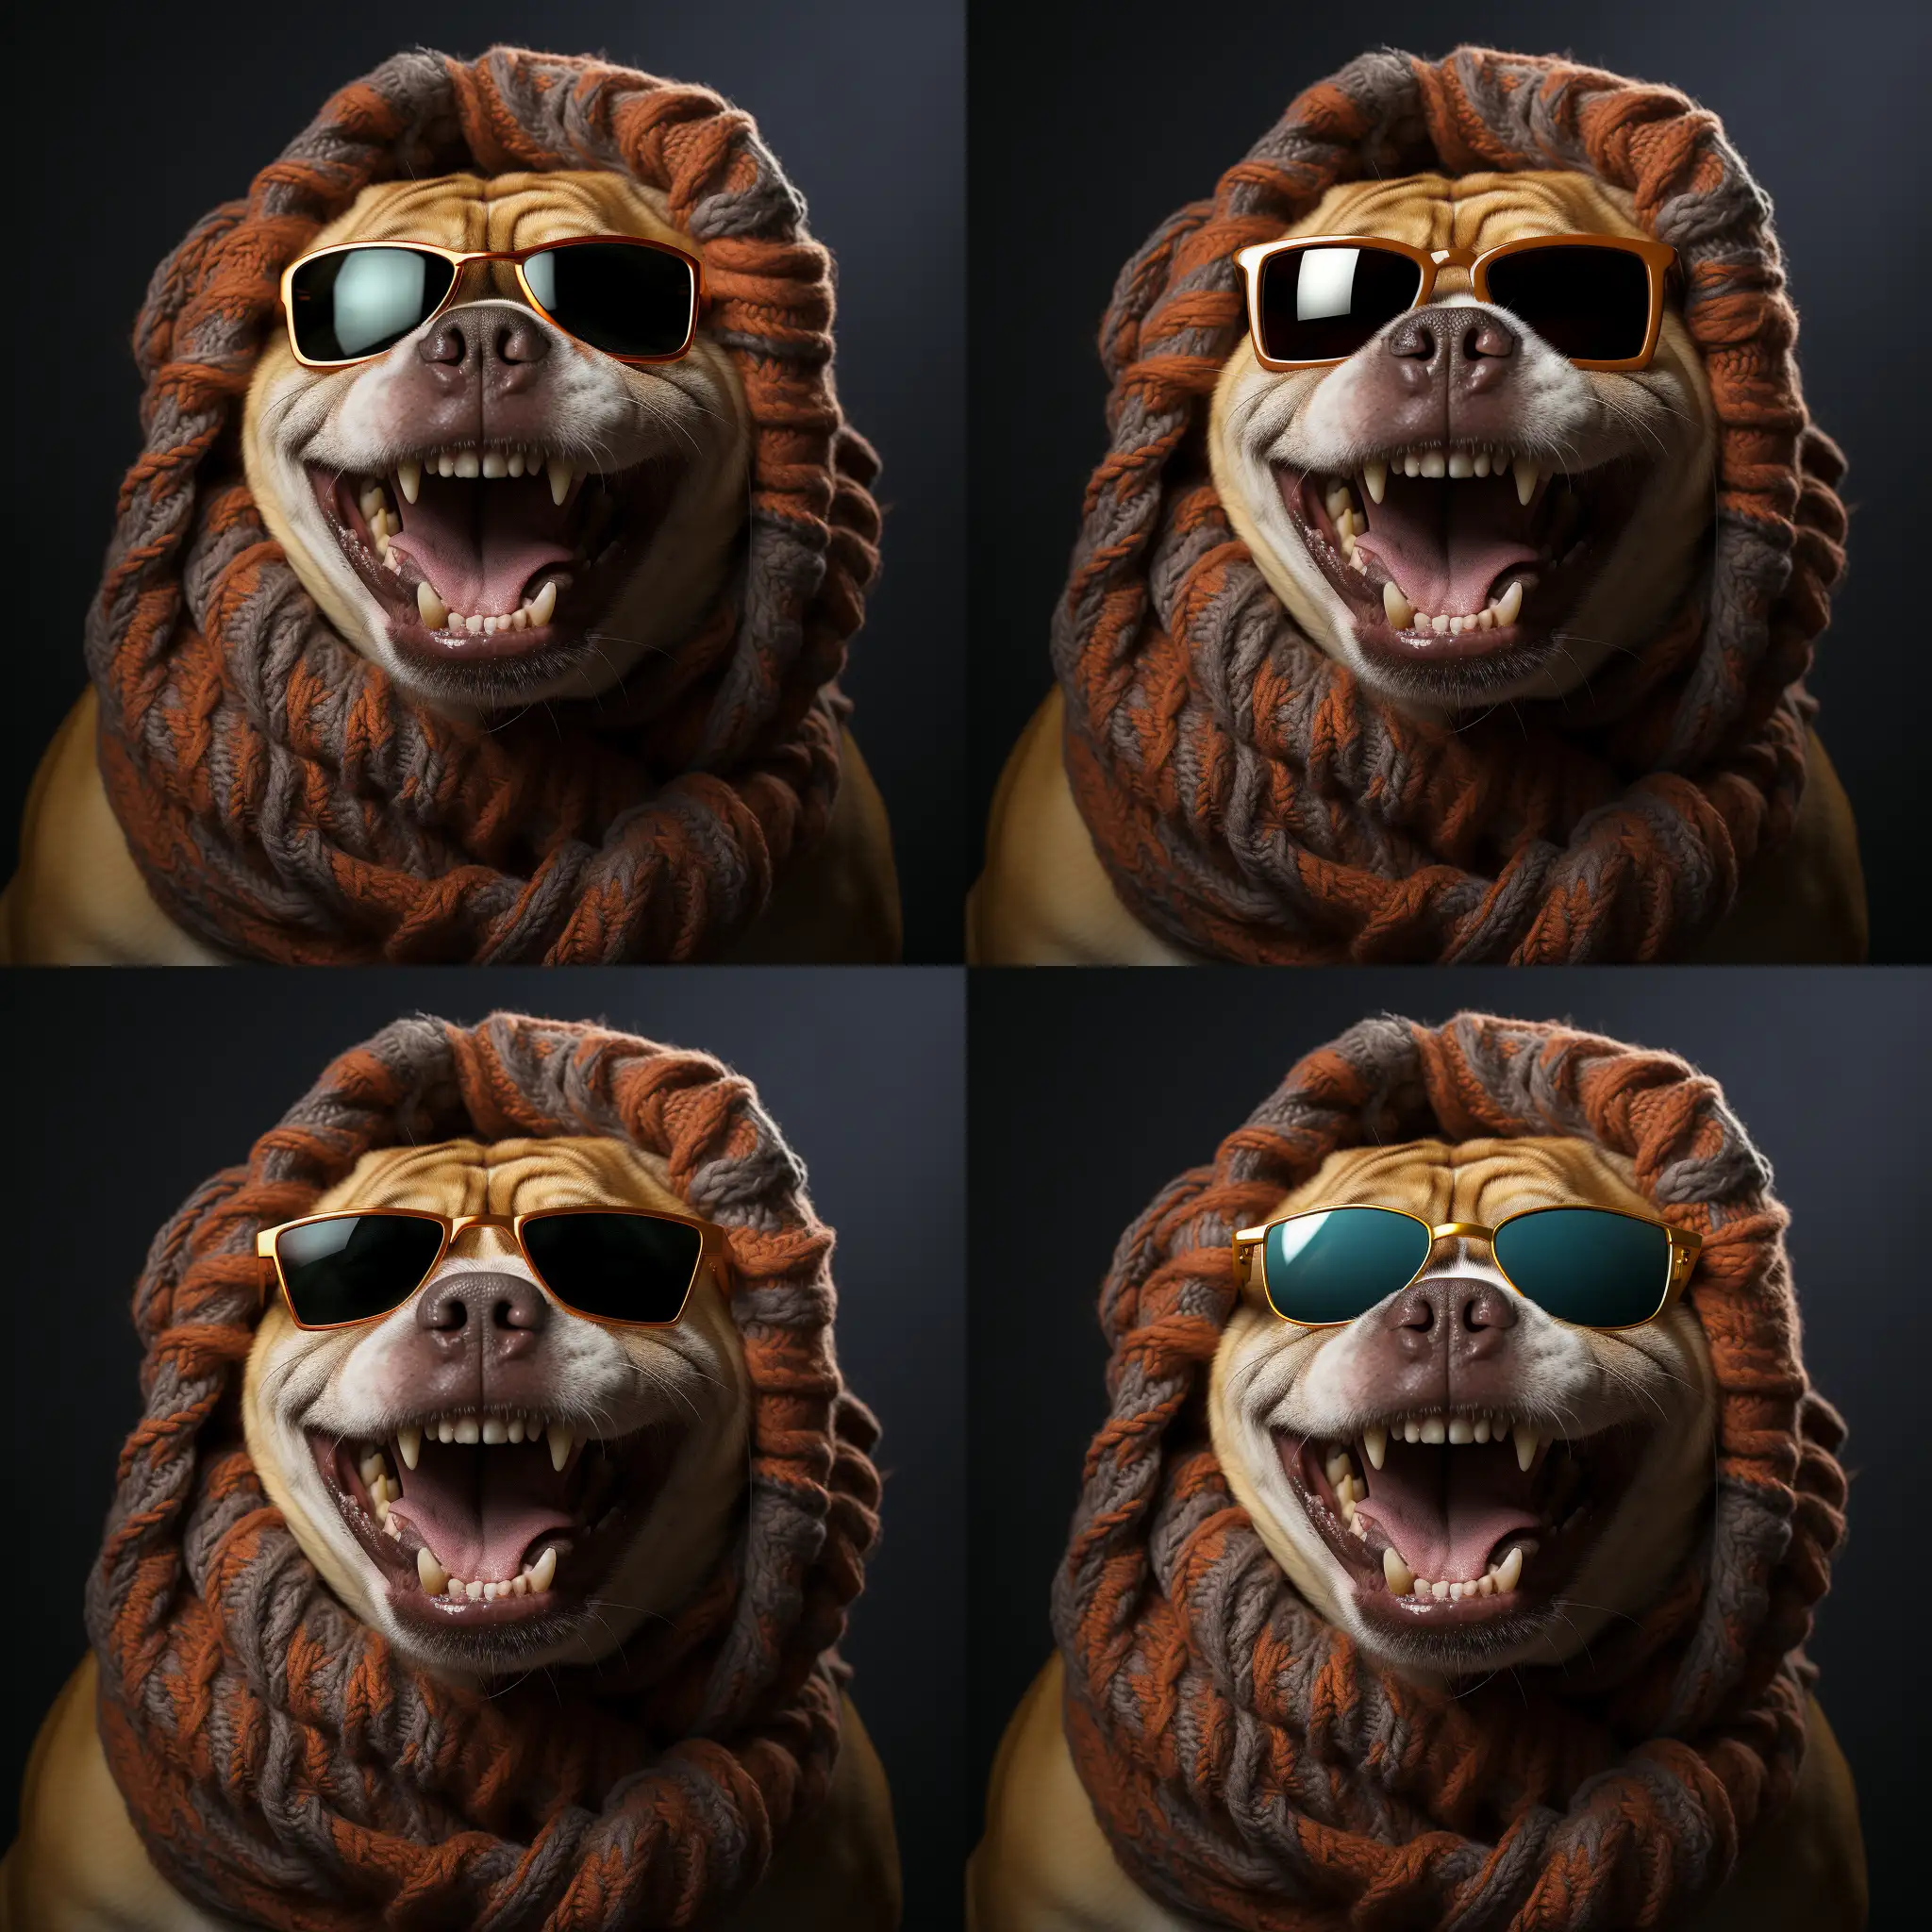
Utilizing Freehand Selection Tools
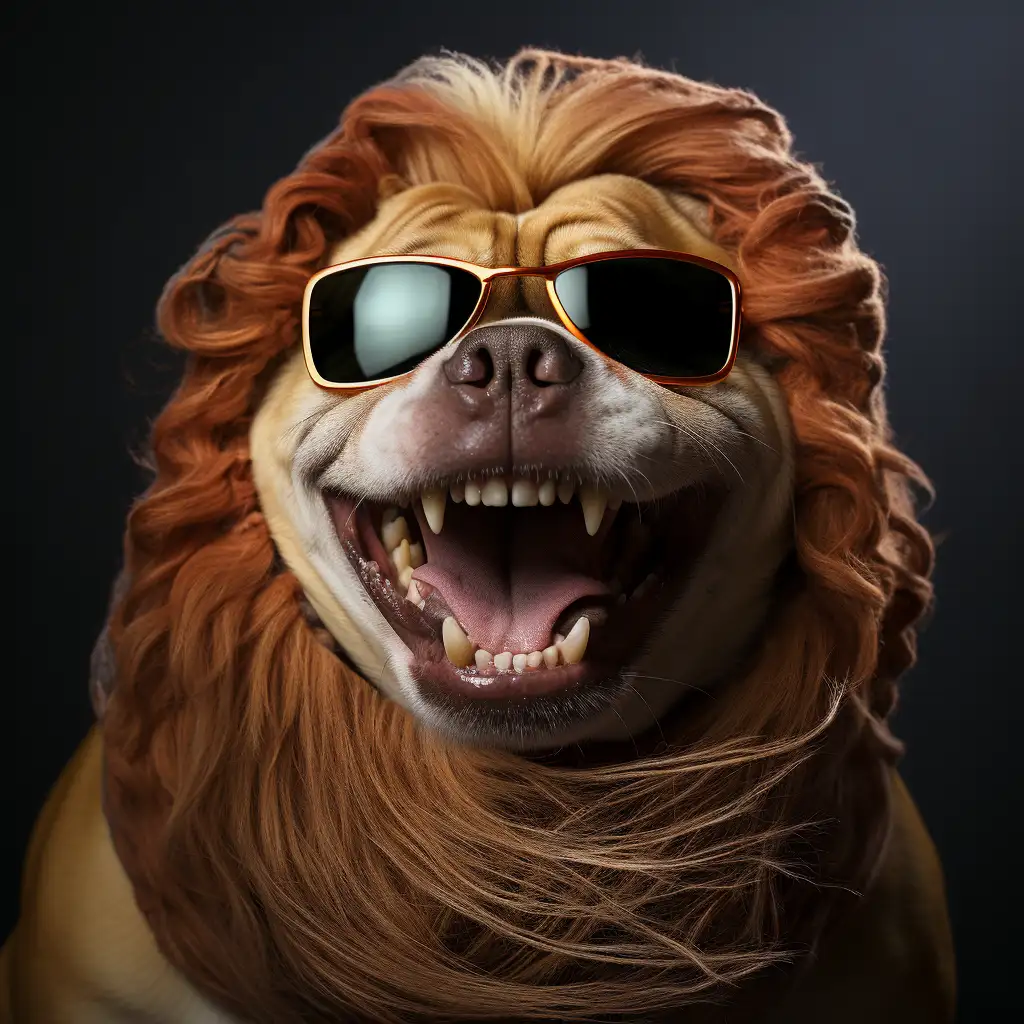
Despite the modest count of two selection instruments, their ingenious design ensures precise delineation of even intricate shapes. This precision is particularly pronounced with the freehand selection tool. For illustration, if my objective is to transform the bulldog’s scarf, I can effortlessly outline the scarf using the freehand tool, as visually depicted below.
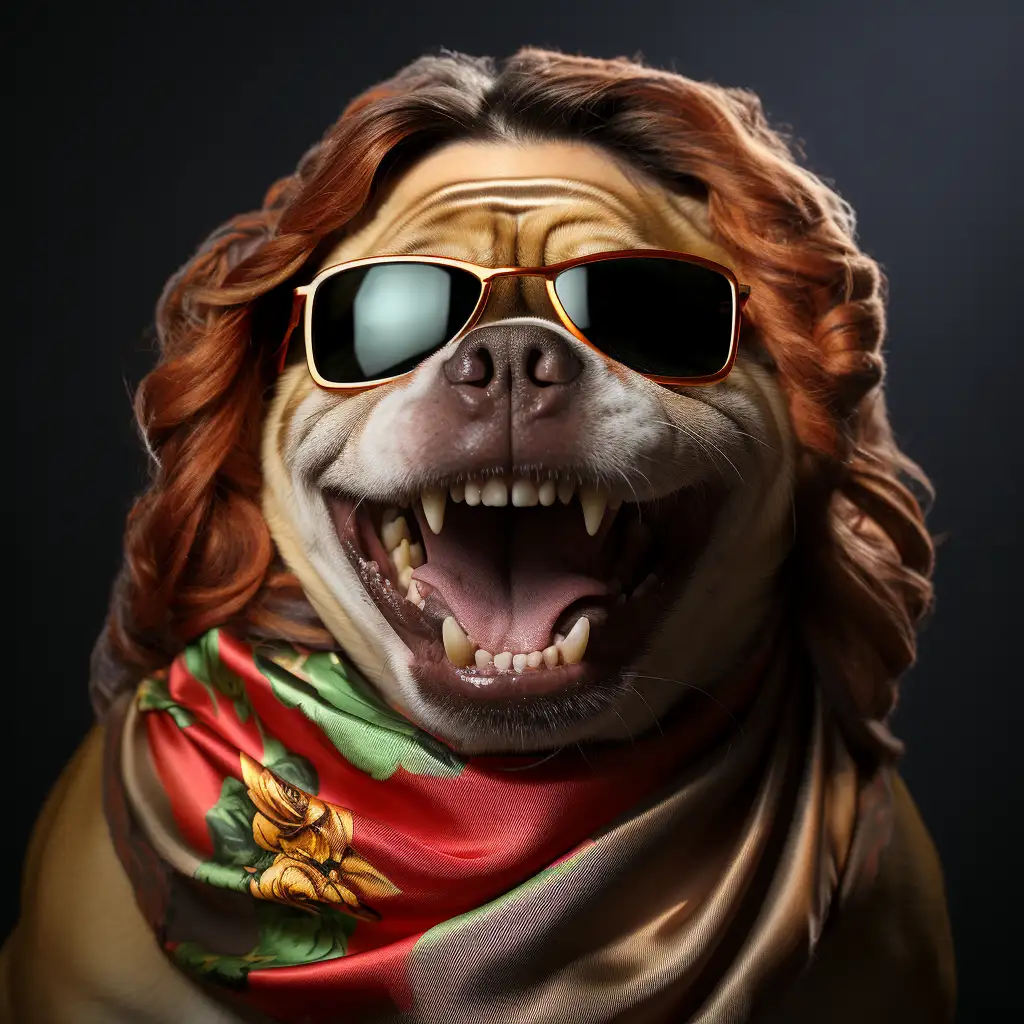
Subsequent to the selection, the scarf can undergo a multitude of alterations:
- Transformed into a plush silk scarf.
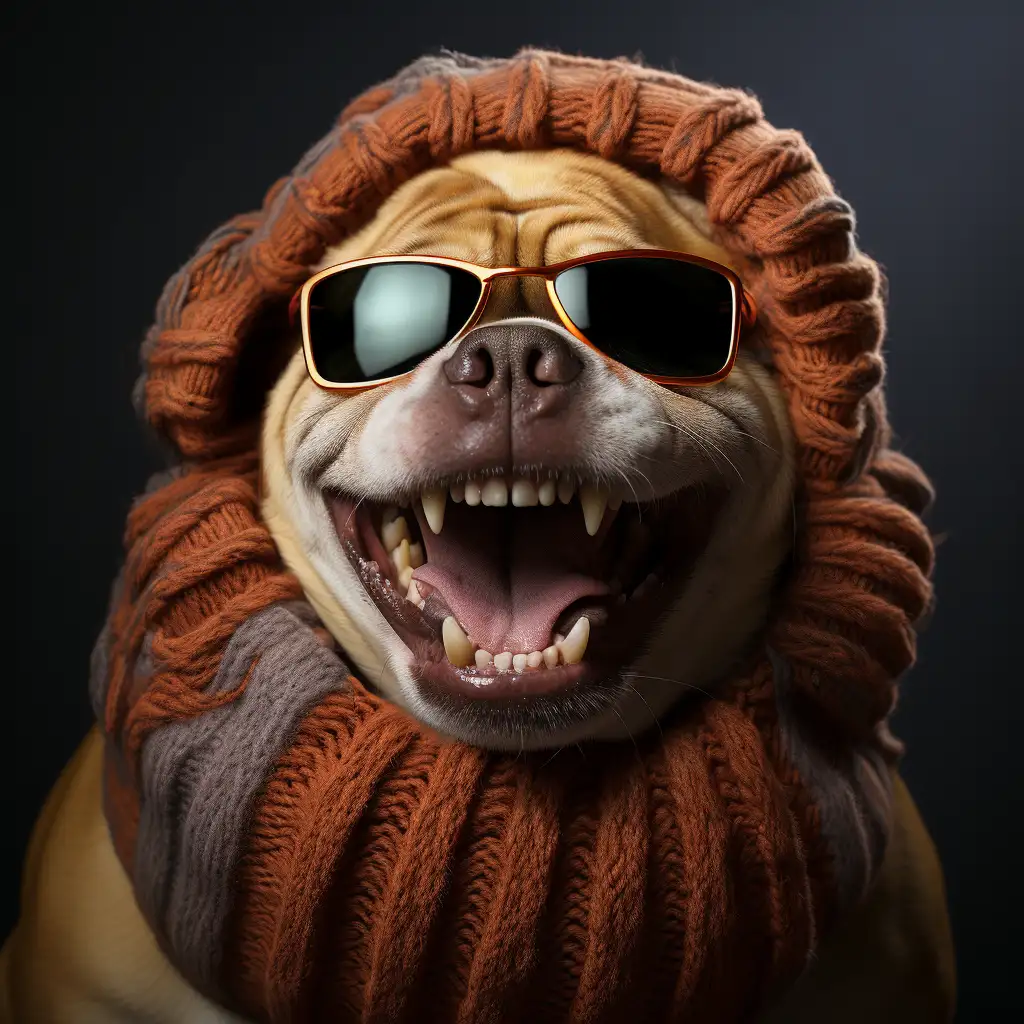
- Morphed into a cozy winter hat.
- Redesigned to mimic a lion’s luxuriant mane.
In Conclusion
The Midjourney inpainting feature represents a significant stride forward in AI-assisted graphic design, seamlessly merging user intuition with machine ingenuity.
Whether you’re refining intricate details or entirely transforming visual elements, the tools offered pave the way for effortless yet precise alterations.
This guide aimed to demystify the process, step by step, allowing both novices and experts to harness the full potential of Midjourney.
As technology continues its rapid advance, tools like these not only redefine our creative boundaries but also empower us to envision and realize artistry beyond the conventional.
Dive in, experiment, and watch your visual narratives come to life in unprecedented ways.

