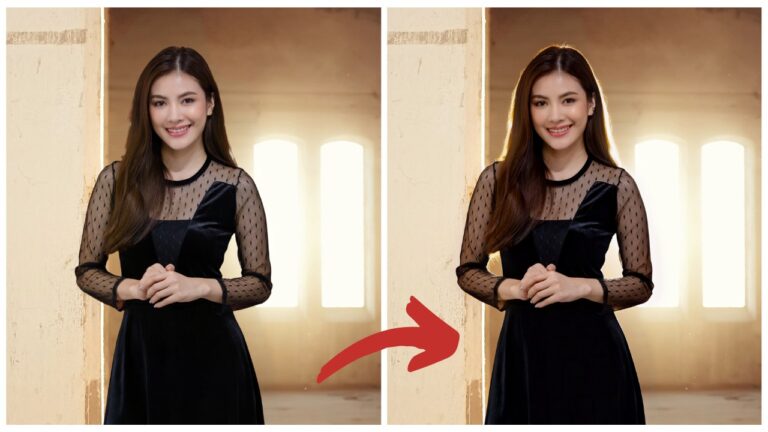
4K Inpainting Trick for Flux.2 Klein
In this article, I’m walking through how to do inpainting with the Flux 2 Klein model inside ComfyUI—and, more importantly, how to handle the real-world moments where your prompt feels “obvious” but the model still edits the wrong thing.
To demonstrate multiple techniques and situations, I built a workflow in ComfyUI. The goal is to make these inpainting patterns easy to test and repeat across different editing tasks.
YouTube Tutorial:
Gain exclusive access to advanced ComfyUI workflows and resources by joining our community now!
What “Inpainting” Means in Image Editing
Inpainting is a targeted way to edit images:
- You cover a specific part of an image with a mask.
- The model then fills in or replaces only the masked area.
- While doing that, it tries to match the surrounding details—lighting, texture, perspective, and overall style—so the edit blends naturally.
This is different from telling a model to regenerate an entire image. Inpainting is about surgical edits: precise changes without disturbing everything else.
What We’re Using
To show different inpainting scenarios in one place, I put together a workflow in ComfyUI. The workflow is designed to handle:
- Inpainting with a mask (targeted edits)
- Inpainting without a mask (model repaints the whole image, typically at a limited size)
- Optional reference images (like sunglasses you want the model to match)
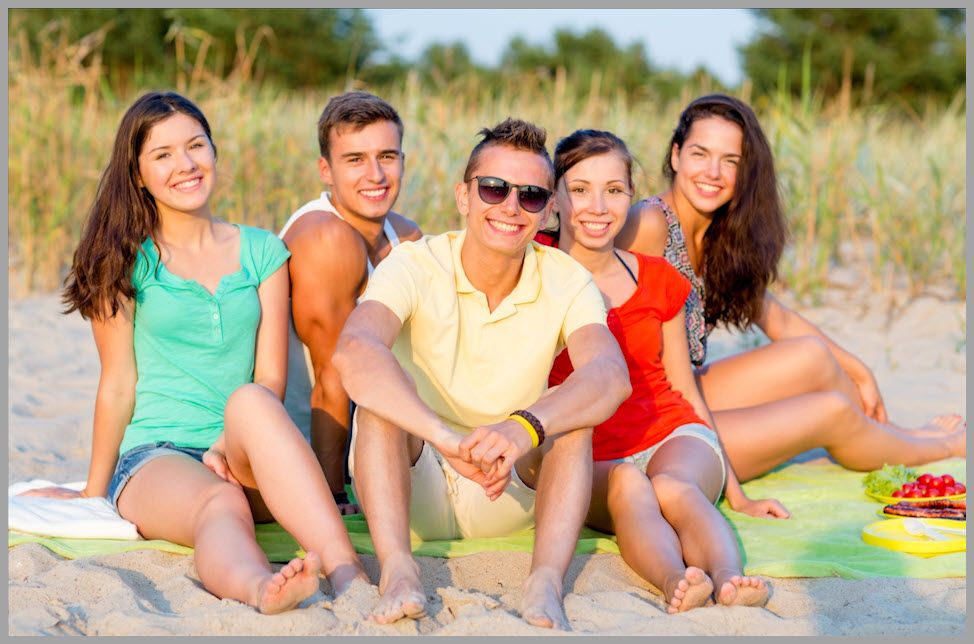
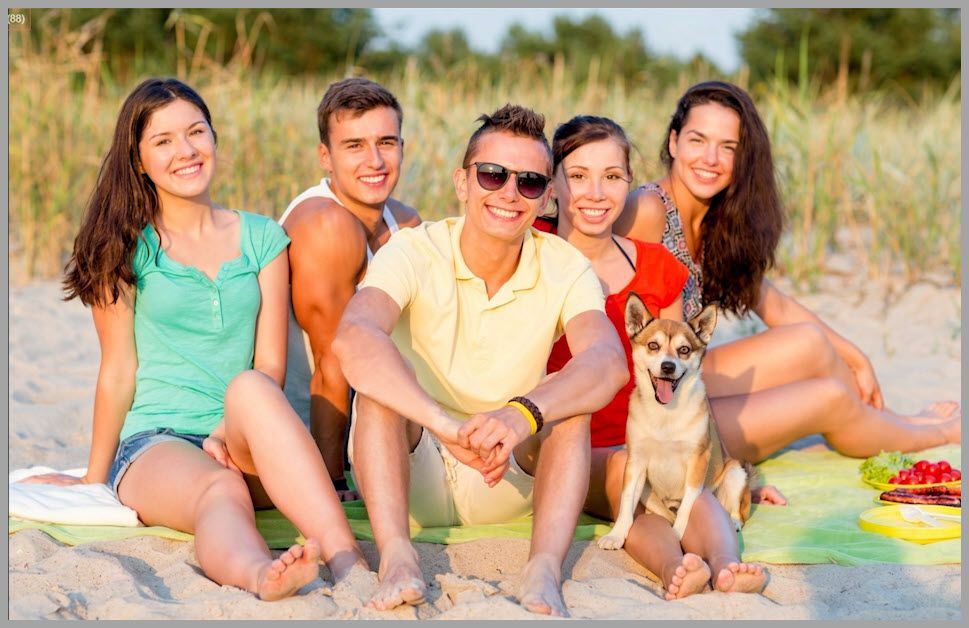
The article examples focus on a group photo and different tasks like:
- Adding sunglasses to a specific person
- Adding a dog next to someone
- Adding a random cat into the photo
Scenario 1: “Just Prompt It” (Adding Sunglasses Without a Mask)
Let’s start with something that sounds simple: adding sunglasses to the man sitting in the back.
At first, you might think:
“Do we really need to open a mask editor and paint over his eyes? The model should understand who I mean.”
So we test that assumption.
Prompt + Reference Setup
- Prompt: “Have the man sitting at the back wear the sunglasses.”
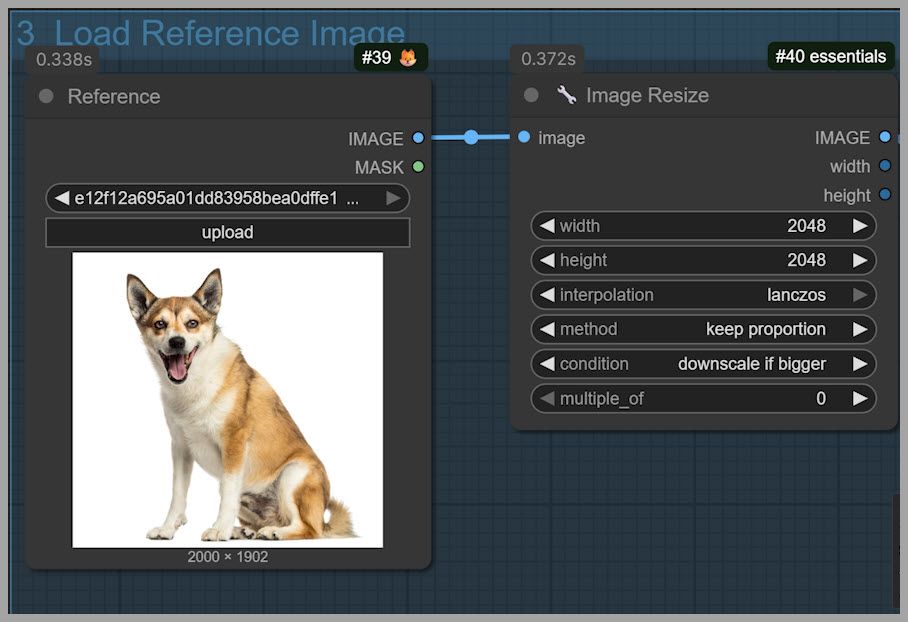
- Reference image: an image showing the sunglasses style we want to use
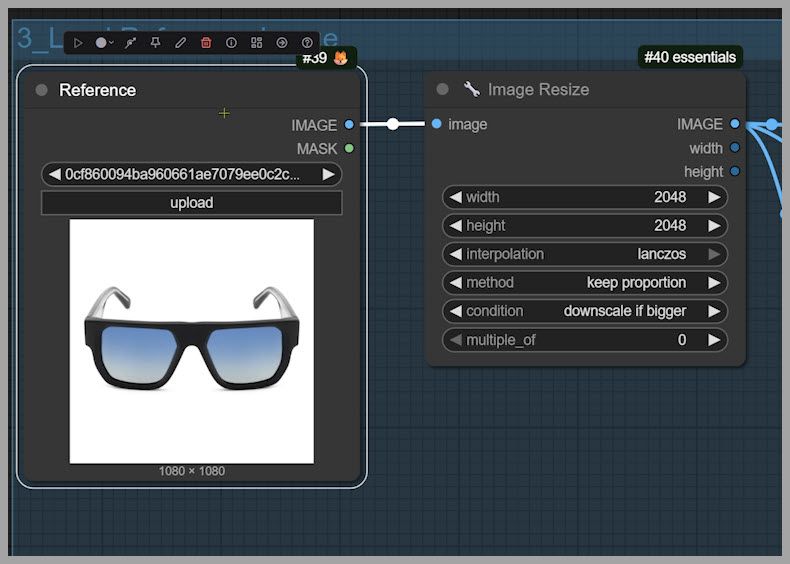
Then we run the workflow.
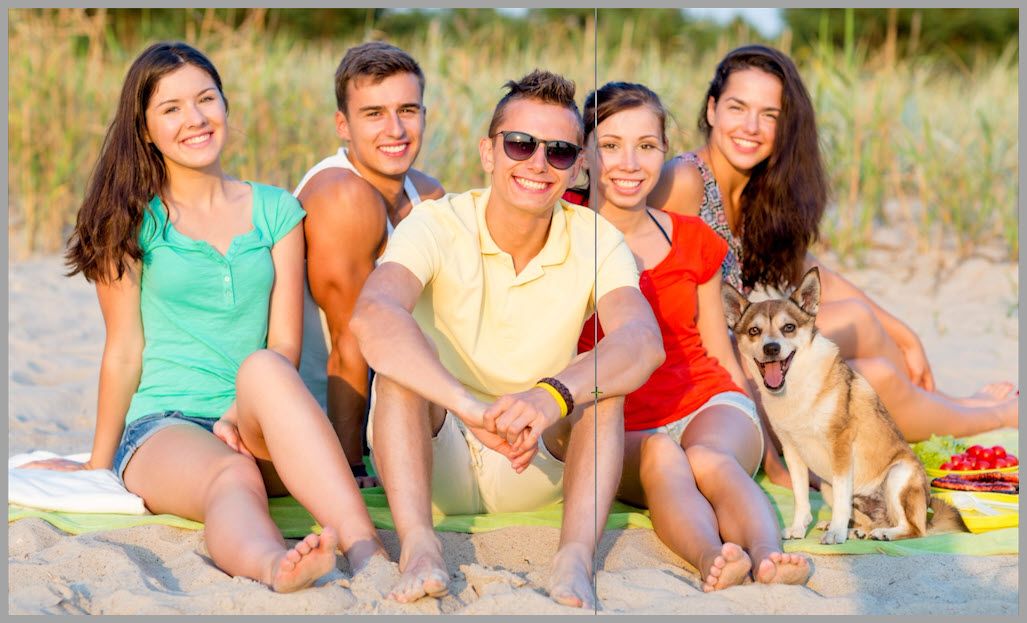
Result Analysis: The Model Picks the Wrong Target
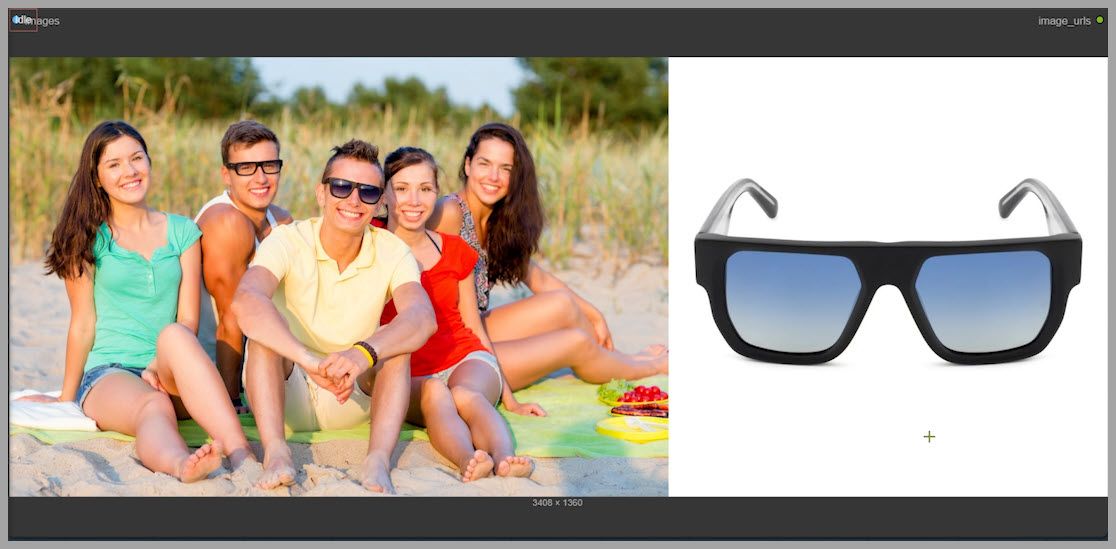
At a glance, it looks like sunglasses were added… but when we compare to the original image, something is off.
It turns out:
- The sunglasses don’t match the reference we wanted.
- Worse, the sunglasses edit happened on the wrong person.
When we double-check the reference image, we notice the key detail:
- The reference sunglasses are actually on the man in the front, not the man in the back.
So Flux 2 Klein used the most obvious “sunglasses target” it could detect from the context and edited the wrong subject.
Takeaway: Prompts Can Be Clear Yet Still Ambiguous to the Model
Even when your prompt feels logically specific, the model may still need extra guidance.
This is exactly why masking matters:
- It tells the model where to edit,
- not just what to do.
Scenario 2: Adding a Dog — When the Placement Is Wrong
Now let’s switch tasks. This time, I change the reference image and try to add a dog into the group photo.
Prompt Update + Run
- Prompt: “Have the dog sit next to the woman.”
- Reference image: a dog image we want to insert
We run the workflow again.
Why the Result Misses the Intent
The dog appears in the photo—so the model “understood” the object insertion part.
But it doesn’t follow the placement instruction correctly:
- The dog ends up sitting on the woman’s legs
- instead of sitting next to her
This is another common failure mode:
- The model completes the request,
- but interprets spatial language (“next to”) loosely.
And again, masking is the fix.
Fixing Placement with Masking
To force correct placement, we guide Flux 2 Klein with a mask.
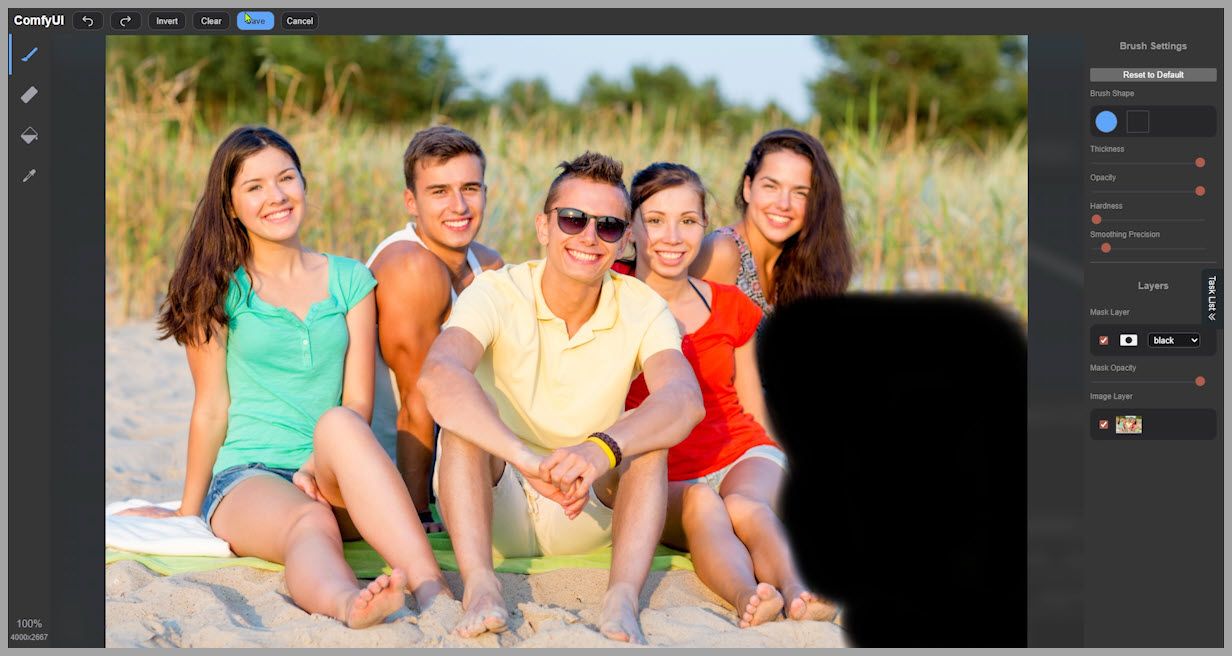
Step 1: Brush a Mask Where the Object Should Go
- Find the group photo in the workflow.
- Open the mask editor.
- Brush the area next to the woman.
- Make sure the masked area is large enough to fit the dog.
The goal is to define a region that clearly communicates: “Put the dog here.”
Step 2: Use Inpaint Crop to Focus the Model
Next we use an Inpaint Crop node.
What it does:
- It creates a square crop based on the mask you brushed.
- Flux 2 Klein then repaints that cropped area, not the entire original image.

This makes the inpainting process:
- more precise,
- more efficient,
- and generally higher quality.
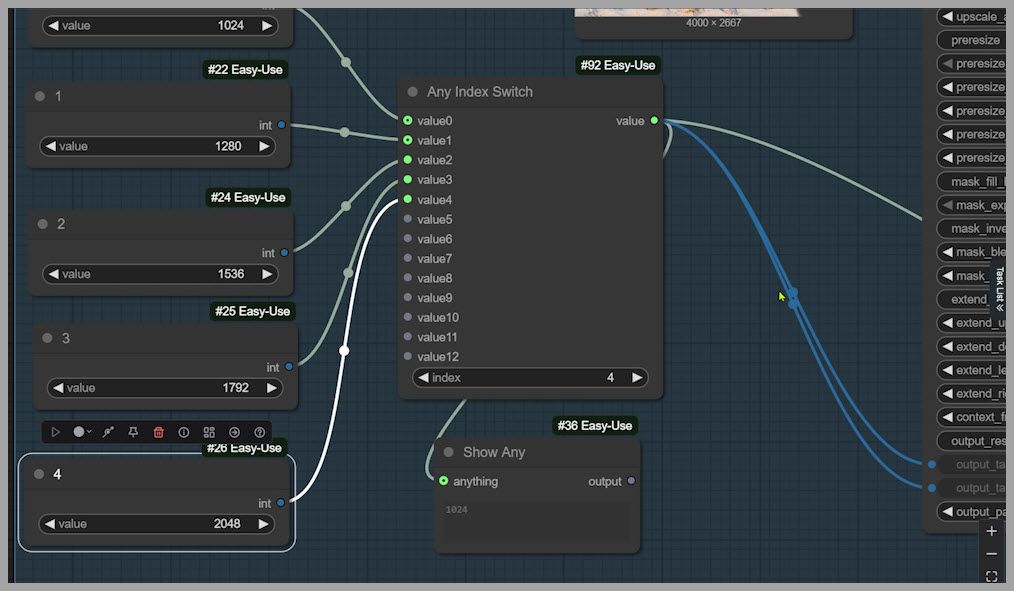
Step 3: Choose Crop Size with the Index
In the workflow, crop sizes are saved as preset square options, and you select them using an index.
In this example:
- Original image size: 4000 × 2667
- A 2048 × 2048 crop is enough to cover the masked area
The preset index for 2048 is 4, so:
- Set the crop size selector to index = 4
- That generates a 2048 × 2048 square crop around your mask
Step 4: Temporarily Deactivate Other Node Groups to Test
A helpful workflow tactic is to temporarily disable other node groups so you can verify only what matters right now.
So we:
- Deactivate the other groups
- Run the workflow
- Confirm the crop output
Now we can clearly see:
- The cropped image is 2048 × 2048
- The model will repaint this crop, not the full image
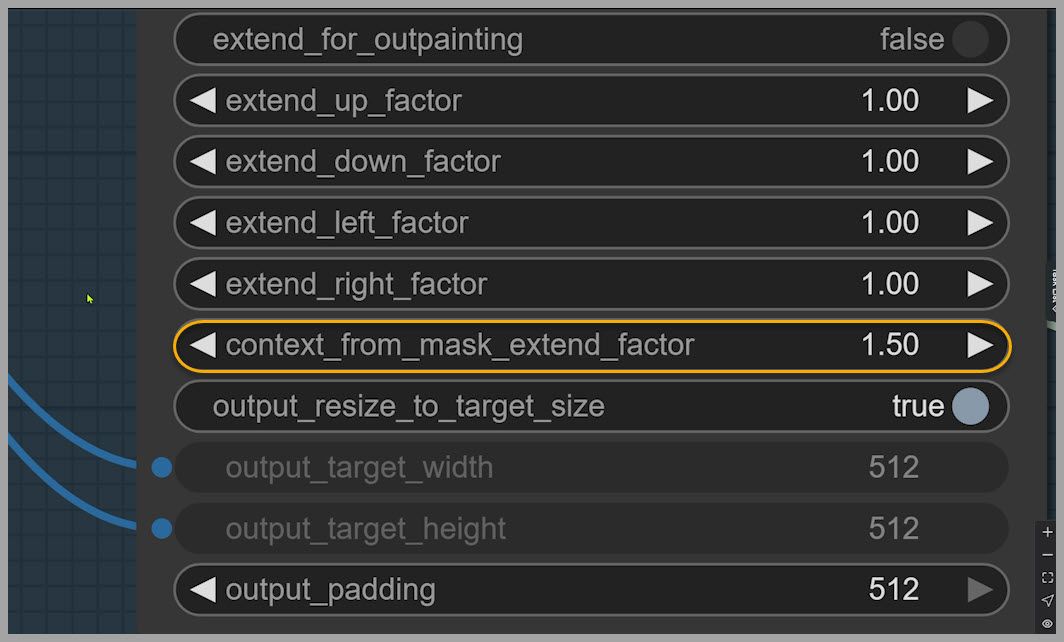
Step 5: Use “Context From Mask Extend Factor” for Better Blending
You can preview the mask and notice something important:
- There’s extra space around the masked area inside the crop.
That’s a good thing.
This extra surrounding region gives Flux 2 Klein more context so it can:
- match lighting,
- match shadows,
- match surrounding textures,
- and blend the inserted object naturally.
This is controlled by:
- context from mask extend factor
If you increase it, the crop includes more area around the mask. If you reduce it, the crop tightens closer to the masked region.
Step 6: Reactivate Everything and Run the Full Workflow
Now we:
- Reactivate the other node groups
- Run the full workflow
The result is noticeably better:
- The dog blends into the photo more naturally
- The placement is correct (actually next to the woman)
- The dog isn’t blocking anyone awkwardly
Why Masking Matters for Quality and Resolution
Masking doesn’t just improve accuracy—it protects image quality.
Here’s the big benefit:
- The final output stays at 4000 × 2667
- which matches the original uploaded image
The Core Problem Without a Mask: Full-Image Repaint and Quality Loss
If you don’t use a mask, the model may try to repaint the entire image.
But Flux 2 Klein is not meant to repaint a huge image like 4000 × 2667 in one pass:
- You might hit VRAM limits
- Or even if your system can run it, quality can degrade noticeably
A common outcome is that the image gets downgraded during the edit.
So in practice:
- Masking = targeted edit + high quality
- No masking = full repaint + higher risk of quality loss
Example: Adding a Cat Without a Reference Image (and What Changes)
Now let’s demonstrate the “no reference image needed” case: adding a random cat.
Clear the Mask and Disable the Reference Loader Group
- Open the mask editor
- Clear the mask
- Deactivate the node group that loads the reference image (because we don’t need a reference image for a random cat)
Prompt: “Add a cat into the group shot.”
- Prompt: “Add a cat into the group shot.”
- Run the workflow
The cat is added successfully.
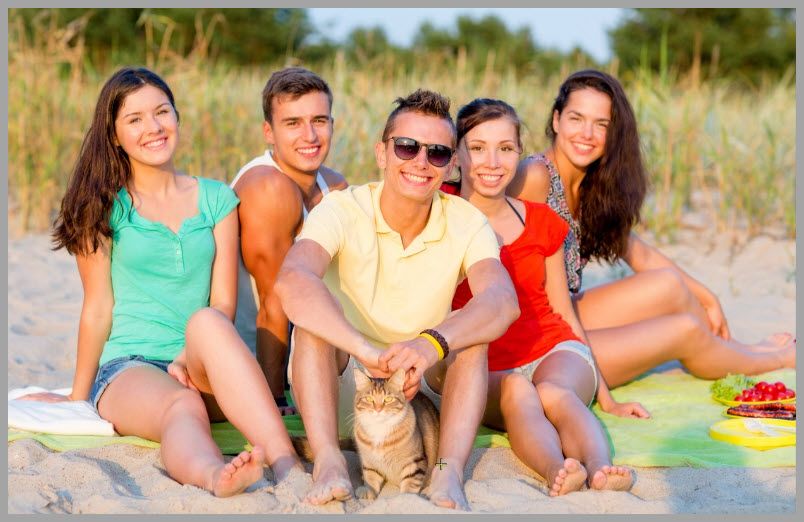
Output Size Changes: Why the Image Becomes 2048 × 1360
Now notice the key difference:
- The final image size becomes 2048 × 1360
That happens because this workflow includes an Image Resize node that limits the image size in the no-mask path.
And importantly: the workflow is built to be “smart” about this.
Making the Workflow Adaptive: Conditional Checks for Mask vs No Mask
This workflow works whether you use a mask or not because it uses conditional logic to choose the correct path automatically.
“Is Mask Empty” Node: Branching Logic
A node called Is Mask Empty checks whether a mask exists:
- If there is a mask: Flux 2 Klein repaints the cropped area (inpainting workflow)
- If the mask is empty: Flux 2 Klein repaints the resized uploaded image (full-image repaint workflow)
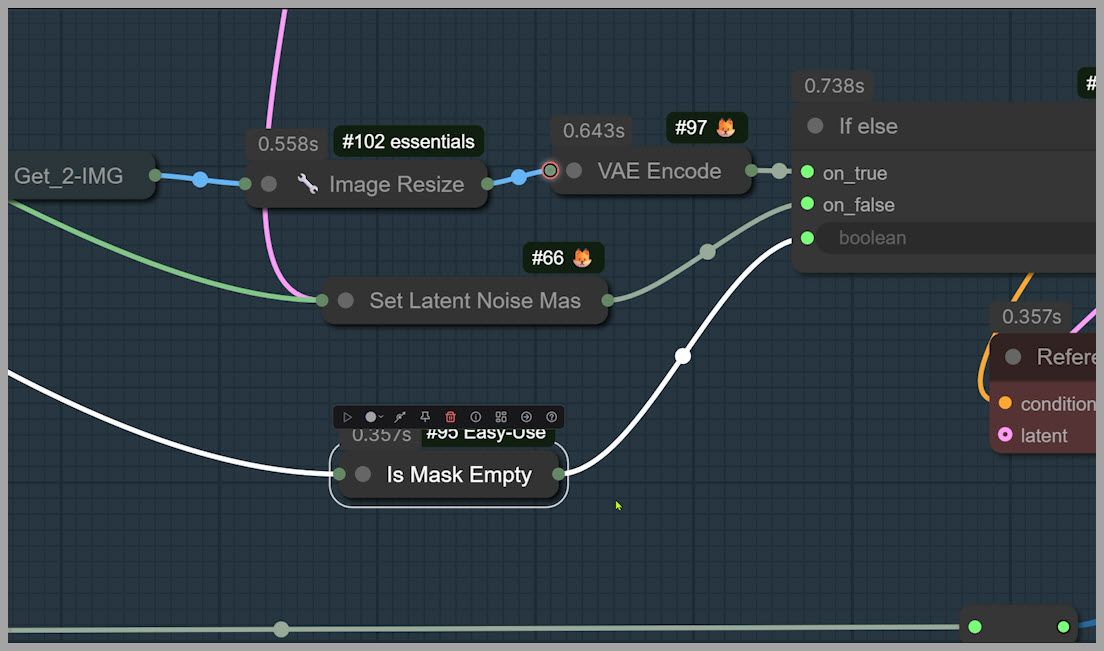
This is a practical design pattern because it lets one workflow support both:
- precision edits (mask-based)
- broad edits (no-mask)
without you constantly rewiring nodes.
Wrap-Up and Next Steps
Here’s what this workflow teaches in a nutshell:
- Inpainting means masking a region so the model edits only that part.
- Flux 2 Klein can “misunderstand” prompts even when they feel clear.
- Masking helps you:
- target the correct subject,
- control object placement,
- and improve blending.
- Inpaint Crop + context extension improves realism by giving the model surrounding context.
- Masking also helps preserve your original resolution (e.g., keeping 4000 × 2667).
- The workflow stays flexible using conditional logic like Is Mask Empty to switch between masked and unmasked processing.
If you want to keep learning Flux 2 Klein workflows, the best next step is to practice with a few variations:
- swap the reference image,
- try different mask sizes,
- adjust the context extend factor,
- and compare masked vs unmasked outputs.
That experimentation is where the techniques really “click”—and once they do, inpainting becomes one of the most powerful ways to edit images in ComfyUI.
Gain exclusive access to advanced ComfyUI workflows and resources by joining our community now!