How to Change Pose and Perspective in ComfyUI While Keeping Your Character Consistent
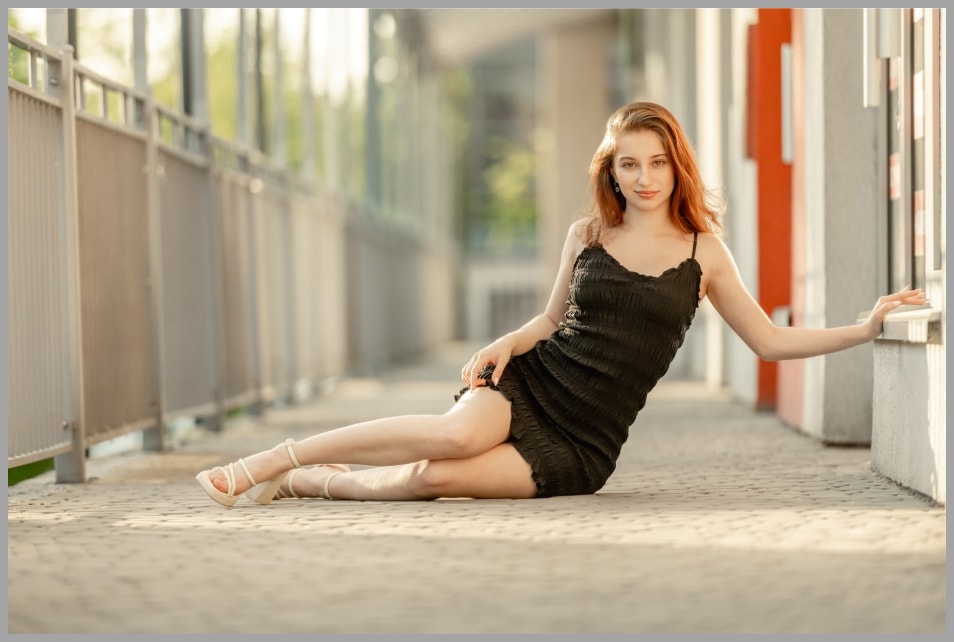
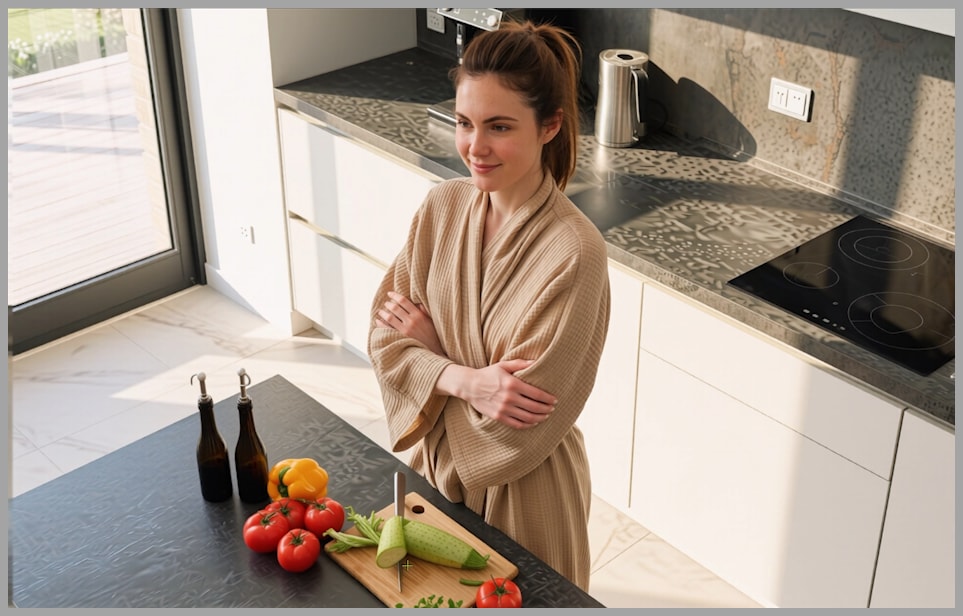
Creating fresh images from a single portrait is one of the most exciting things you can do in ComfyUI, especially when your character still looks like the same person from shot to shot. In this article, I’ll walk through a workflow designed to do exactly that: change camera angle, adjust pose, shift perspective, and still keep the subject visually consistent.
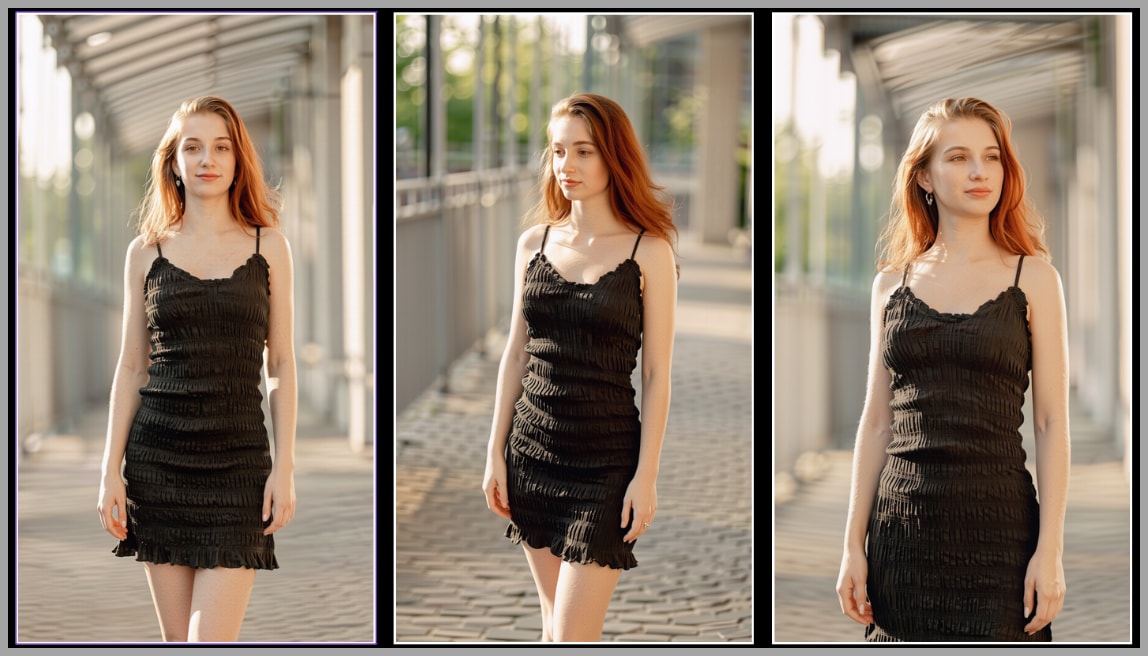
What makes this workflow especially powerful is that it does not just generate random variations. It gives you structured control. You can create a front-right quarter view, turn a close portrait into a wide elevated shot, or even transform a lying pose into a standing one. In practice, one uploaded image can become the starting point for an entire portfolio of new images.
YouTube Tutorial:
Gain exclusive access to advanced ComfyUI workflows and resources by joining our community now!
What This Workflow Does
At its core, this workflow takes a single uploaded image and uses it as the foundation for many new outputs. The goal is not just to redraw the same character, but to create believable variations while preserving identity and overall consistency.
With this workflow, you can:
- Change the camera angle of the subject.
- Change the subject’s pose.
- Change both pose and perspective at the same time.
- Preserve the background more closely when needed.
- Create outputs in different aspect ratios.
- Improve the final image with a second enhancement pass.
That means a single portrait can be turned into a whole set of new images with different views, compositions, and poses. For creators building character sheets, portfolios, storyboards, or stylized image collections, that kind of flexibility is incredibly useful.
How the Workflow Is Structured
The workflow contains three node groups in total.
The first group is responsible for generating the prompt that will later be used by the Qwen Edit model and the LoRA. In other words, this is where the workflow decides how the image should change.
The second and third groups handle the later stages of generation and refinement. Once the prompt is ready, those groups take over to produce the new image and improve its quality.
How the Prompt Is Built
The prompt used in this workflow is made from two separate parts:
- A camera-angle prompt
- A pose prompt
These are generated by two different nodes and then merged together before being passed into the next stage.
This design gives you a lot of flexibility. You can let both parts work together, or you can choose to use only one of them if you want more controlled edits.
Camera Angle Prompt
The first part of the prompt is generated by the Qwen Multiangle Camera node. This part controls the perspective of the image, including the viewing direction, height of the shot, and framing distance.
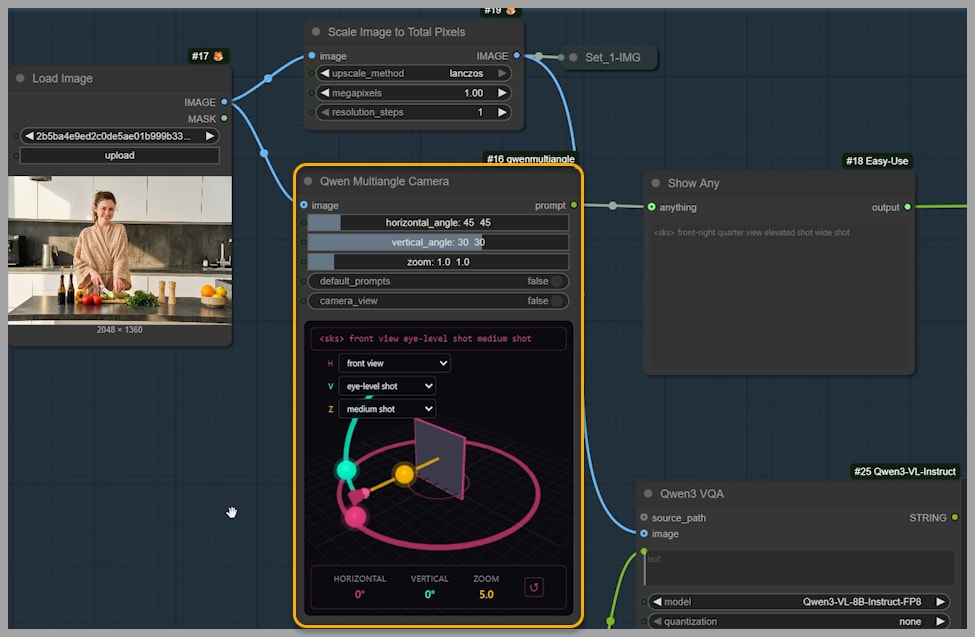
The node provides an interactive interface for 3D camera angle control, which makes it much easier to guide the result visually instead of relying only on guesswork in text prompts.
The output prompt from this node can be understood as having four parts:
- The LoRA trigger word This stays the same and activates the LoRA used later in the workflow.
- Azimuth This is the horizontal viewing angle. For example, a prompt might describe the view as a front-right quarter view.
- Elevation This is the vertical angle. For example, the image might use an elevated shot.
- Distance This defines the framing or zoom level. For example, the output might be described as a wide shot.
Together, these parts create a structured instruction for the desired camera setup.
There are three ways to customize this camera prompt:
- Use the sliders
- Use the dropdown menus
- Drag the handles directly
That combination of direct manipulation and parameter control makes the node especially approachable. You can fine-tune the shot precisely without having to manually write the full camera description yourself.
Pose Prompt
The second part of the prompt is generated by the Qwen3 VQA node.
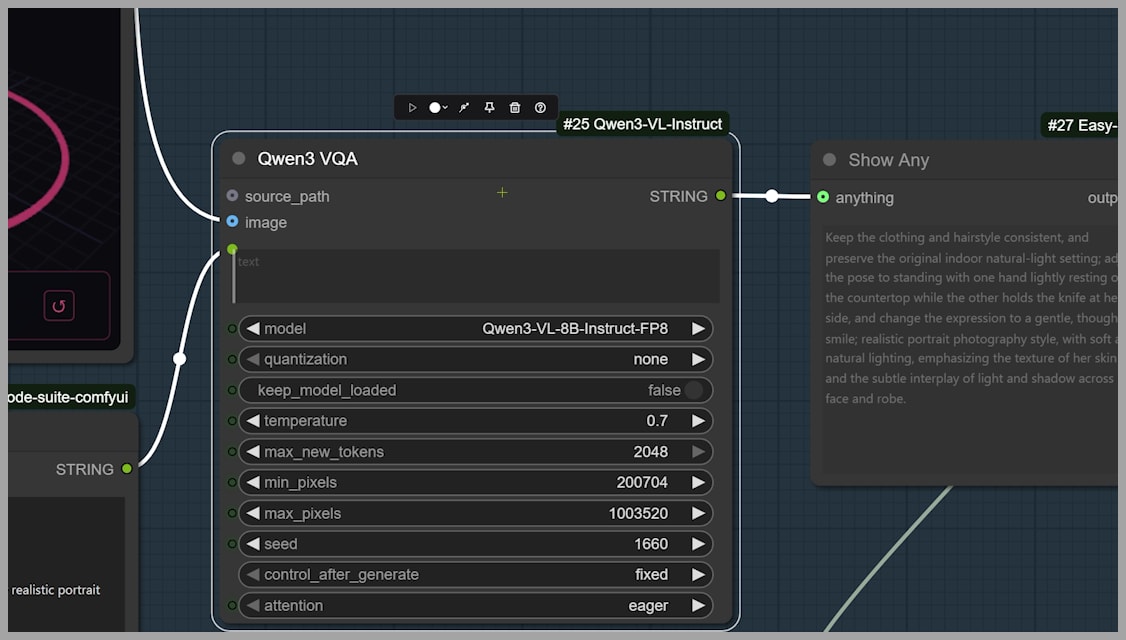
This node looks at the uploaded image and combines that visual information with the instruction text written in the node. Instead of generating a pose blindly, it suggests a new pose based on the pose already present in the original image.
That is an important detail. The workflow is not simply replacing the subject with a completely unrelated body position. It is using the original as a reference point, which helps preserve consistency and believability.
You can preview the pose prompt before sending it forward, which gives you a chance to evaluate whether the suggestion matches your intent.
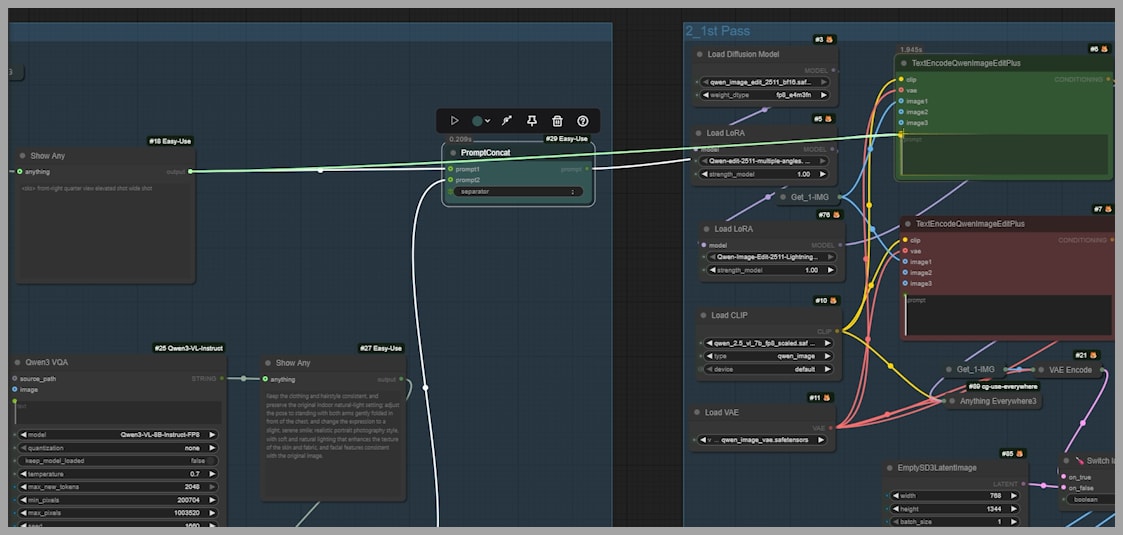
Combining Both Prompt Parts
At the end of the first group, a PromptConcat node combines the camera-angle prompt and the pose prompt into a single instruction.
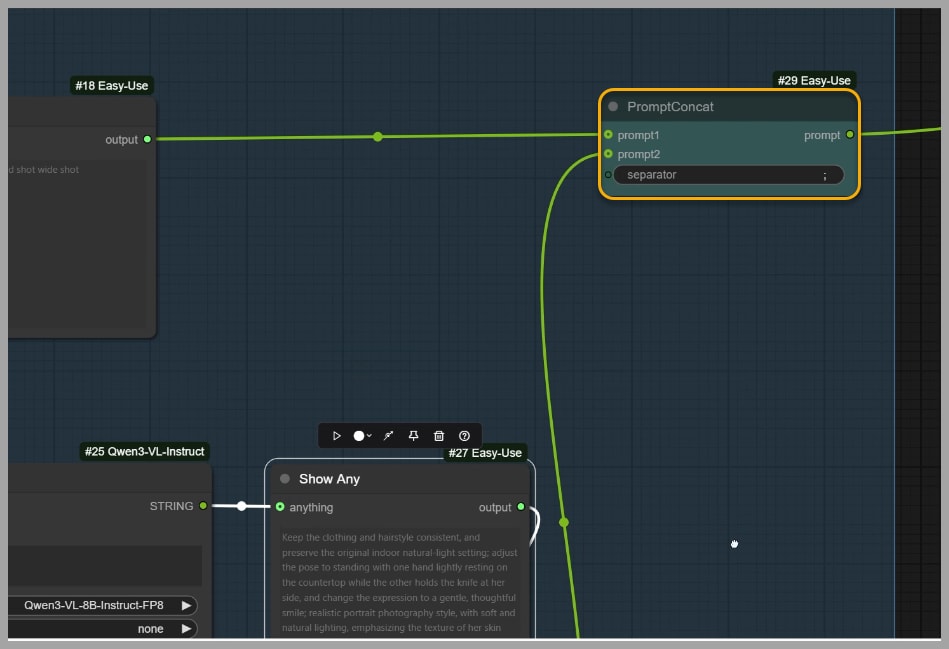
That combined prompt is then sent to the next group.
This is the handoff point between prompt construction and image generation. Once the prompt has been merged, the rest of the workflow uses it to produce the final edited image.
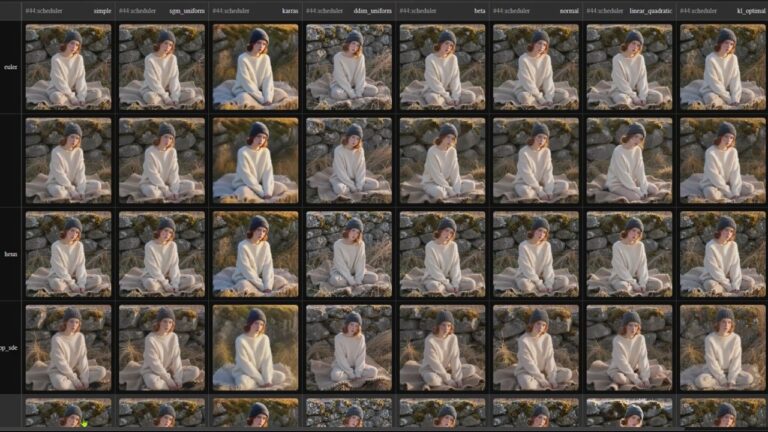
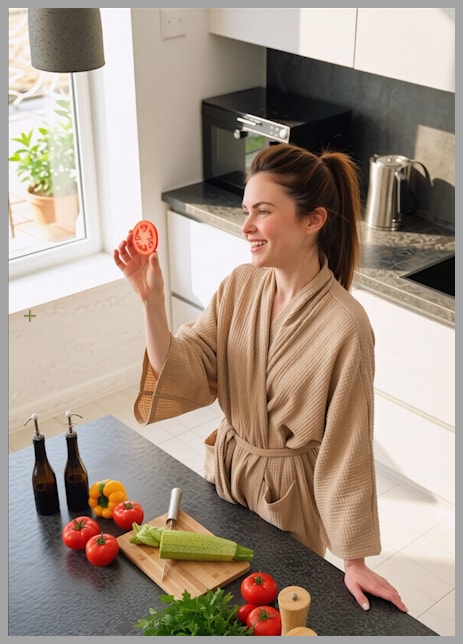
Running the Workflow
After the first group is ready, you can reactivate the second and third node groups and run the full workflow.
The final output reflects the instructions in the prompt. For example, if the prompt describes a front-right quarter view with an elevated wide shot, the generated image should visually match that description.
Why the Model and LoRA Matter
This workflow is built around the Qwen Edit 2511 model, and the multi-angle LoRA is also a key part of the result.
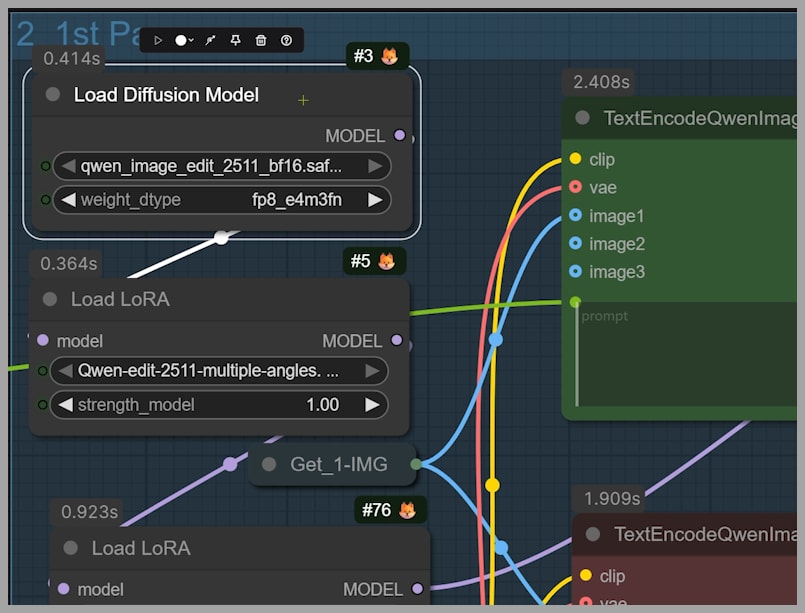
That combination is what makes the workflow more than just a standard edit pipeline. The model handles the image editing, while the LoRA helps reinforce the multi-angle behavior needed to produce convincing viewpoint changes.
Without that support, changing pose and perspective while keeping the character consistent would be much harder. The strength of this workflow comes from how these components work together.
Customization Options
One of the best parts of this workflow is that it gives you several ways to control the final result beyond the default setup.
Changing the Aspect Ratio
You do not have to keep the original image’s aspect ratio.
For example, you can set the width to 768 and the height to 1344. That does not define the final resolution directly, but it does define the aspect ratio the final image will follow.
To use this empty latent image instead of the original framing, switch the relevant boolean value from true to false.
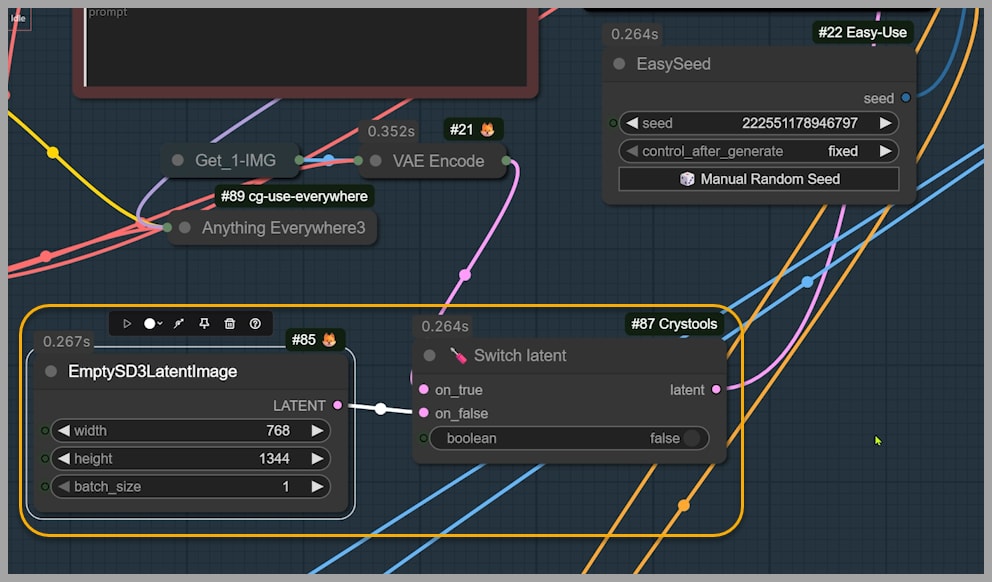
Once you rerun the workflow, the output will follow the new orientation. In the example shown in the tutorial, this changes the result into a portrait-oriented image.
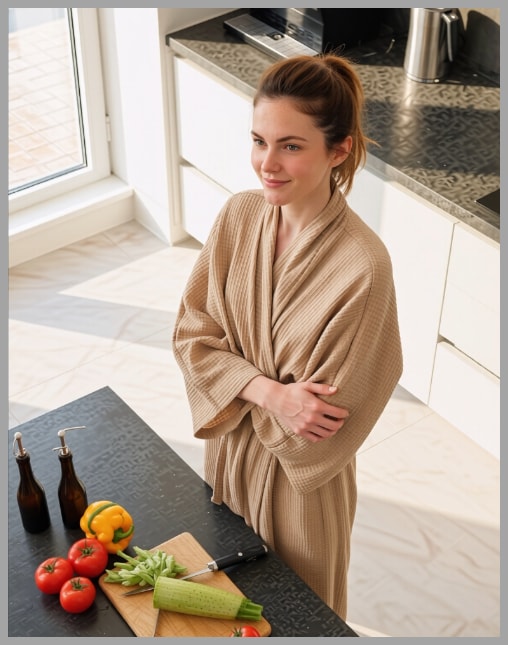
This is useful when your source image has one composition, but your target use case needs another, such as a vertical layout for social content, posters, or character sheets.
Writing Your Own Pose Prompt
If you do not like the pose suggested by the Qwen3 VL model, you can replace it with your own custom prompt.
This gives you direct creative control over the pose instead of relying on the automatically generated suggestion.
To make that work, there is one important change you need to make:
- Write your custom pose prompt in the appropriate field.
- Change the select parameter from 1 to 2.
- Run the workflow again.
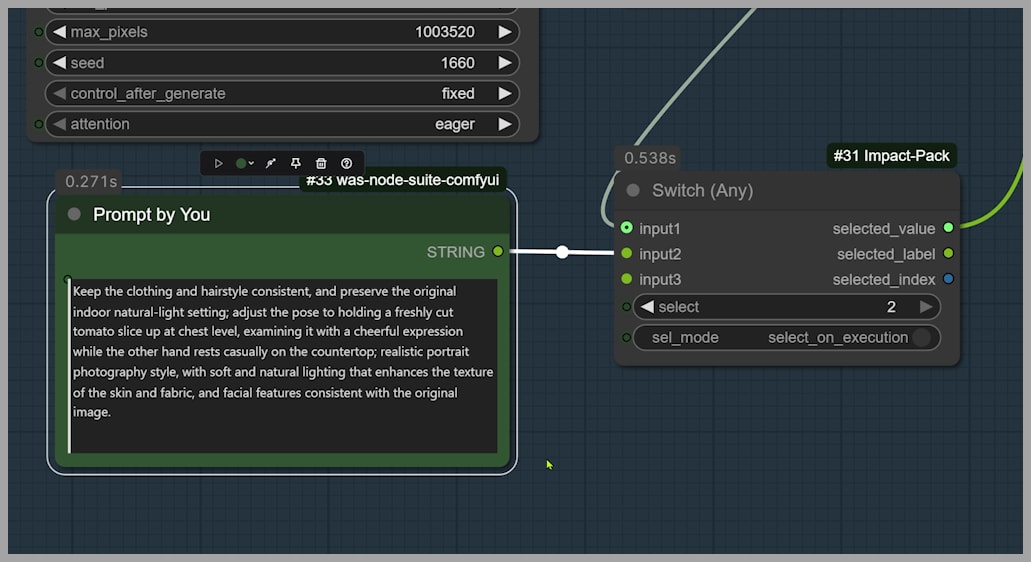
After that, the output pose should follow your written description instead of the model’s suggested one.
This is a great option when you already know exactly how you want the character to move or stand.
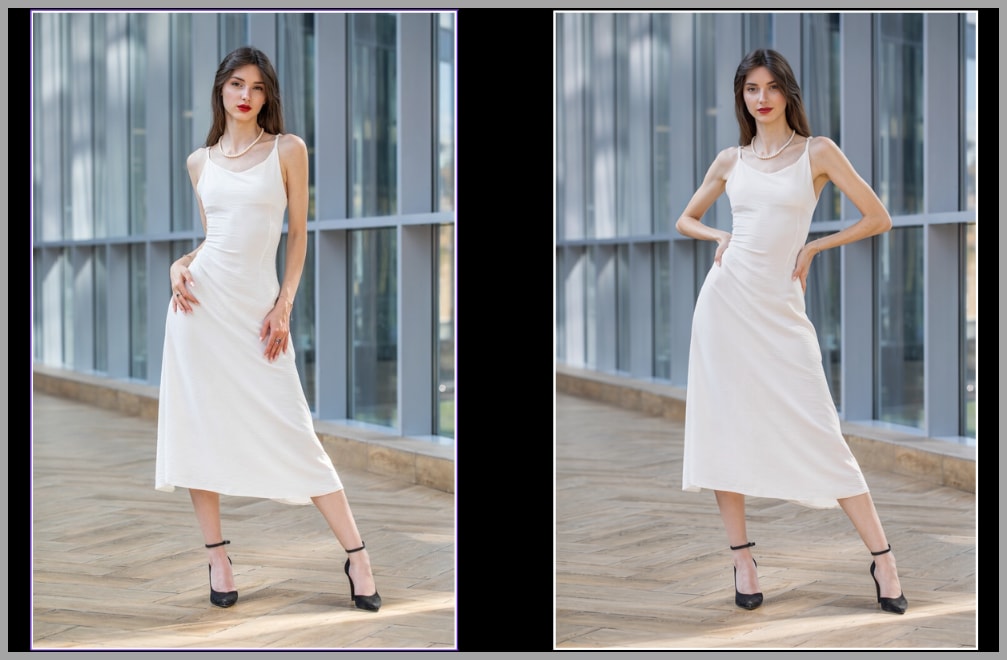
Changing Only the Camera Angle
Sometimes you may want to keep the original pose and background as stable as possible while only changing the viewing angle.
If you send the combined prompt into the next group, both the camera angle and the pose will change together.
But if you send only the camera-angle prompt, then the workflow will focus on changing the perspective while leaving the pose more intact.
The result is a new framing, such as a wide elevated shot, while the character’s body position stays much closer to the original.

This is especially helpful when you like the pose but want alternate shots of the same moment.
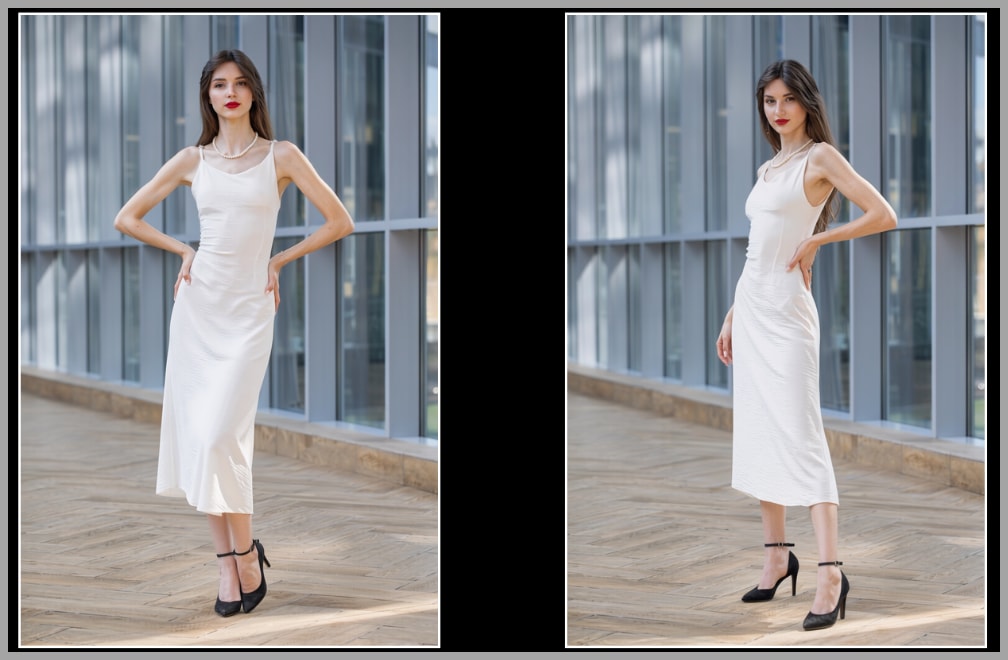
Changing Only the Pose
You can also do the reverse: preserve more of the original background and viewpoint while changing only the subject’s pose.
This gives you tighter control over character movement without forcing a full scene reinterpretation.
In other words, instead of telling the workflow to change everything at once, you can isolate the exact dimension you want to edit:
- Camera angle only
- Pose only
- Both together
That flexibility is what makes the workflow feel practical rather than gimmicky.
Improving Final Image Quality
The last group in the workflow includes a second pass to improve the final image.
This matters because the direct output from the previous group is not always the best version of the image. It may be good, but not always polished enough for final use.
To improve it, the workflow does two things:
- It upscales the image with a model before resizing.
- It sets the longest side of the final output image to 2048.
This second pass helps produce a cleaner, more finished result.
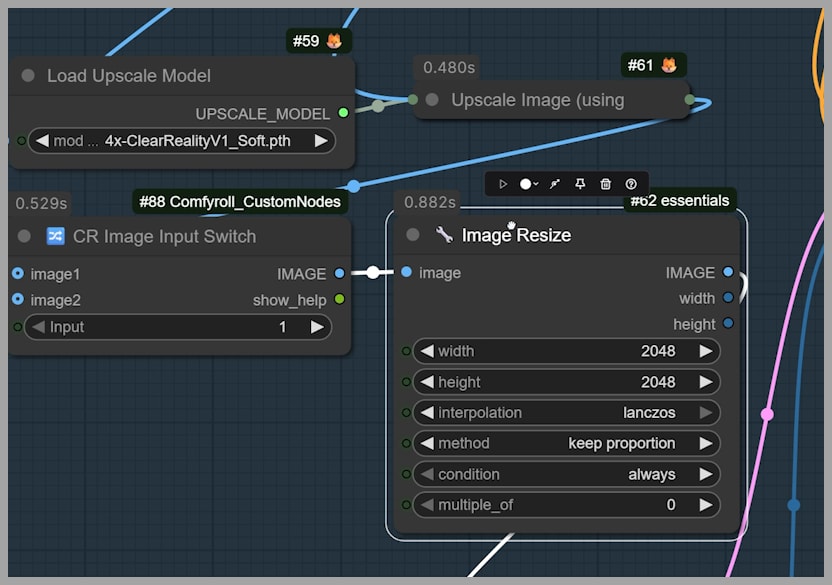
When Upscaling Causes Problems
Upscaling does not always behave perfectly. In some cases, it can introduce detail issues or produce artifacts that make the image look less natural.
If that happens, there is a simple adjustment available:
- Change the input parameter from 1 to 2
That switch can help you avoid some of the issues caused by the upscaling path in the final stage.
This is a useful troubleshooting option to keep in mind. If your final image looks overly sharpened, strangely detailed, or slightly off after upscaling, this is one of the first settings worth testing.
Final Thoughts
This is a genuinely powerful ComfyUI workflow because it combines flexibility with consistency. From one uploaded image, you can create many variations that feel intentional rather than random. You can explore new viewpoints, test different poses, preserve more of the original scene when needed, and fine-tune the final result with a second-pass enhancement step.
Gain exclusive access to advanced ComfyUI workflows and resources by joining our community now!