Building Custom GPTs with API: A Step-by-Step Guide
ChatGPT is like a treasure trove of knowledge, neatly packed into one large language model. It’s already a whiz at solving problems with text, code, or images. But, until recently, its range was a bit limited. Enter the game-changing new feature: GPTs. Now, all Plus users can craft their own GPTs and link them up with third-party apps, boosting what GPTs can do.
We’re now in an exciting era where these LLMs can connect to, well, everything! Imagine having ChatGPT send your emails, manage your social media, plan your day, or even control your smart home devices. Sounds cool, right?
Haven’t made your own GPT yet? No worries! Check out this guide: GPT Building for Everyone: A How-To.
For those who break into a cold sweat at the mention of “API,” don’t fret. An API is just a way for apps to talk to each other, and ChatGPT can guide you through any techy troubles. I’ll even show you how to tackle API debugging and schema writing in this article.
If that still sounds daunting, give Zapier a try. It’s connected to over 6000 apps and simplifies the whole process. I’ve covered it here: ChatGPT Connects 6000+ Apps, Boosting Efficiency by 100x!
This article will walk you through creating a GPT that connects to Unsplash’s image library via API and even redoes the images with DALL-E. Let’s dive in!
Testing the API
First things first, we need an API key from Unsplash. It’s like a secret handshake to start using their API. You can get this key by creating an app on their platform.
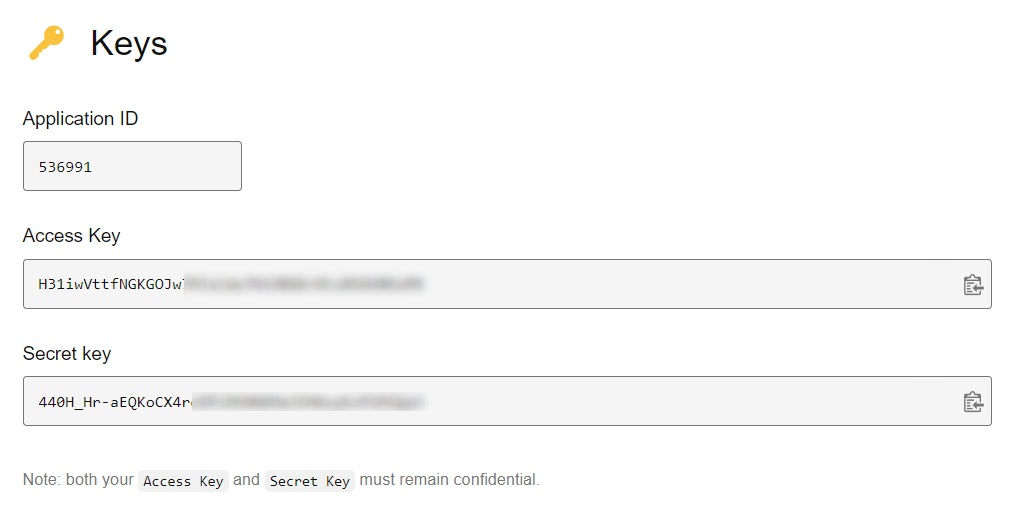
Once you have the key, it’s testing time. The Unsplash API is pretty versatile. For this project, we’re focusing on the “Search Photos” function.
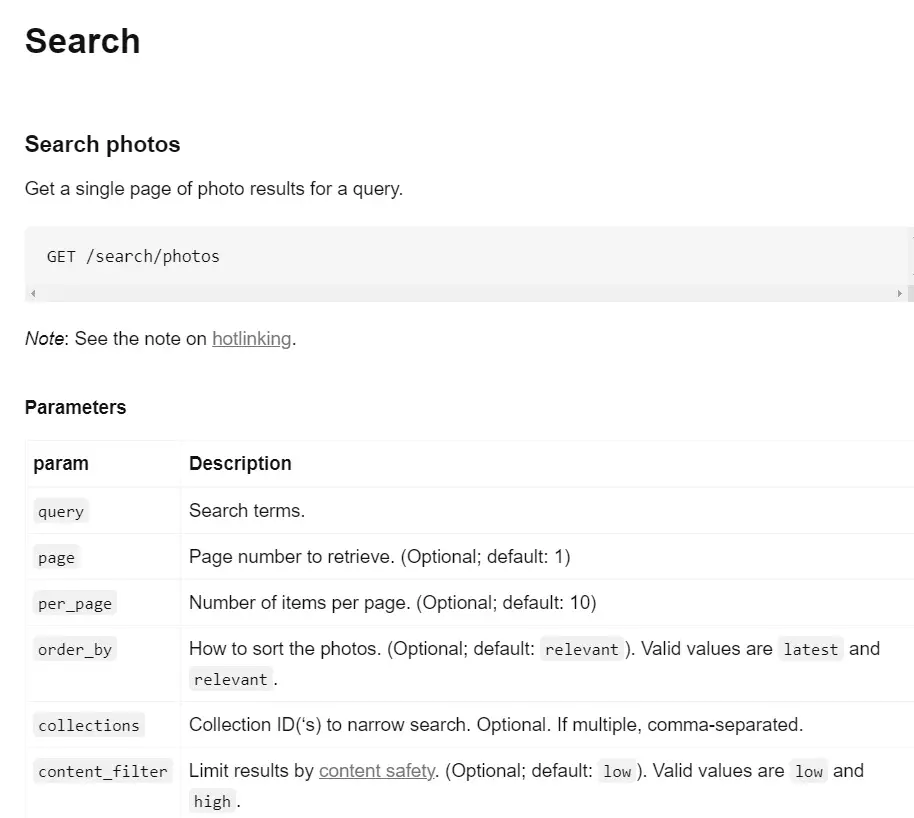
Don’t worry if the documentation looks like Greek to you. Feed it to ChatGPT, and it’ll break it down.
It’s wise to test the API first to ensure everything’s smooth. Postman is my go-to tool for this. If you’re new to it, just ask ChatGPT for help. Here’s how I crafted my prompt for ChatGPT:
Prompt: How can I use Postman to test an API based on this documentation:
[Relevant API Document]
After submitting the prompt, ChatGPT provided a detailed, step-by-step guide.
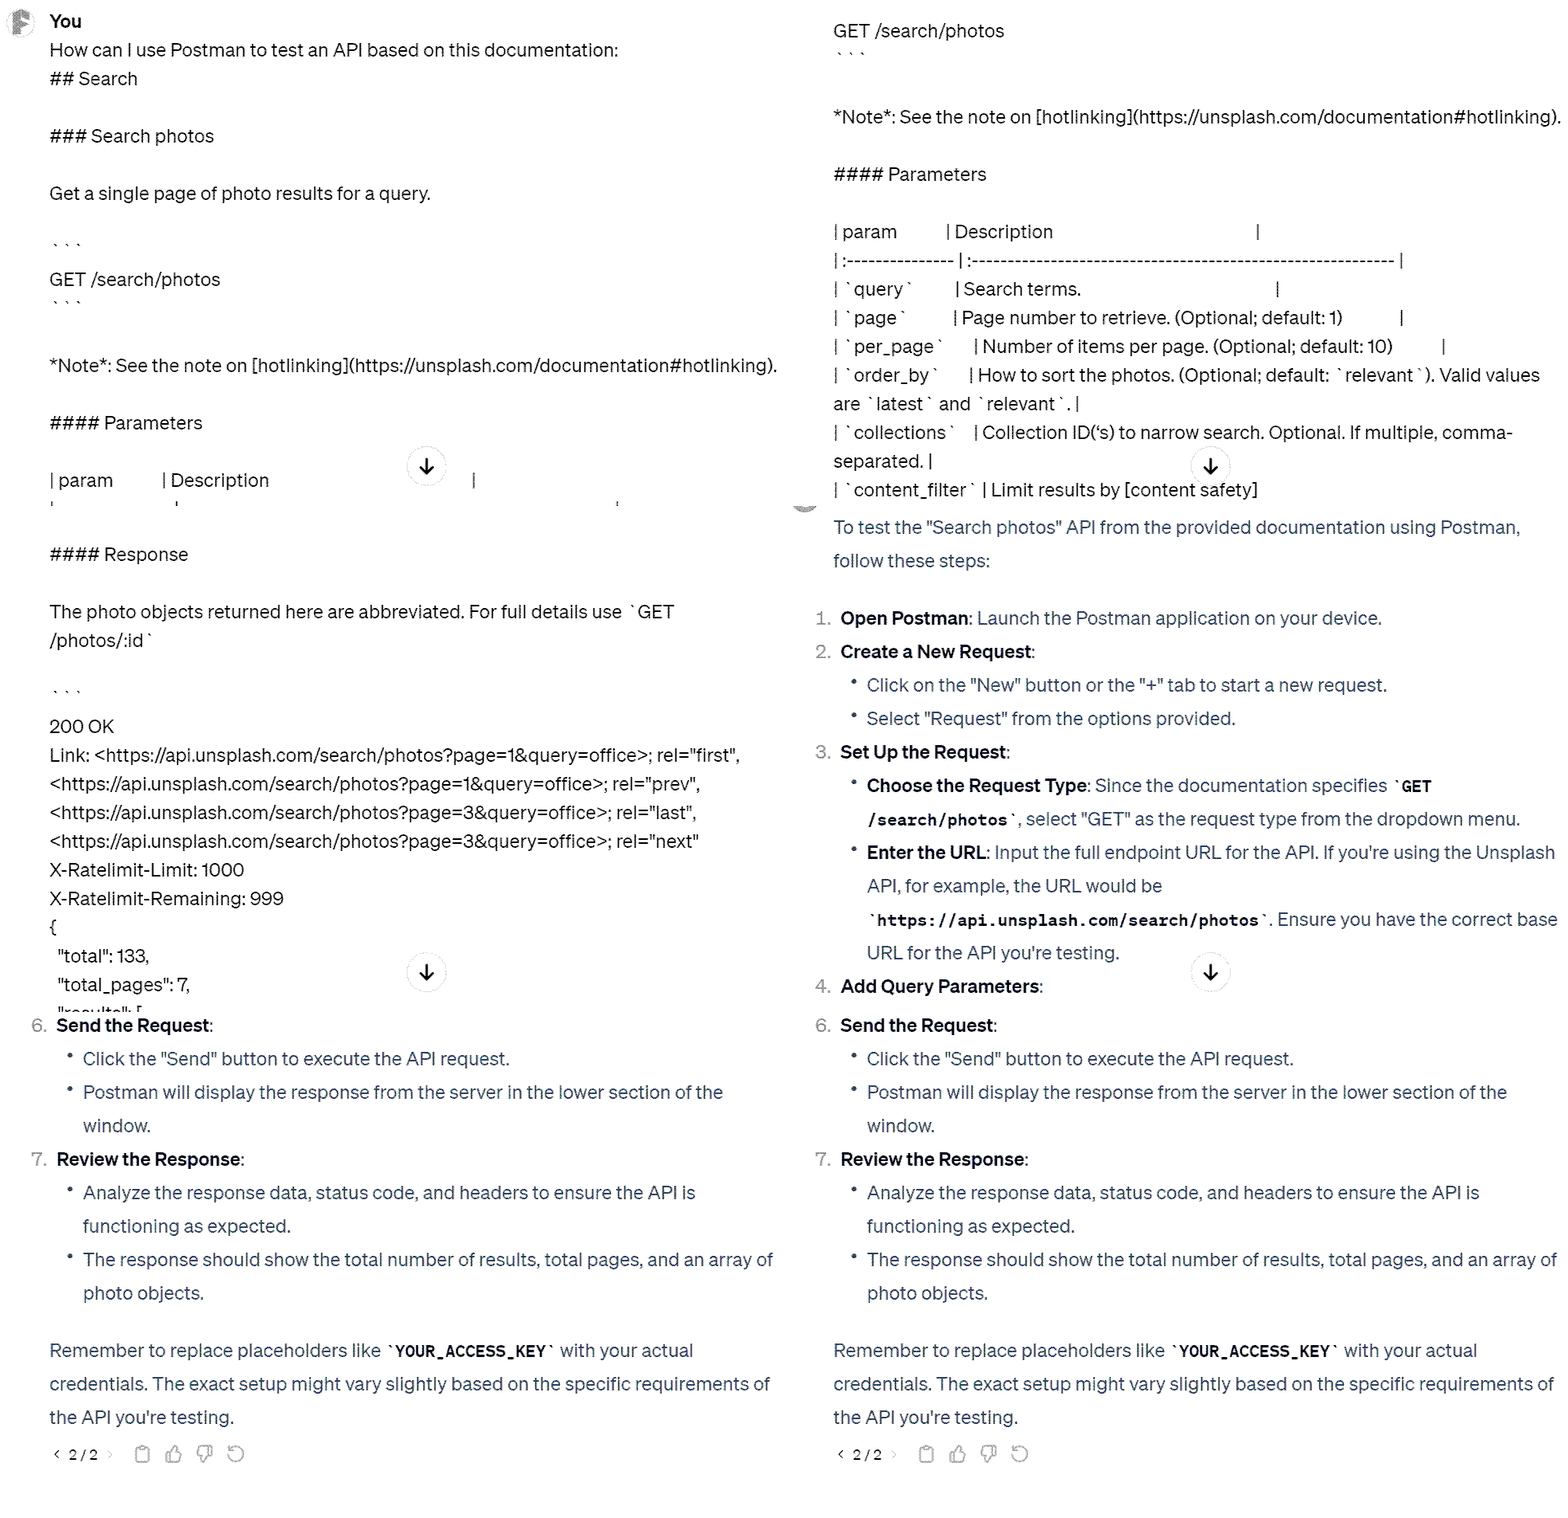
It’s really just two main steps:
1️⃣ Enter your API Key into Postman.

2️⃣Set up and send your request.

Once you hit “Send,” a “200” status code means you’re good to go!

Writing Schema
Next, we need a schema. It’s like a blueprint that tells GPTs how to chat with the Unsplash API. ChatGPT can help here, too. Use the CURL requests and responses from Postman as references to get a precise schema. The Unsplash response can be lengthy, so I only submitted the crucial parts to avoid overwhelming ChatGPT.
You’ll find the CURL request in the upper right corner of Postman.
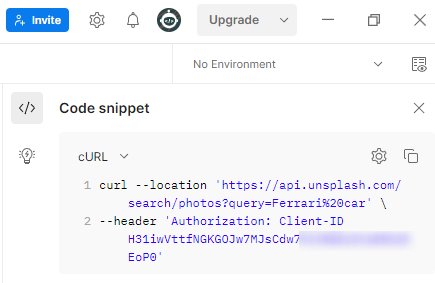
Armed with this data, I can instruct ChatGPT to craft a Schema on my behalf. However, the art of composing schemas for GPTs remains relatively novel, and ChatGPT still lacks extensive knowledge in this domain.
Consequently, I’ve uncovered a GPT specialized in aiding the creation of GPT schemas, conveniently accessible at https://chat.openai.com/g/g-iThwkWDbA.
Schemas generated using this particular GPT exhibit significantly heightened precision. I devised this prompt to facilitate the generation of the Schema.
Prompt: Below is the curl request and response from the Unsplash API. Can you generate the schema for me?
[CURL Request and Response]
Creating GPTs
Once you possess the Schema, creating GPTs becomes notably simpler. You merely need to populate the recently generated GPT Schema, disregarding other configurations.
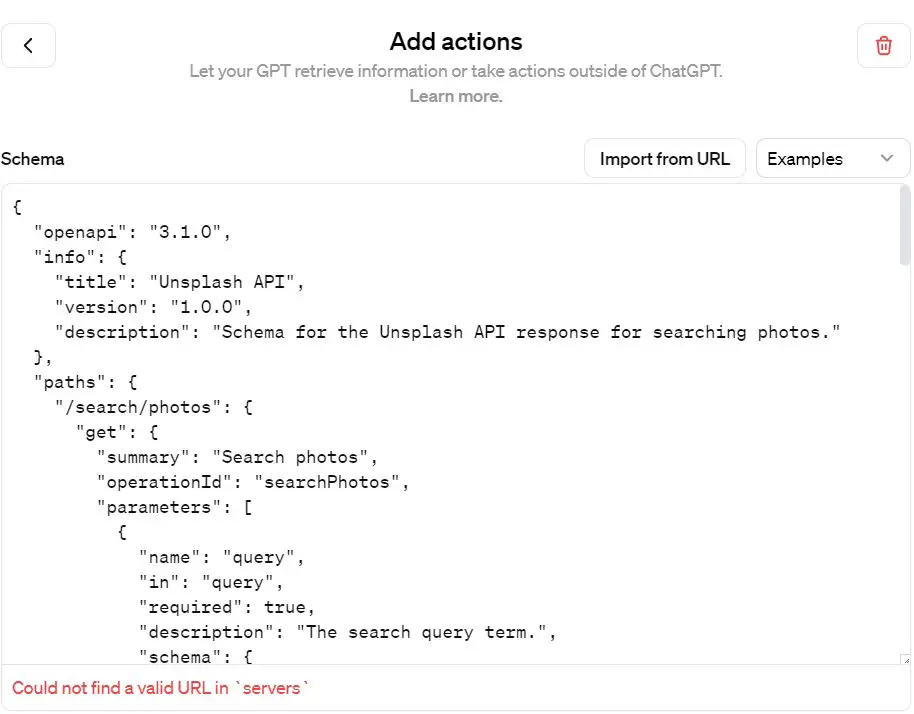
Upon completing the Schema entries, an error message appeared:
Could not find a valid URL in
servers
Upon reviewing OpenAI’s provided reference Schema, you’ll notice the absence of the “Servers” key, which can be manually added.
{ "openapi": "3.1.0", "info": { "title": "Get weather data", "description": "Retrieves current weather data for a location.", "version": "v1.0.0" }, "servers": [ { "url": "https://weather.example.com" } ], "paths": { "/location": { "get": { "description": "Get temperature for a specific location", "operationId": "GetCurrentWeather", "parameters": [ { "name": "location", "in": "query", "description": "The city and state to retrieve the weather for", "required": true, "schema": { "type": "string" } } ], "deprecated": false } } }, "components": { "schemas": {} } } Following this modification, the error message vanishes.
Subsequently, the updated Schema appears as follows:
{ "openapi": "3.1.0", "info": { "title": "Unsplash API", "version": "1.0.0", "description": "Schema for the Unsplash API response for searching photos." }, "servers": [ { "url": "https://api.unsplash.com" } ], "paths": { "/search/photos": { "get": { "summary": "Search photos", "operationId": "searchPhotos", "parameters": [ { "name": "query", "in": "query", "required": true, "description": "The search query term.", "schema": { "type": "string" } } ], "responses": { "200": { "description": "Successful response", "content": { "application/json": { "schema": { "type": "object", "properties": { "total": { "type": "integer", "description": "Total number of results." }, "total_pages": { "type": "integer", "description": "Total number of pages." }, "results": { "type": "array", "items": { "type": "object", "properties": { "width": { "type": "integer", "description": "Width of the image." }, "height": { "type": "integer", "description": "Height of the image." }, "color": { "type": "string", "description": "Dominant color of the image." }, "alt_description": { "type": "string", "description": "Alternative description of the image." }, "urls": { "type": "object", "properties": { "raw": { "type": "string", "format": "uri", "description": "URL of the raw image." }, "full": { "type": "string", "format": "uri", "description": "URL of the full-size image." }, "regular": { "type": "string", "format": "uri", "description": "URL of the regular-size image." }, "small": { "type": "string", "format": "uri", "description": "URL of the small-size image." }, "thumb": { "type": "string", "format": "uri", "description": "URL of the thumbnail image." }, "small_s3": { "type": "string", "format": "uri", "description": "URL of the small-size image hosted on S3." } } } } } } } } } } } } } } } } The subsequent task is to input the API Key into the GPTs.
The subsequent step entails populating the GPTs with the API Key, which typically resembles the example below:
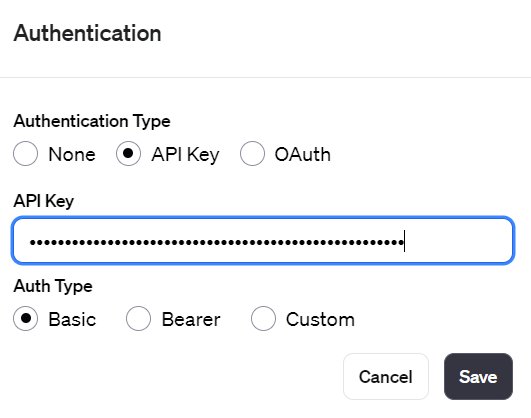
Subsequently, you can fine-tune the GPTs’ configuration. Detailed instructions can guide you on API utilization, with further refinements to instructions made after you’ve tested the GPTs’ Actions. Here are the instructions I’ve formulated:
When users initiate an image search on our platform, the system should employ the ‘searchPhotos’ action to fetch relevant results. The task involves several key steps:
- Implement the ‘searchPhotos’ action to retrieve image search results based on user queries.
- For each image result, extract and display the following details:
- The URL of the image, using ‘urls.regular’ as the source.
- A brief description of the image.
- The dimensions of the image, specifically its width and height.
- The name of the image’s author, sourced from ‘user.name’.
- Configure the display settings to show a default of three random images per search result.
Afterward, you can proceed to testing. As depicted in the image below, the test yields successful results. 
Summary
A year ago, the thought of creating an AI app was just a dream. Now, I’m doing it with my own hands, and it’s incredibly rewarding. I hope this article sparks your curiosity and brings you the same joy.


