Refining Midjourney Images with Stable Diffusion: A Step-by-Step Guide
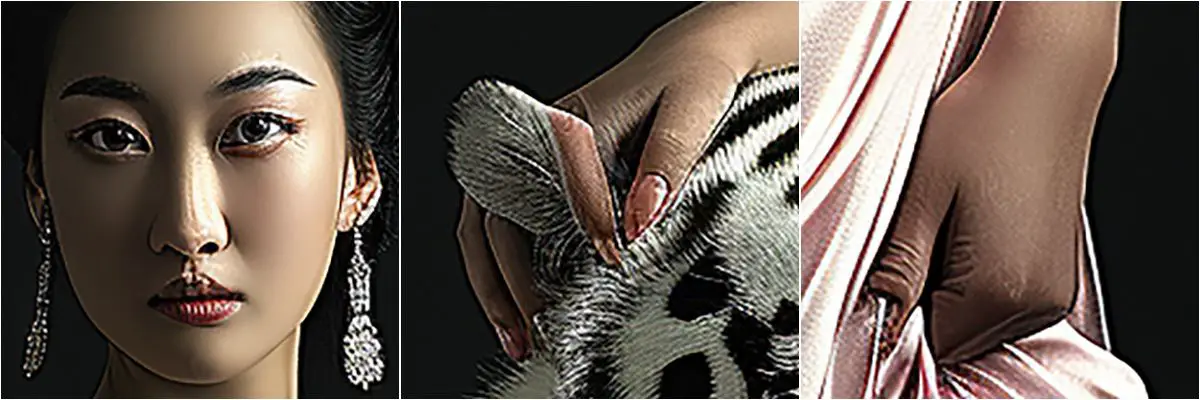
Midjourney V6 has ushered in a significant advancement in texture quality for generated photos. The four images below, crafted by Midjourney V6, demonstrate this leap in detail, especially when scrutinizing the faces of people and animals like tigers.
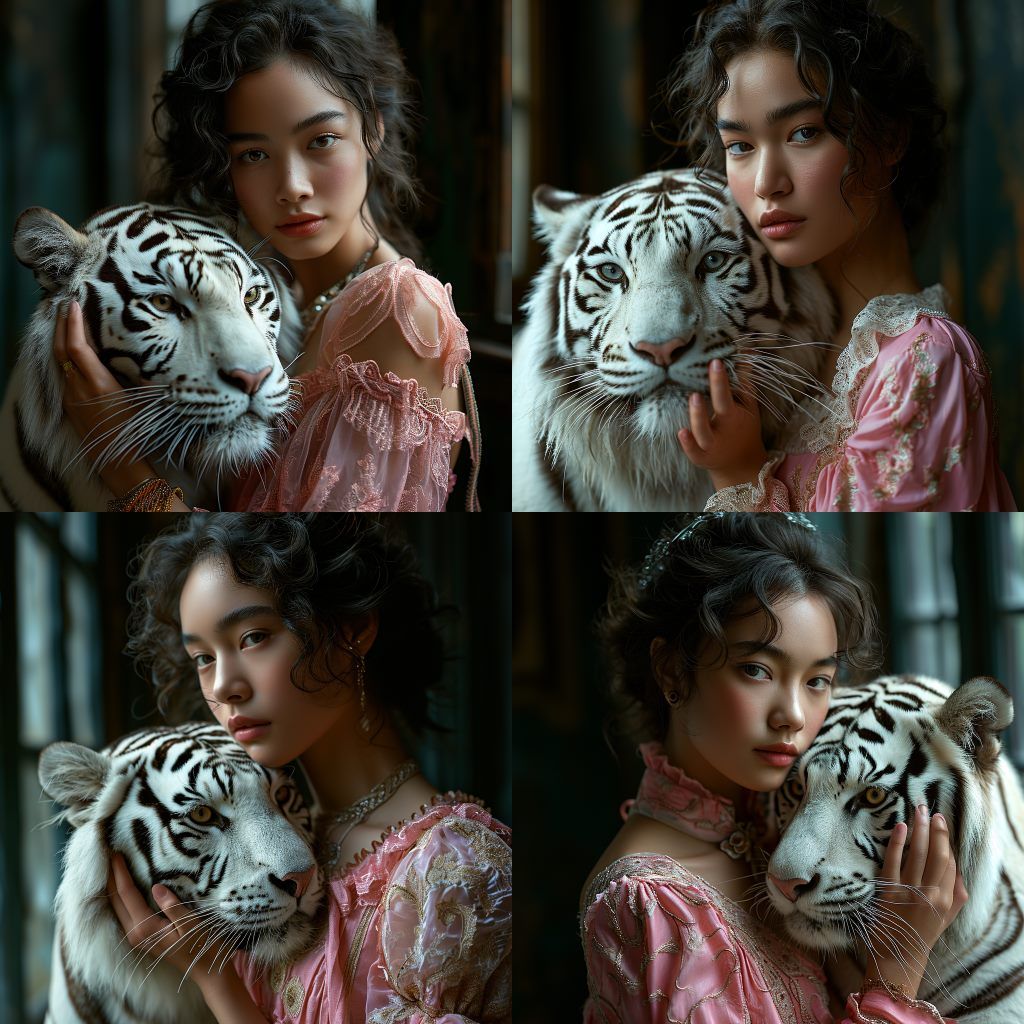
A meticulous examination, however, reveals flaws in at least two hands among these images. This issue isn’t unique to Midjourney; it’s a common hurdle for all AI art generators.
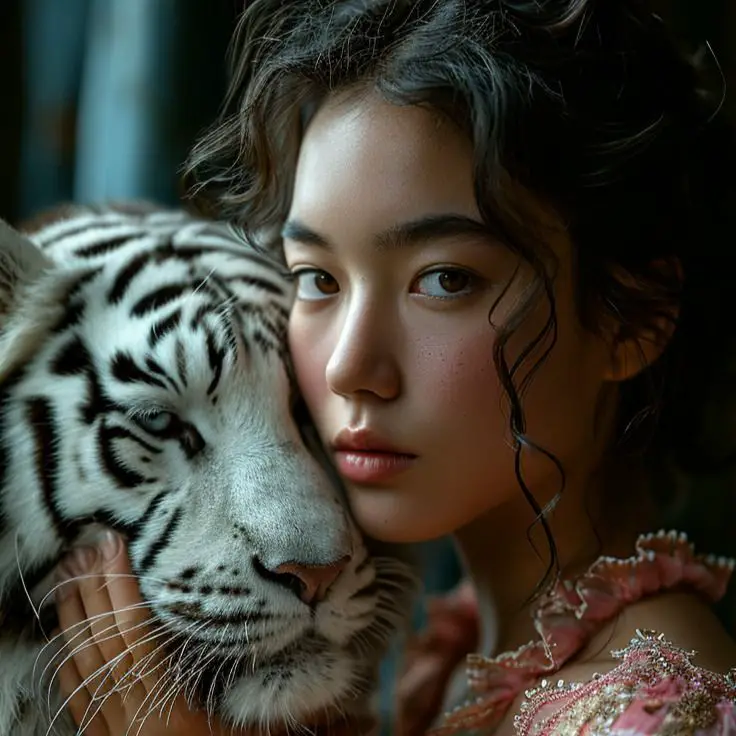
Interestingly, when characters dominate the visual space, such imperfections are less frequent. Rerolling often yields flawless images in these scenarios.
But, when characters are smaller elements within the picture, detailing issues, particularly in faces and hands, become more pronounced. Rerolling here often falls short in addressing these glitches.
Midjourney does offer an inpaint function, designed to rectify such flaws, but it’s not yet implemented in V6. And even when available, its effectiveness is limited due to the prompt-driven control which struggles with intricacies, like the precise posture of a hand or the curvature of fingers.
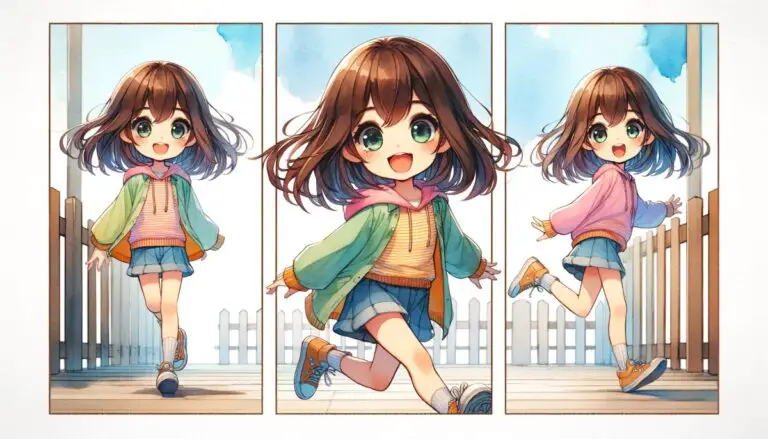
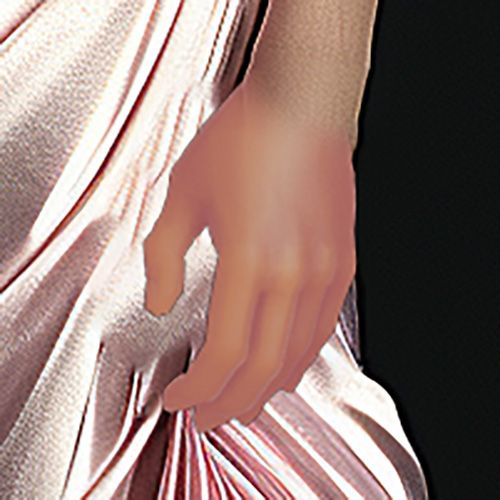
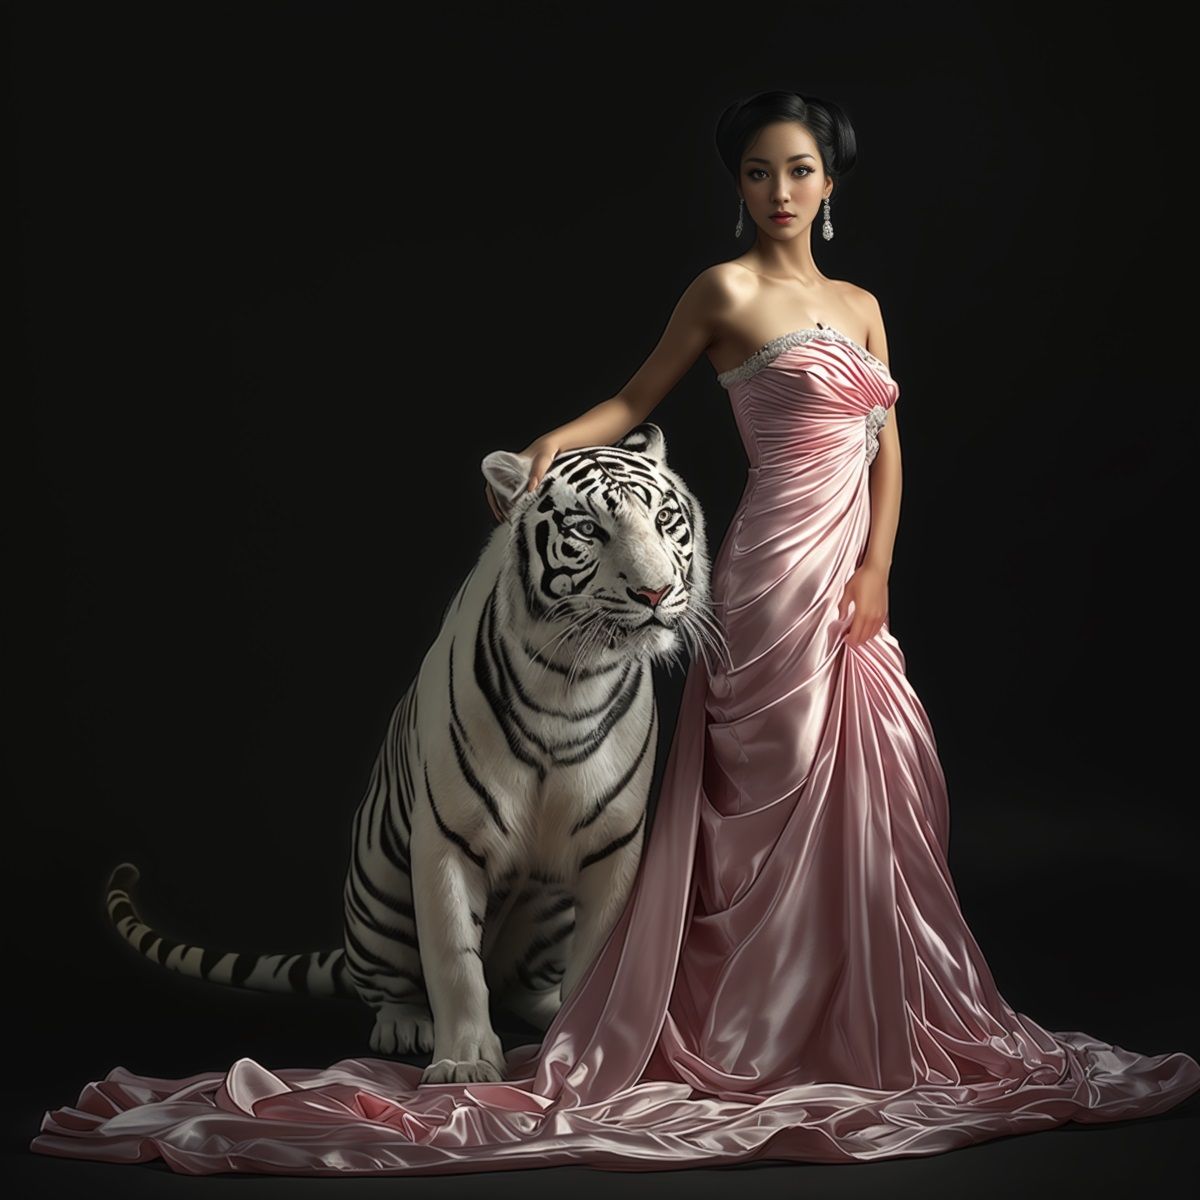
Consider the image below, also generated with Midjourney V6. Its smaller-scale character highlights the issue with detail loss.
Zooming in, the flaws in the face and hands are evident.
Without the inpaint tool in V6, the optimal solution lies in Stable Diffusion. It’s a better tool for achieving the desired effects.
Let’s tackle the most challenging part first: the left hand. In the image above, the hand appears clenched and tense, detracting from the overall elegance. To address this, I used DesignDoll, a 3D modeling software available for free at terawell.net, to create the desired hand pose.
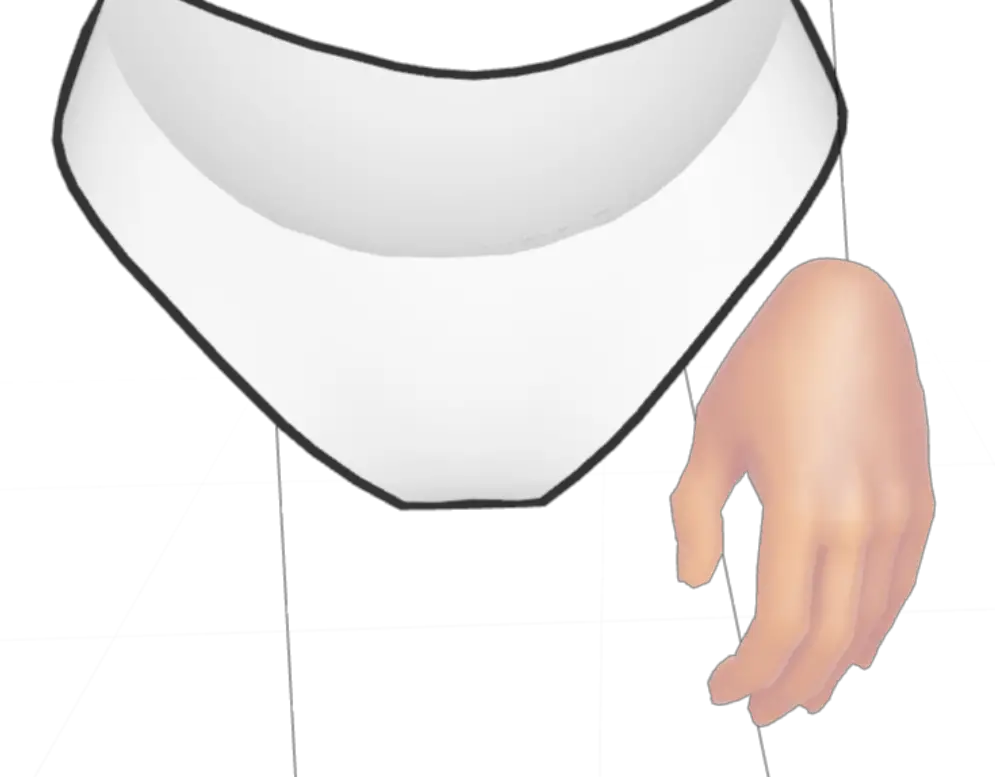
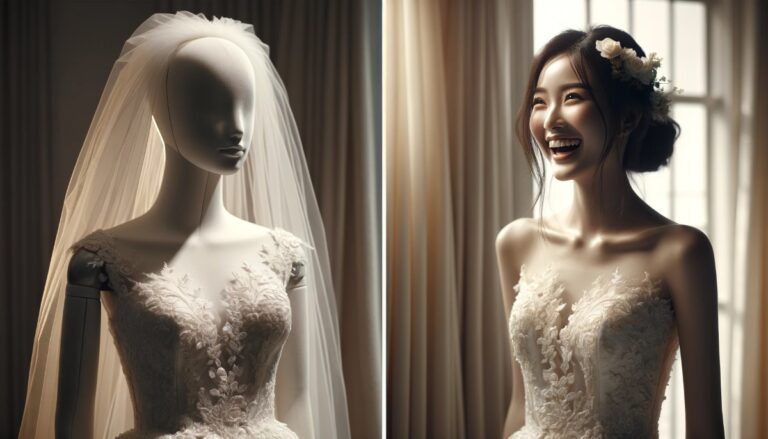
After incorporating the newly posed hand into the original image via Photoshop, the result may appear artificial.
But, worry not, as Stable Diffusion will seamlessly blend it in. The key here is ensuring the silhouette and pose are accurate.
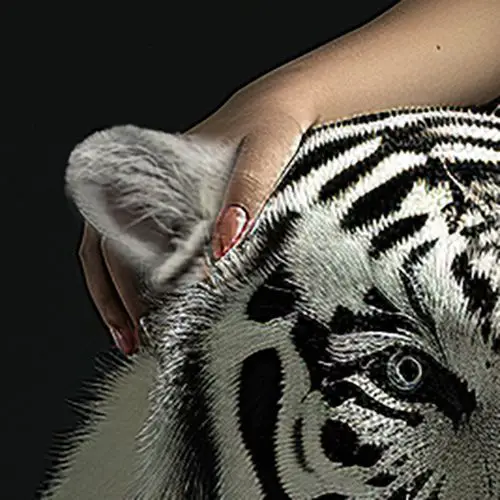
Next, I added a white tiger’s ear, found online, into the image for a more cohesive look.
With these preparations, I moved on to repainting the image using Stable Diffusion to restore the naturalness of the blemished areas.
I began at the img2img section, uploading the image to the inpaint interface. I selected the majicMIX realistic model, focusing first on the left hand using a paintbrush tool.
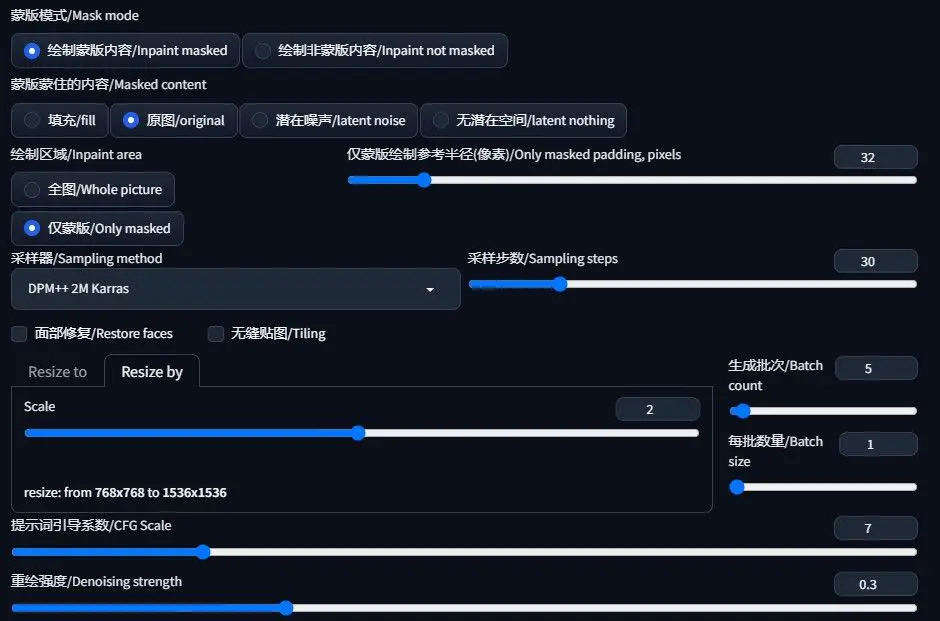
The critical parameters I adjusted were “Inpaint area” (set to “Only masked”) and “Denoising strength” (kept at a lower value).
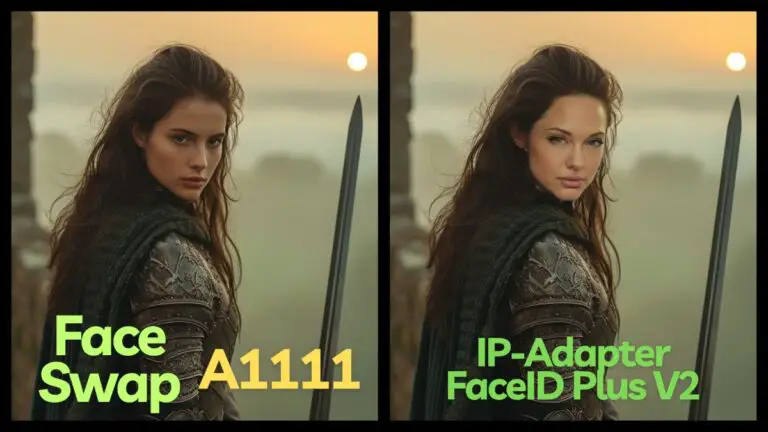
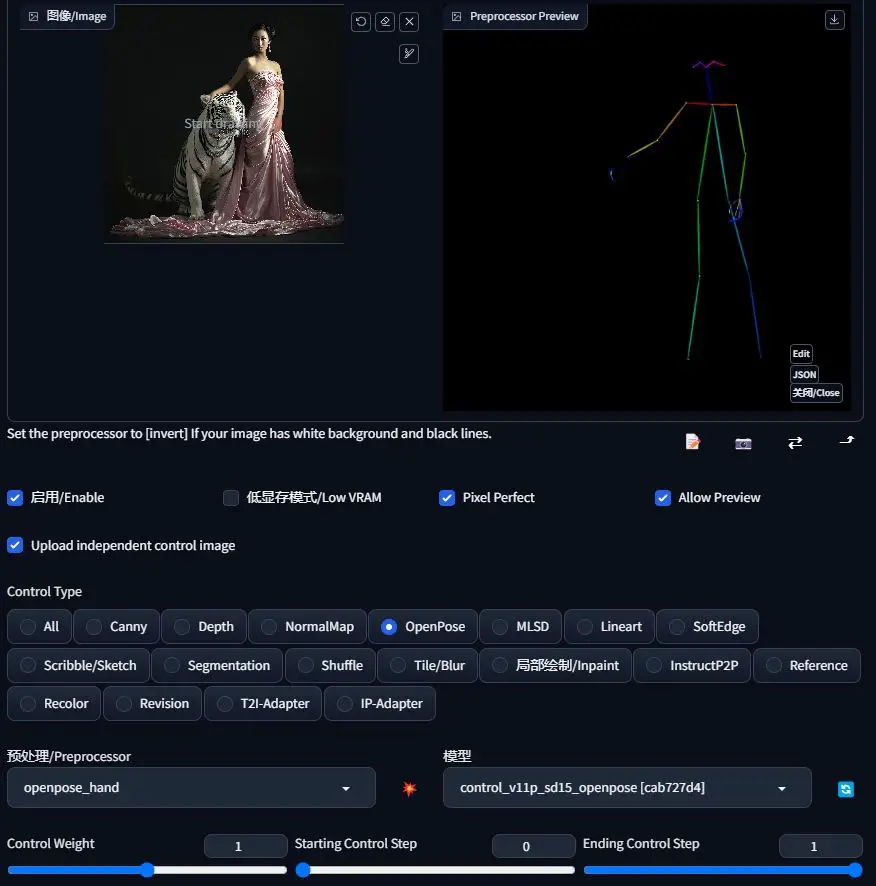
For precise hand pose control, I employed ControlNet’s OpenPose.
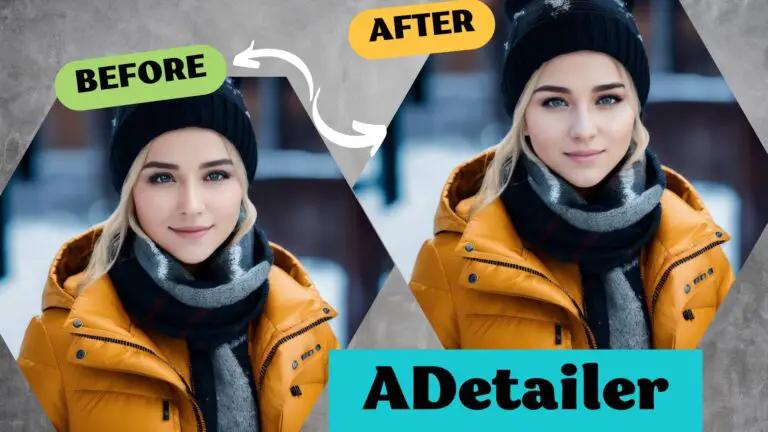
To enhance the hand’s details, I used the Adetailer plugin.
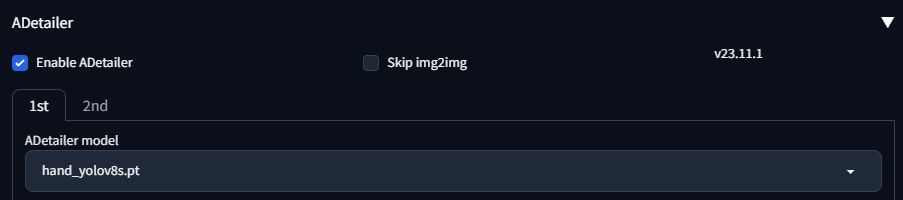
The right hand and face followed, but these were simpler tasks not requiring ControlNet. For the face, I used the Adetailer plugin with a “face” starting model, adjusting the Denoising strength for a more refined look.
Upon completing the three parts of the inpaint, the following image emerged:

This image, at 768×768 pixels, lacked some detail. Therefore, I utilized ControlNet’s Tile model for enlargement, adjusting the magnification to the required level and keeping the repainting magnitude minimal.
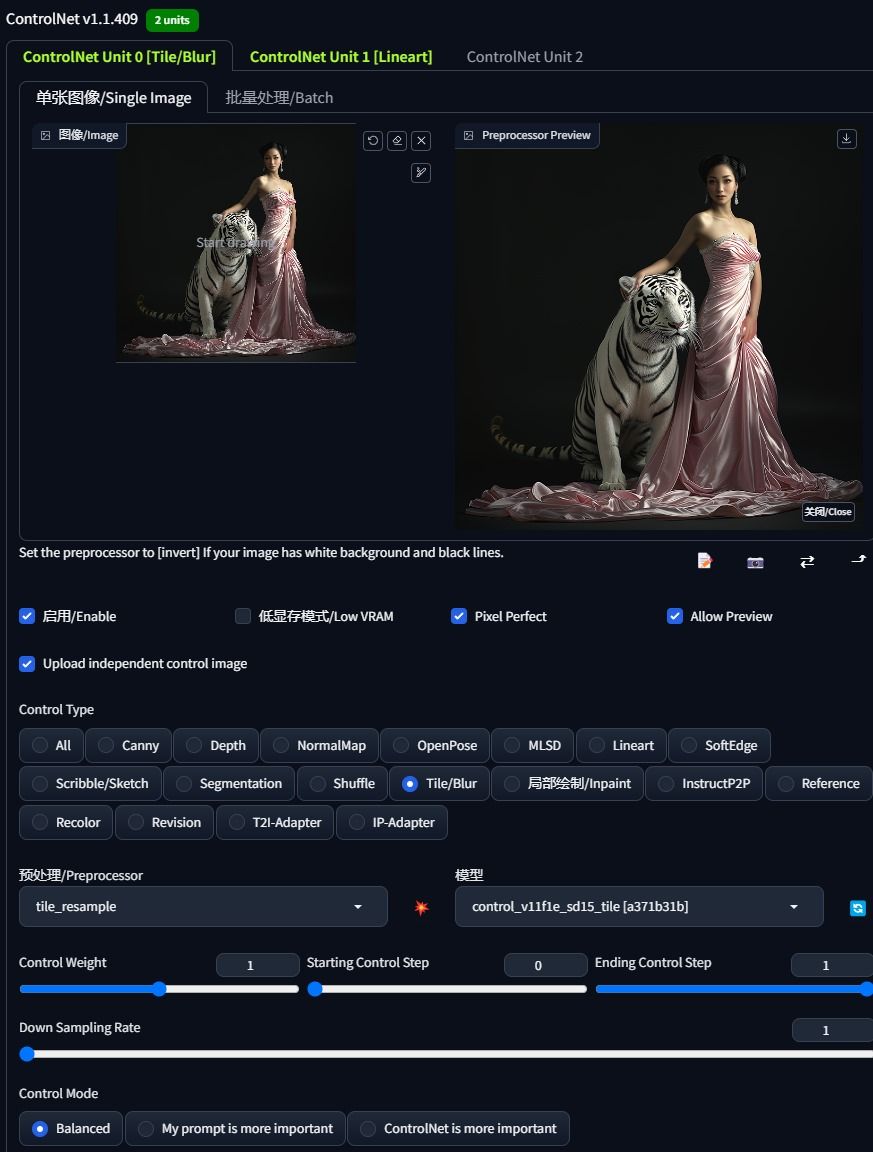
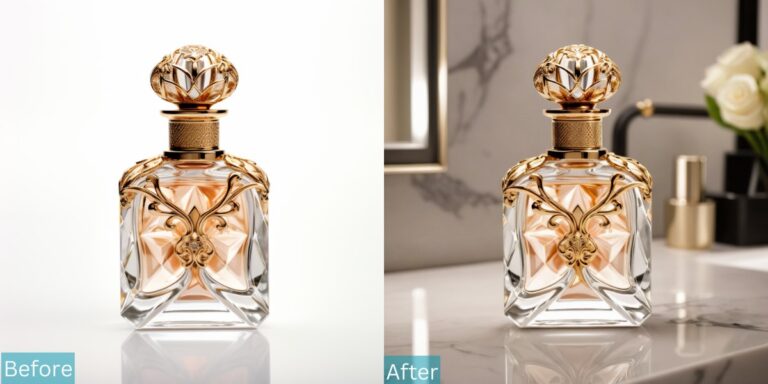
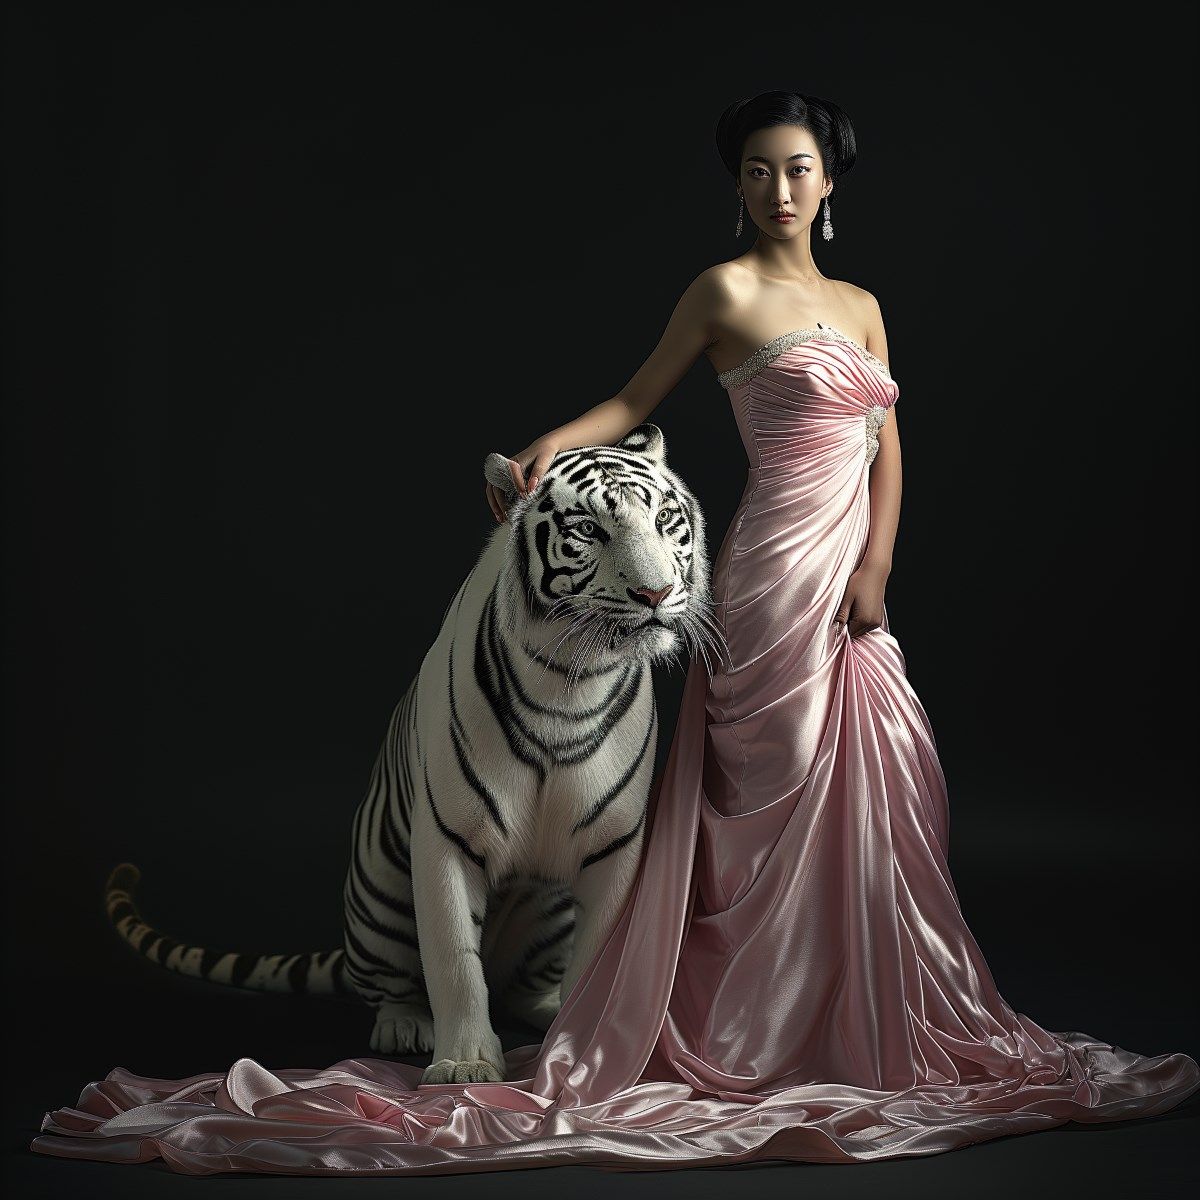
The final result, showcased below, vividly demonstrates the transformative power of Stable Diffusion in enhancing and refining AI-generated imagery.
Gain exclusive access to advanced ComfyUI workflows and resources by joining our Patreon now!