How to Enable ChatGPT Plugin
ChatGPT, a trailblazer in the world of natural language processing, has taken the globe by storm. As an AI assistant, it’s an expert in performing a wide range of tasks, from summarizing long texts and answering questions, to penning articles and even generating code. Yet, its potential extends beyond mere text and code generation. ChatGPT essentially functions as a versatile API interface, seamlessly connecting with various third-party services via ChatGPT plugins.
Plugins for ChatGPT unlock seamless integration with external websites and services, offering a plethora of potent features. You can use the Link Reader plugin to access and read online documents and videos, employ Noteable for data analysis code, or even plan your travel with Expedia. The sky’s the limit.
This guide will show you how to:
- Enable ChatGPT plugins in your account settings.
- Browse the official plugin store to discover the most popular and helpful plugins.
- Install and manage plugins with ease.
- Understand the unique features of each plugin.
Upgrading to ChatGPT Plus on PC
To leverage ChatGPT plugins, you need to subscribe to ChatGPT Plus. As a ChatGPT Plus user, you gain perks like access to ChatGPT during peak hours, faster response times, and priority access to fresh features and updates. Plus, you can exploit the advanced capabilities of the GPT-4 model.
The ChatGPT Plus subscription is offered at $20 per month. Follow these simple steps to upgrade:
1. Visit chat.openai.com and click on “Upgrade to Plus” located at the lower-left corner.
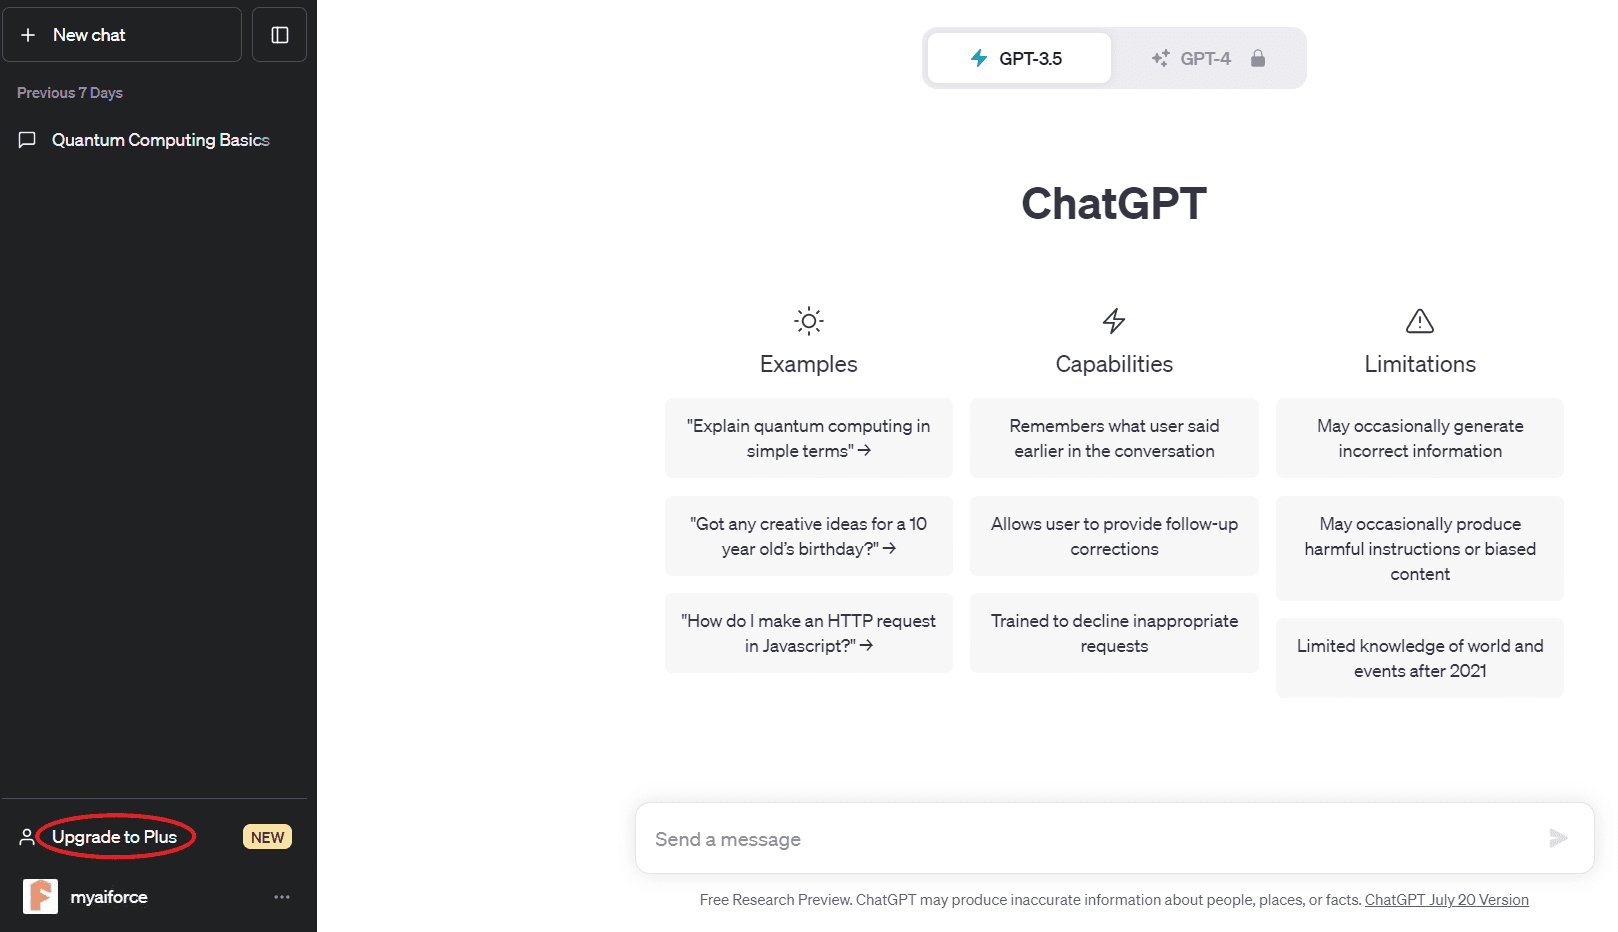
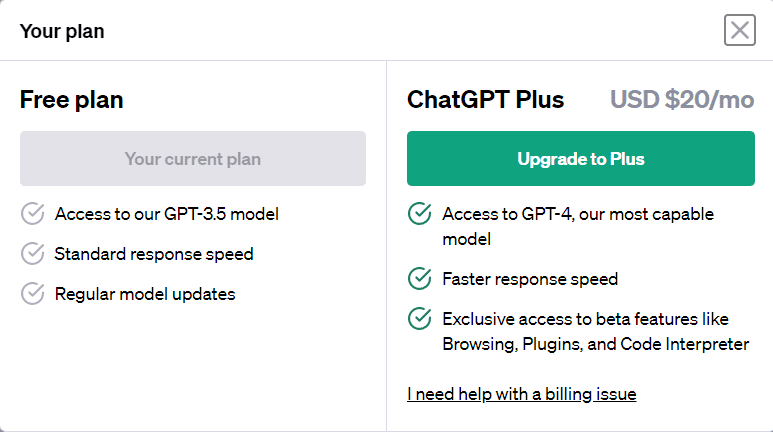
2. Hit the “Upgrade to Plus” button situated beneath the ChatGPT Plus option.
3. Fill in your payment details on the subsequent page to finalize your purchase.
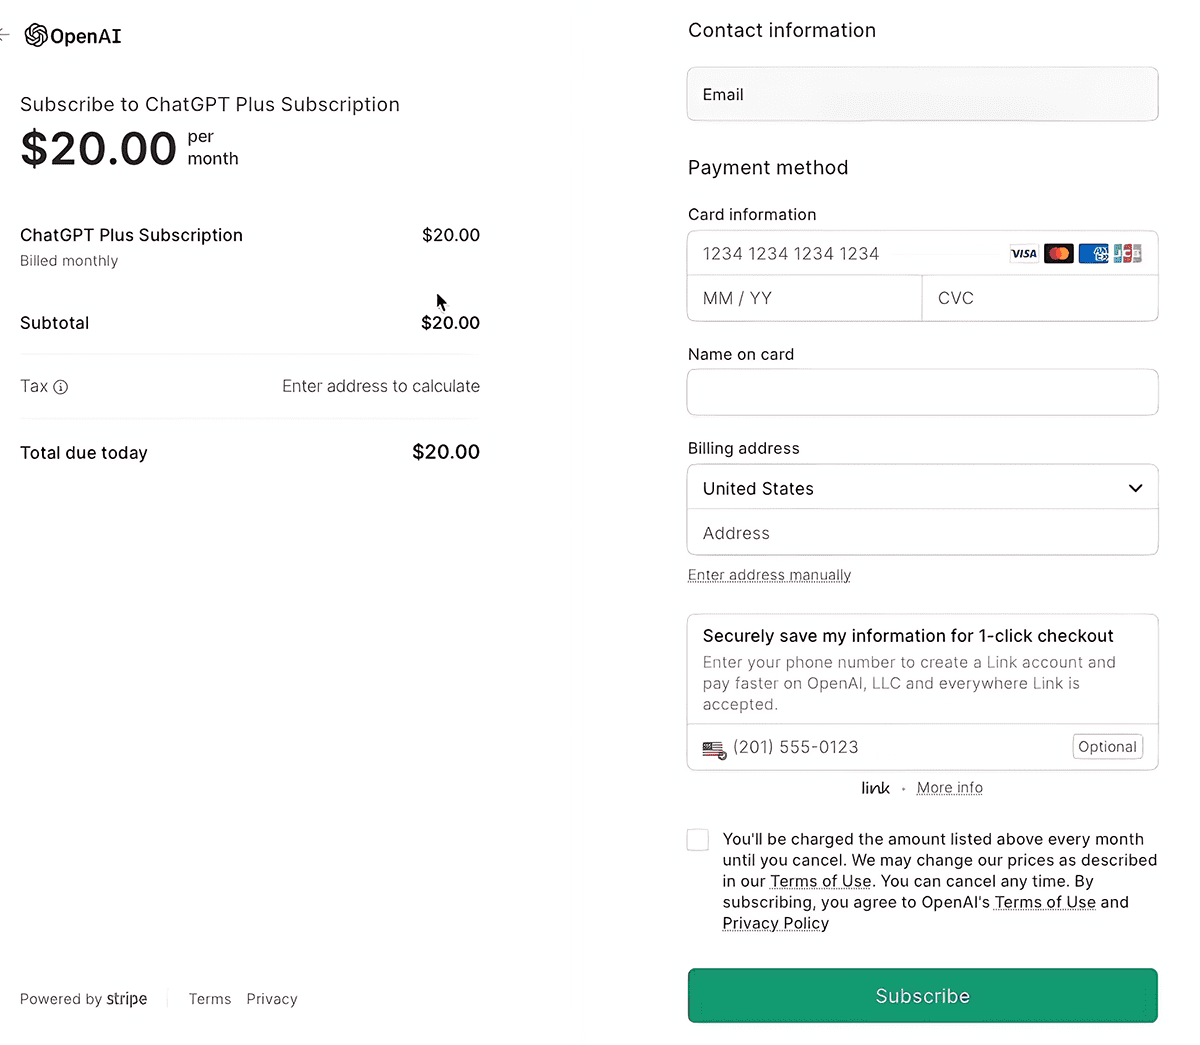
OpenAI utilizes Stripe’s Payment Window Control, a system that necessitates a robust internet connection and a credit card. Be certain to access it from an unblemished U.S. IP. If OpenAI continues to decline your payment, consider using the Apple Pay system on your iPhone—either via a gift card or directly through Apple Pay.
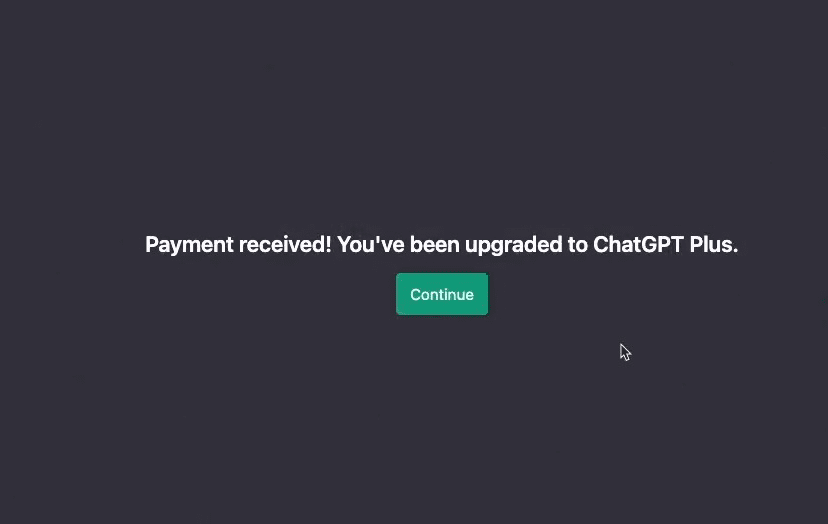
4. Following a successful transaction, you’ll receive a confirmation from ChatGPT, marking you as a ChatGPT Plus subscriber.
Upgrading to ChatGPT Plus on Mobile
If you’re having trouble with credit card payments on PC, try using Apple Pay or an Apple Gift Card on your mobile device.
For iOS usage, download the app from the U.S. Apple Store. Make sure your system is at least iOS 16.
Here’s how to upgrade to ChatGPT Plus on mobile:
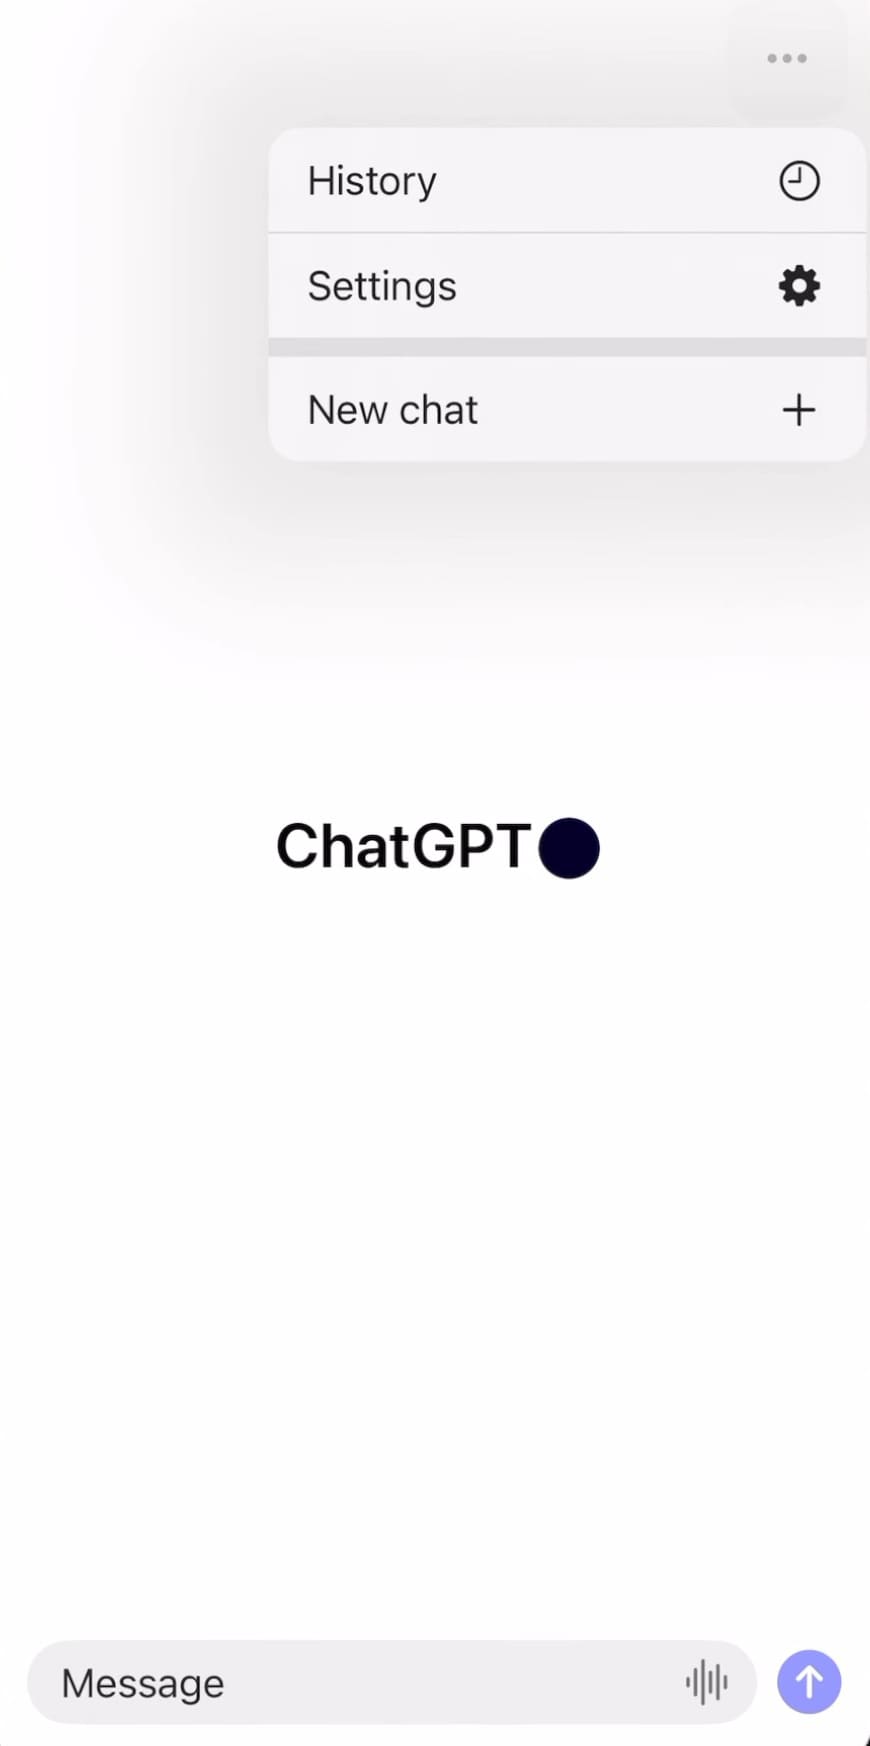
1. Log into ChatGPT on your iPhone or iPad and tap the three dots in the top-right corner to open the ChatGPT menu.
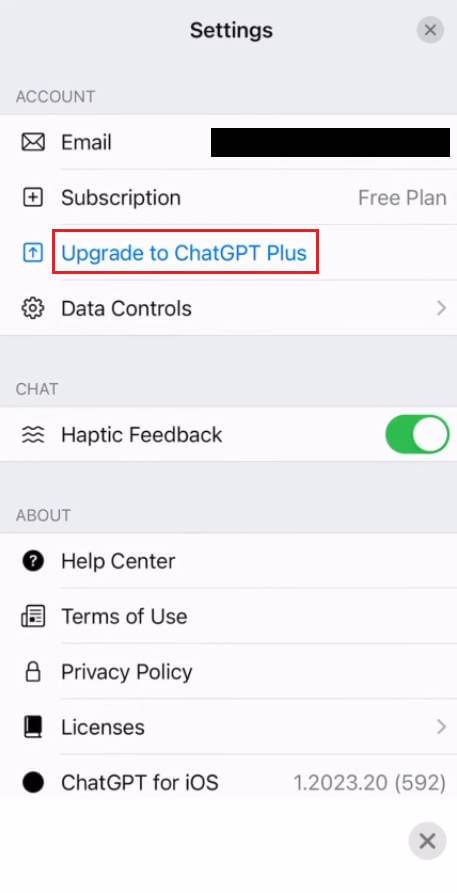
2. Tap “Settings”. If you’re on a free plan, “Free Plan” will be displayed next to “Subscription”. Tap “Upgrade to ChatGPT Plus” below.
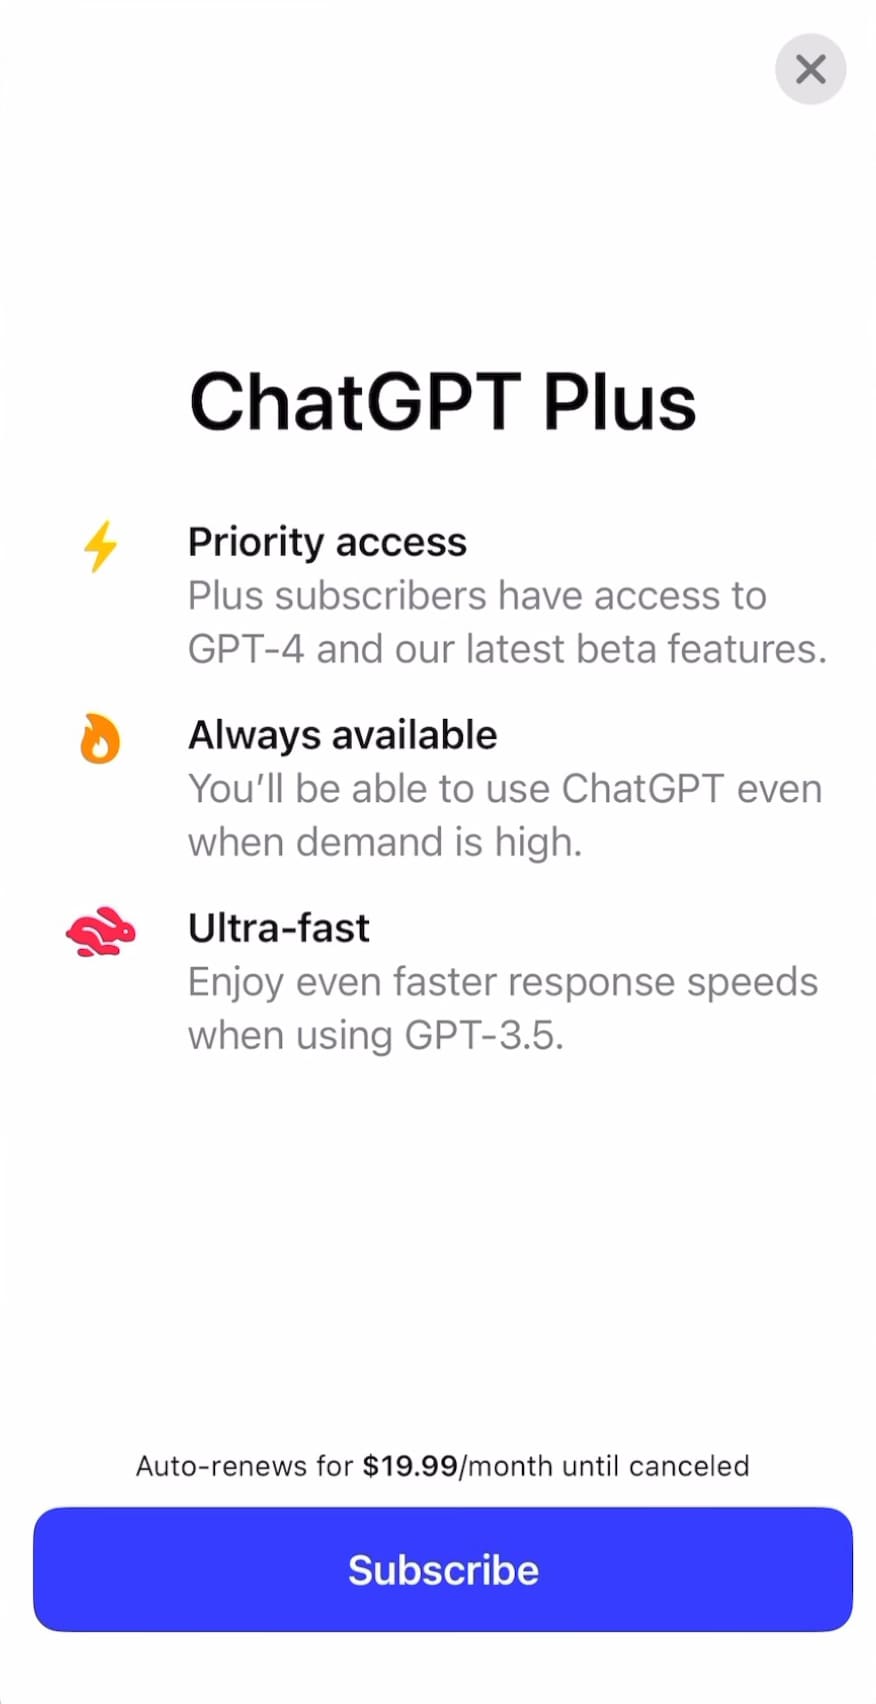
3. Confirm your subscription by tapping “Subscribe” in the pop-up window.
4. Select your payment method:
- credit card
- PayPal
- Apple Pay
- Apple Gift Card
5. After a successful payment, you’ll receive a notification from ChatGPT confirming your access to GPT-4.

Enabling ChatGPT’s Plugin Features
After activating ChatGPT Plus, you can enable ChatGPT plugins.
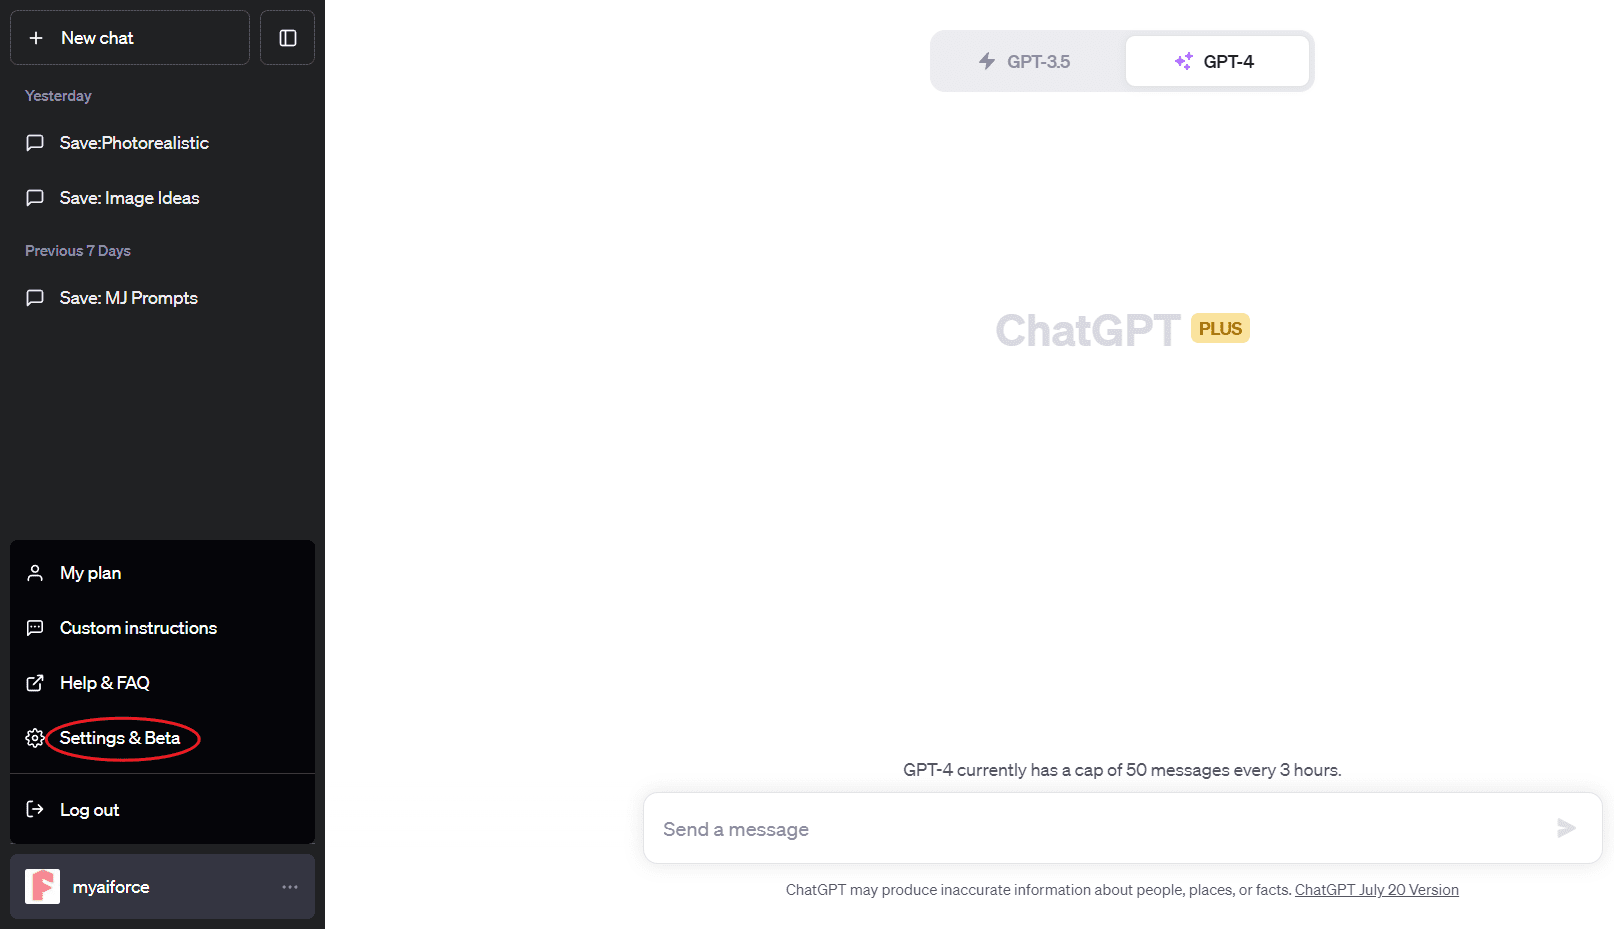
1. Tap your profile picture to reveal the settings menu, then select “Settings & Beta.”
2. In the sidebar menu, select “Beta feature” and toggle on “Plugin” to enable it.
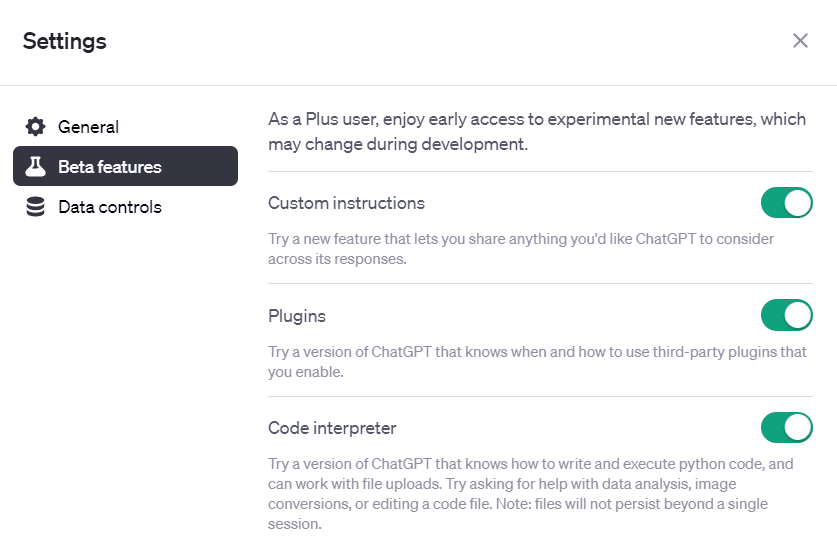
3. Tap the “x” icon to save changes.
After activating the plugin feature, you can access the ChatGPT Plugin Store.
Discover and Install ChatGPT Plugins
The OpenAI ChatGPT Plugin Store is your one-stop destination for finding and installing ChatGPT plugins.
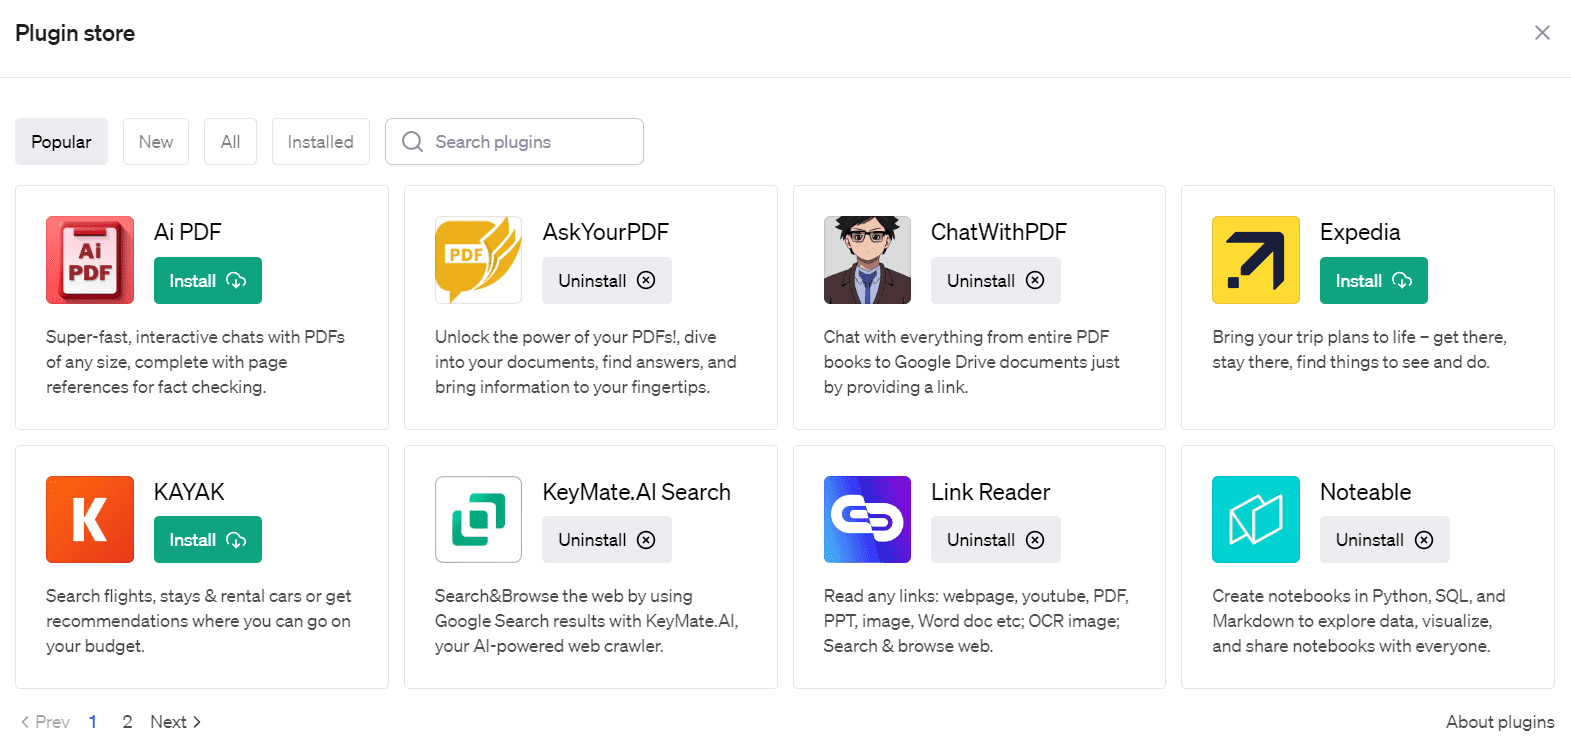
To visit the store, initiate a new chat and choose “Plugin store” from the top bar.
The “Popular” tab, the default one, displays the most downloaded plugins. You can also explore the “New” tab for fresh plugins, the “All” tab for all accessible plugins, and the “Installed” tab for your currently installed plugins. Use the search box on the right to find plugins based on specific keywords.
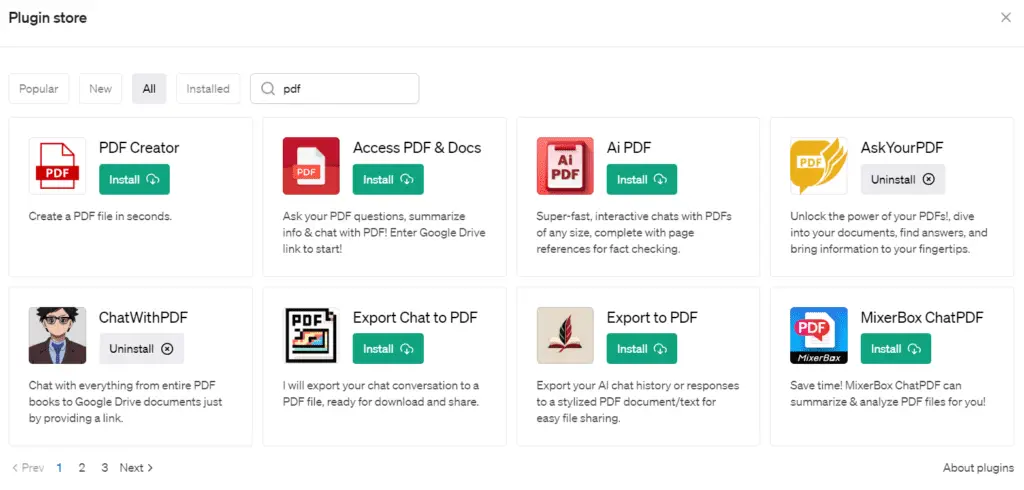
For instance, if you need PDF-related plugins, type “PDF” into the search box.
Managing ChatGPT Plugins
Here are some key facts to understand about OpenAI’s ChatGPT plugins.
- Plugins are built by third-party developers, and OpenAI does not control them, so only install plugins from sources you trust.
- Plugins link ChatGPT to external apps, and enabling a plugin might mean sharing your conversations, Custom Instructions, and location with the plugin.
- During a conversation, ChatGPT automatically decides when to use a plugin based on the ones you’ve enabled.
Now, let’s explore how to efficiently use and manage these plugins.
Activating ChatGPT Plugins
After installing ChatGPT plugins, you need to activate them to use them in your chats. Keep in mind that you can only have 3 plugins active at once. Choose the ones that best fit your needs.
To activate a plugin:
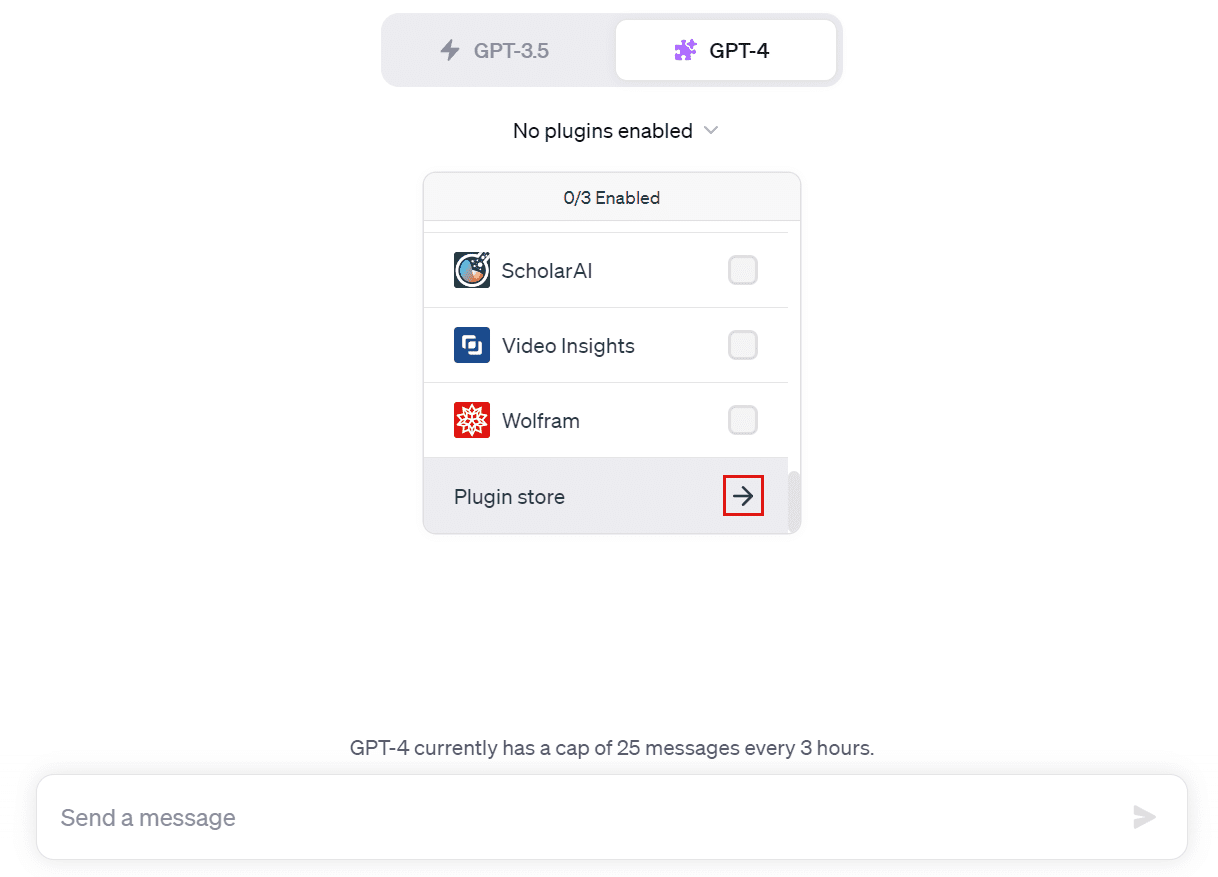
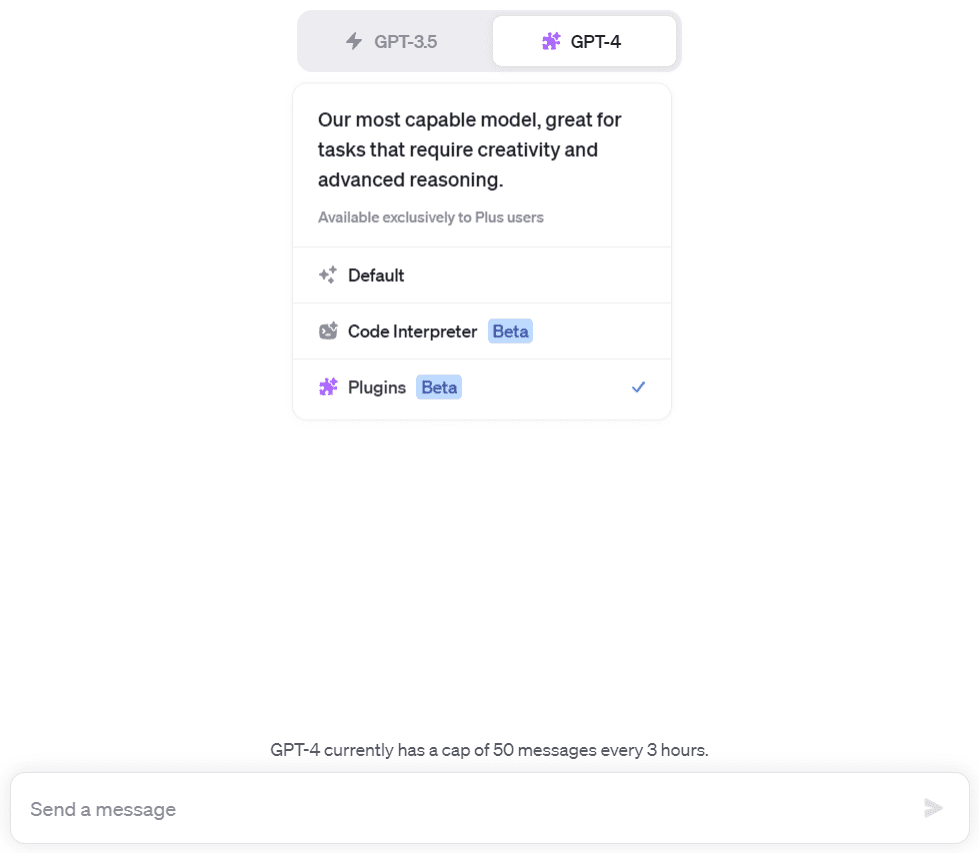
1. Start a new chat and hover over the “GPT-4” button. Choose “Plugin” from the dropdown menu.
2. Once you’ve selected “Plugin”, the chosen plugin’s functionality will be enabled. Click on “No plugins enabled” beneath the “GPT-4” button to view the plugin list.
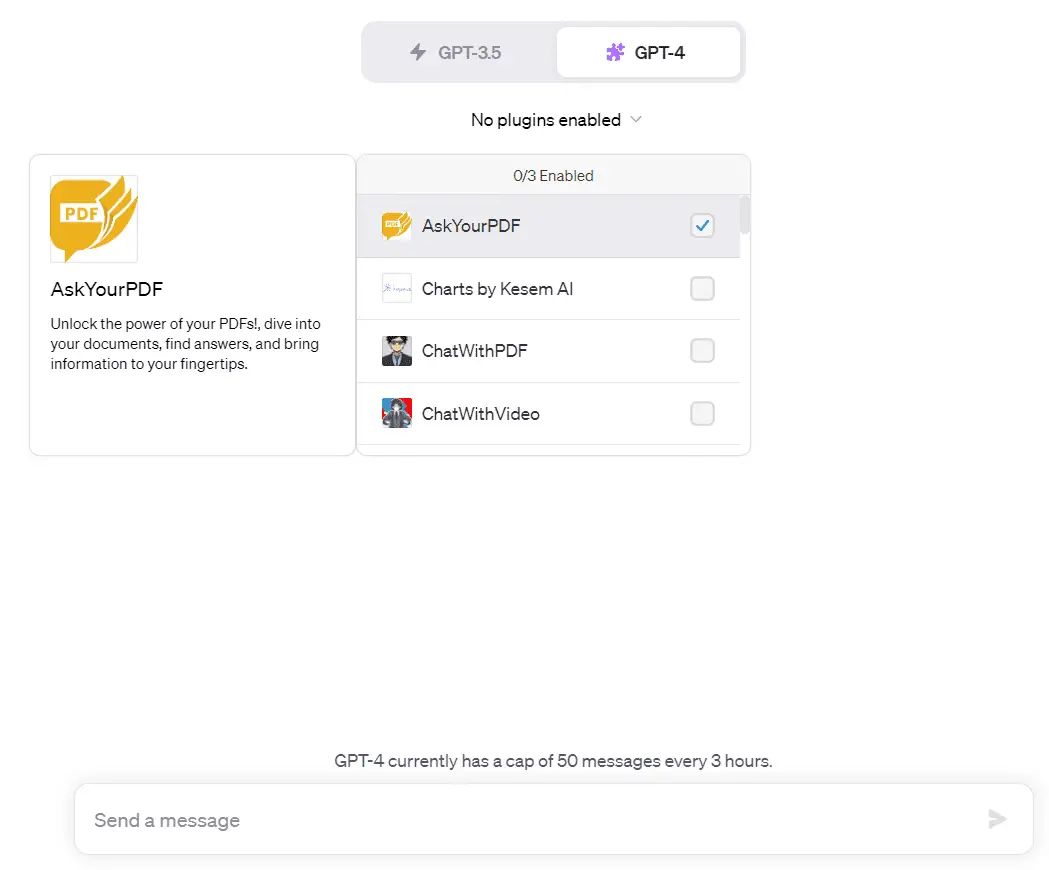
3. Hover over a plugin to see its logo, name, and description. Check the box beside the plugin’s name to enable it for the current chat (maximum of three). ChatGPT will then utilize the plugins based on your prompts.
Uninstalling ChatGPT Plugins
If you no longer need a plugin, it can be easily removed:
1. Click the ChatGPT plugin logo(s) under the GPT-4 button to view all installed plugins.
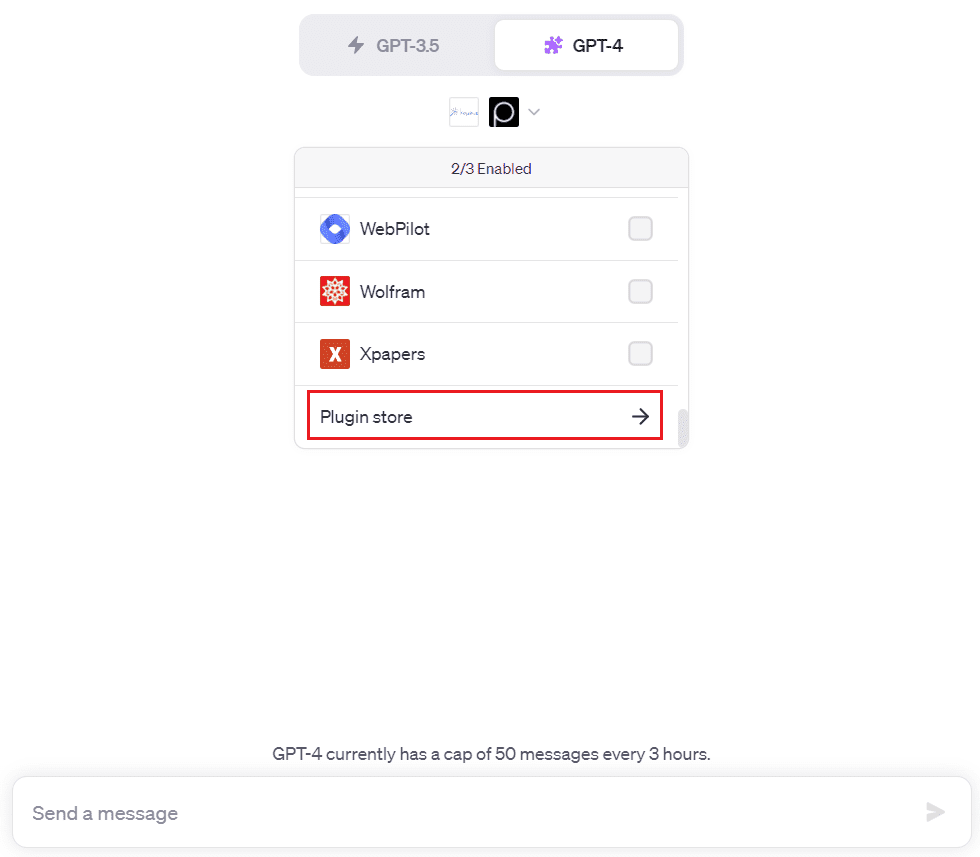
2. Scroll down and click “Plugin store” to access the store.
3. Click the “Installed” tab to see a list of your installed plugins. Find the plugin you want to uninstall.

4. If necessary, use the search box to locate the plugin by its name or related keyword.
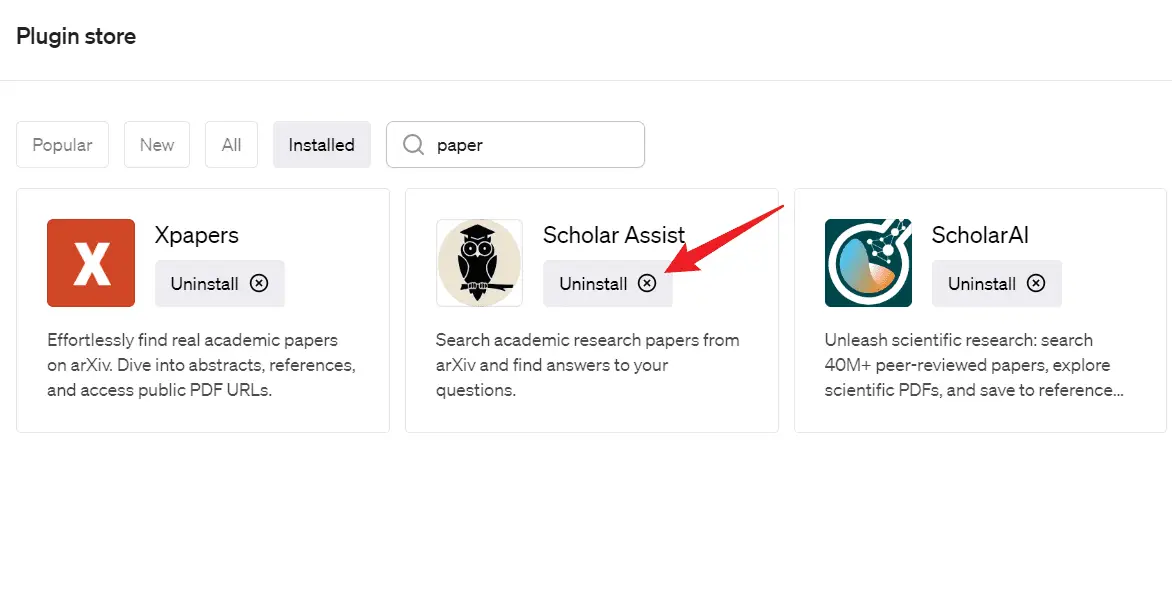
5. Click “Uninstall” to remove the plugin.
Understanding Plugin Features
Once you’ve activated a plugin, you can post a prompt such as:
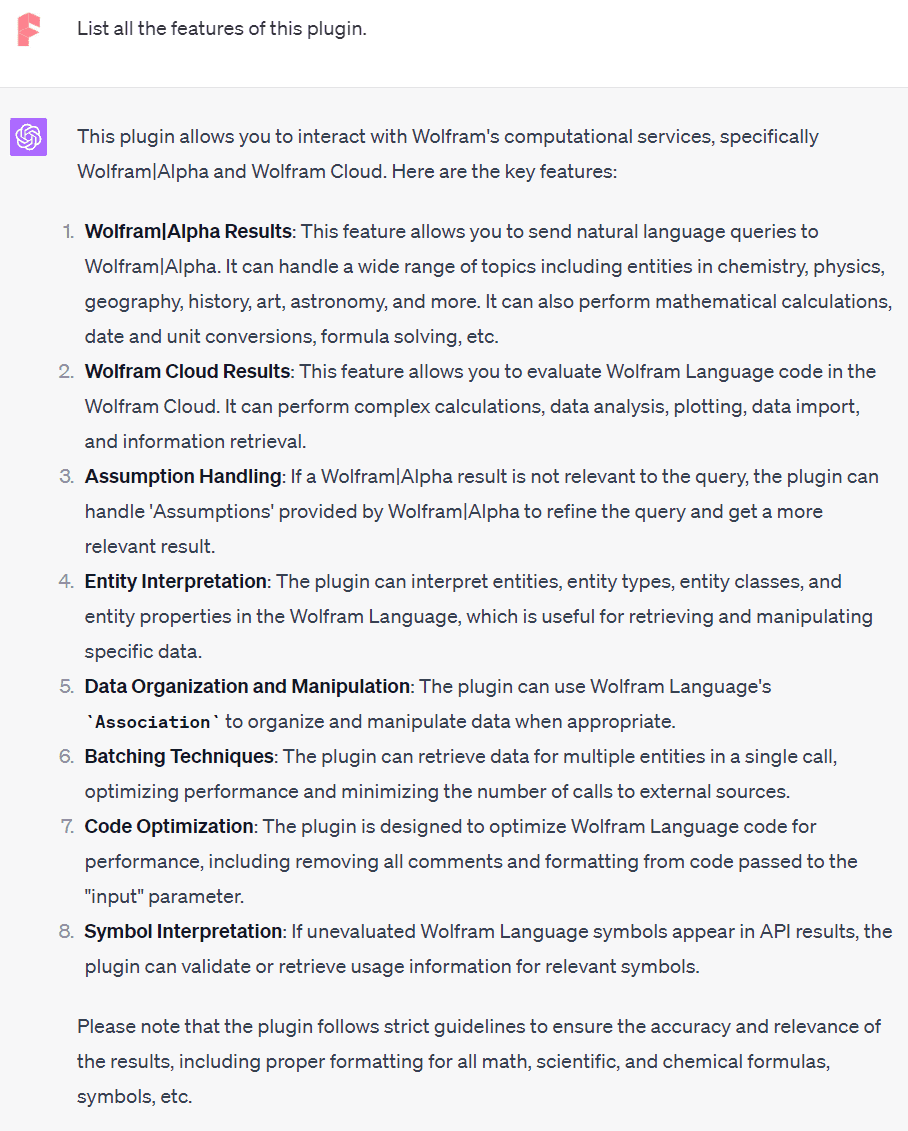
List all the features of this plugin.
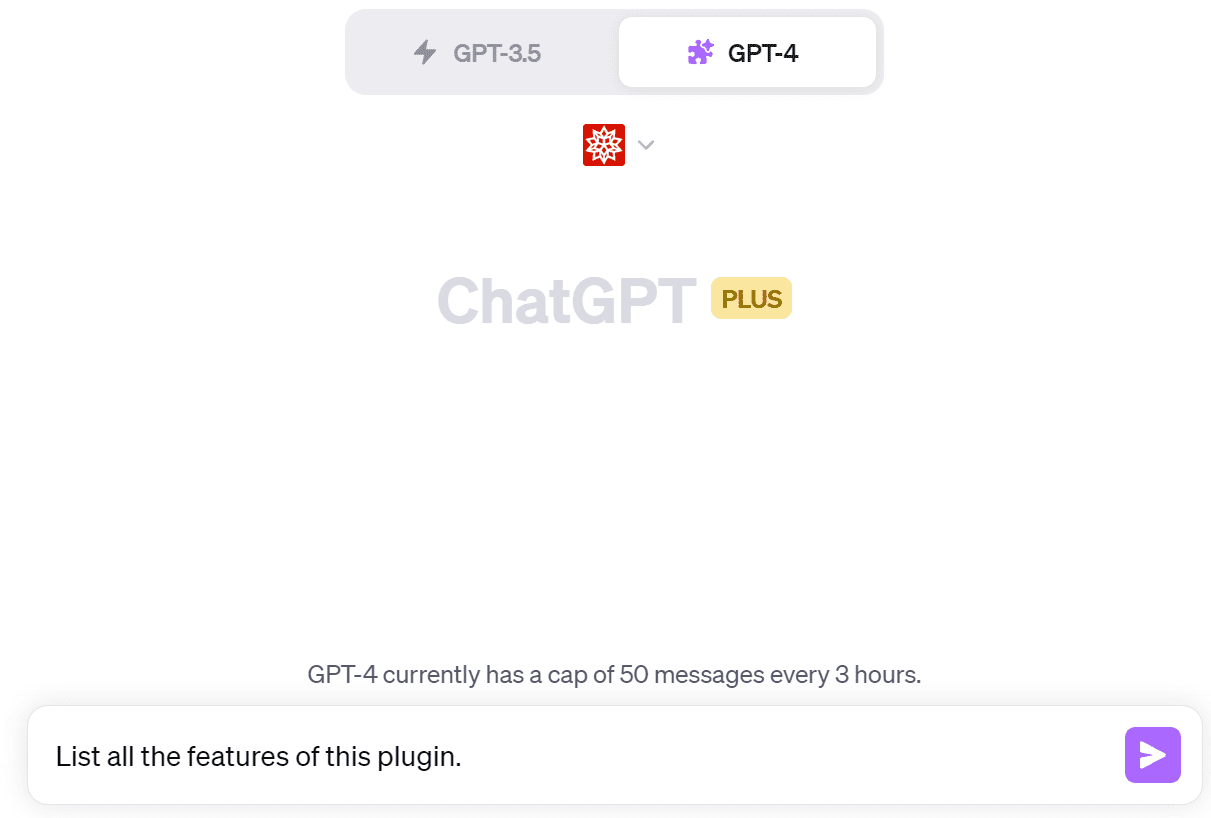
Currently, I have the Wolfram plugin selected, and ChatGPT shows me 8 features.
Then, ask ChatGPT to list the common use cases for the plugin, like: “List its common uses cases”.
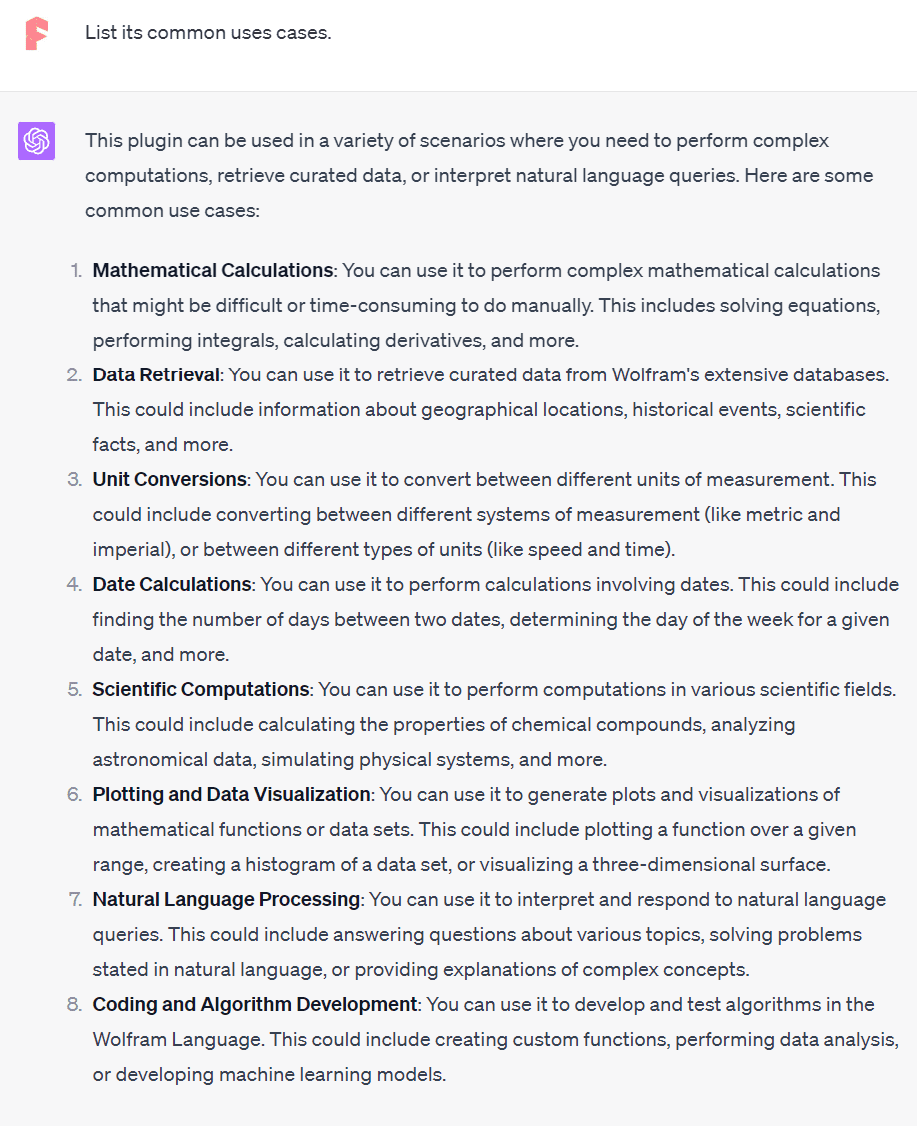
By comprehending a plugin’s features and use cases, you can determine whether it fits your needs and how to best utilize it.
Wrapping Up
Harnessing the power of plugins is an exciting way to supercharge your ChatGPT experience. By enabling these plugins, you unlock new opportunities for efficiency, creativity, and discovery, all within the realm of natural language processing. Remember, the key is to find plugins that resonate with your specific needs and to manage them effectively.
As with any tool, mastering the use of plugins requires a degree of practice and experimentation. Don’t be afraid to explore, try out different plugins, and push the boundaries of what’s possible with ChatGPT.
Remember that ChatGPT is continually evolving, with new plugins and features being added regularly. So, stay updated and be ready to adapt. With a curious mind and a keen eye for innovation, you can transform your ChatGPT from a powerful AI assistant into an all-encompassing platform tailored to your needs. Happy exploring!