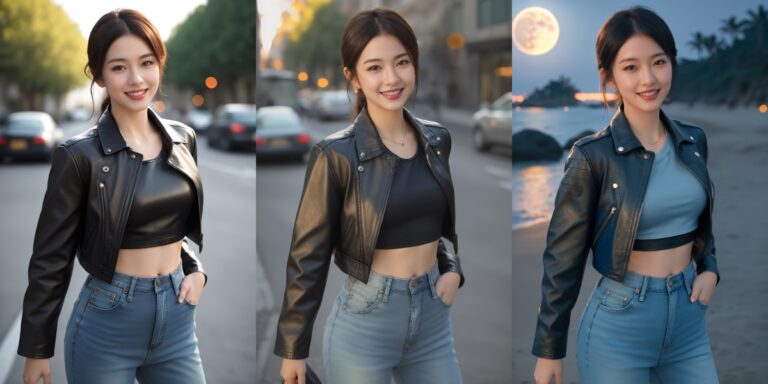
How to Change Hairstyle in A1111: Two Methods Explained
Hello everyone! Today, we’re diving into the fascinating world of digital art modifications using Stable Diffusion, specifically focusing on how to change hairstyle in A1111.
We’ll cover two robust methods: utilizing txt2img with ControlNet, and employing img2img with a specialized model.
Let’s embark on this step-by-step journey to master these techniques.
For those who love diving into Stable Diffusion with video content, you’re invited to check out the engaging video tutorial that complements this article:
Gain exclusive access to advanced ComfyUI workflows and resources by joining our community now!
Method 1: Leveraging txt2img and ControlNet
To kick things off, we’ll begin with the txt2img approach. Assume you have a pre-existing image generated via Stable Diffusion, ready for a stylish update.
Step-by-Step Overview
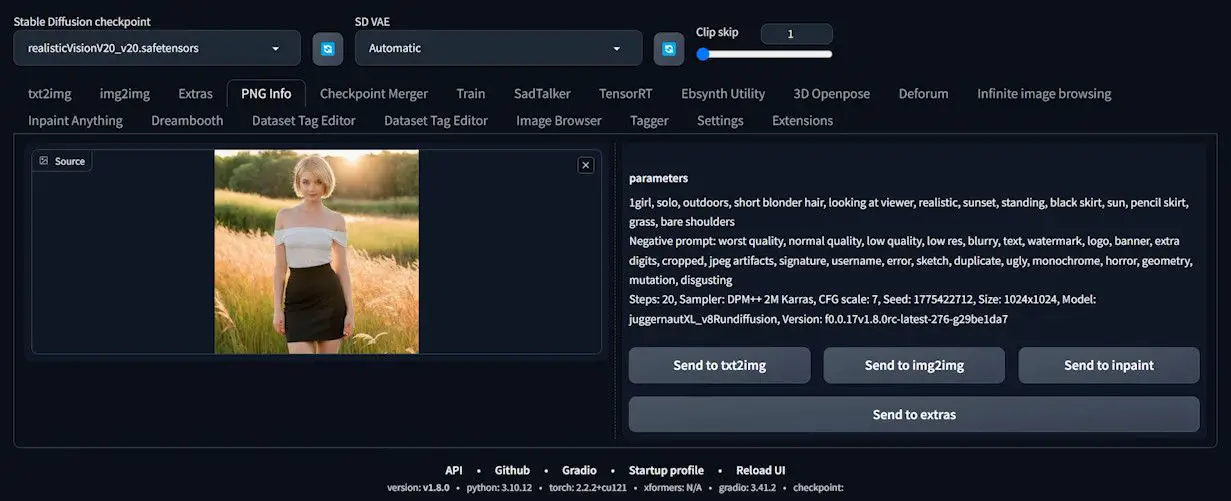
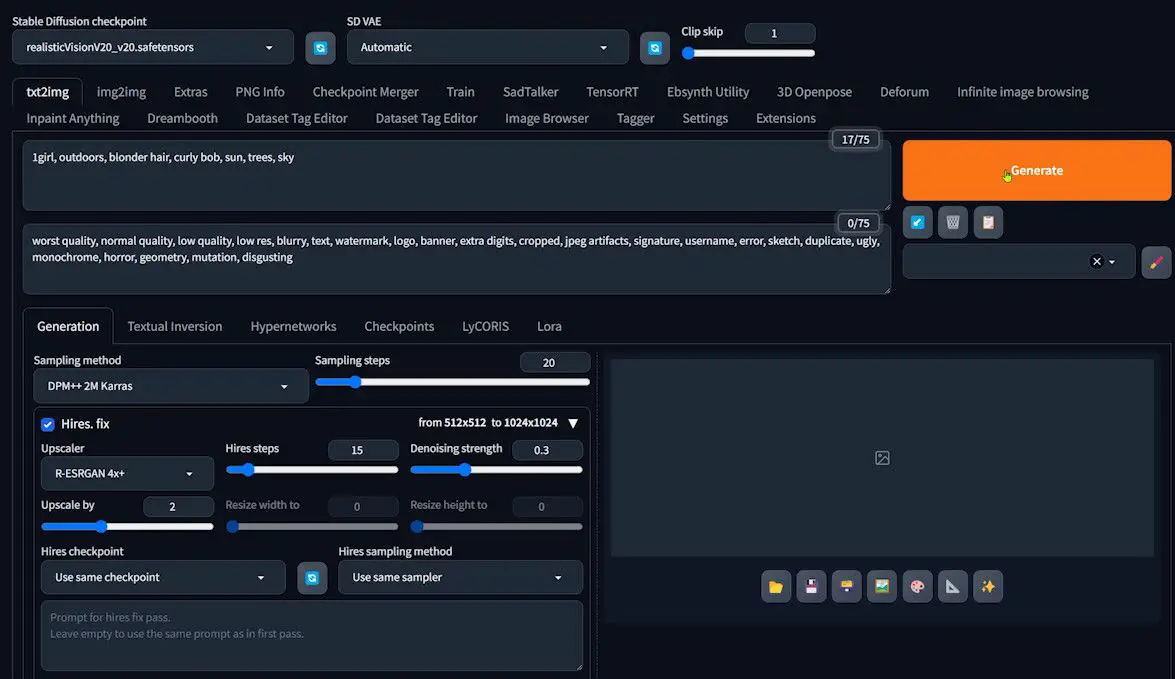
1️⃣ Model and Size Settings:
- Model Choice: Opt for the
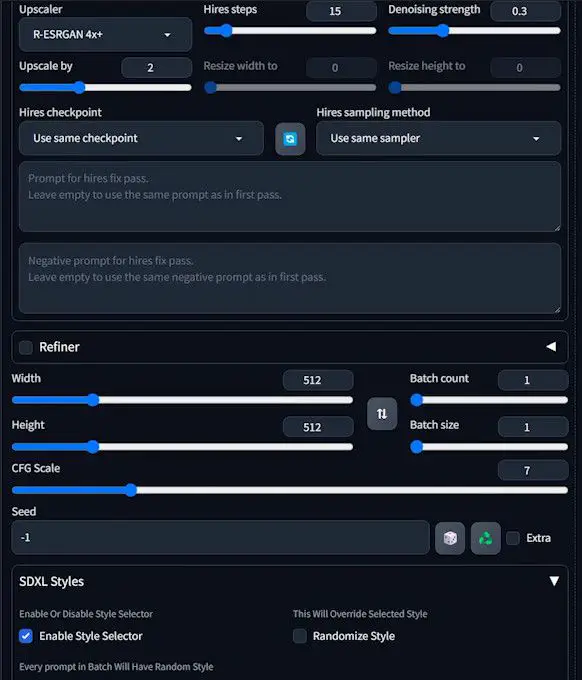
realisticVisionmodel from SD version 1.5. Alternatively, you can select another model based on your preference. - Image Size: Start with a 512×512 setting, as our base image is 1024×1024. Utilize the Hires.fix function to effectively double the image size to match the original.
- Seed Setting: You may opt for a random seed to maintain an element of unpredictability.
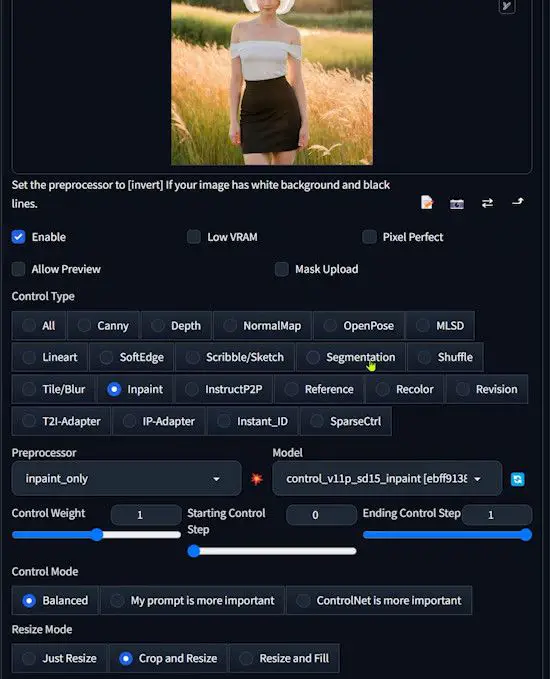
2️⃣ Inpaint Using ControlNet:
- Initial Setup: Upload the image of the hairstyle you wish to modify.
- Painting: Carefully paint over the model’s existing hair. Initially estimate or experiment with several images to visualize the size of the new hairstyle.
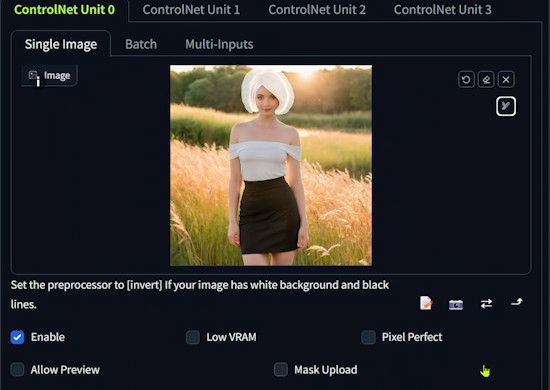
- Inpaint Settings: Select
Inpaintin the Control type to ensure that only the painted area is altered, while the rest remains unchanged. Set the Preprocessor toinpaint_only.
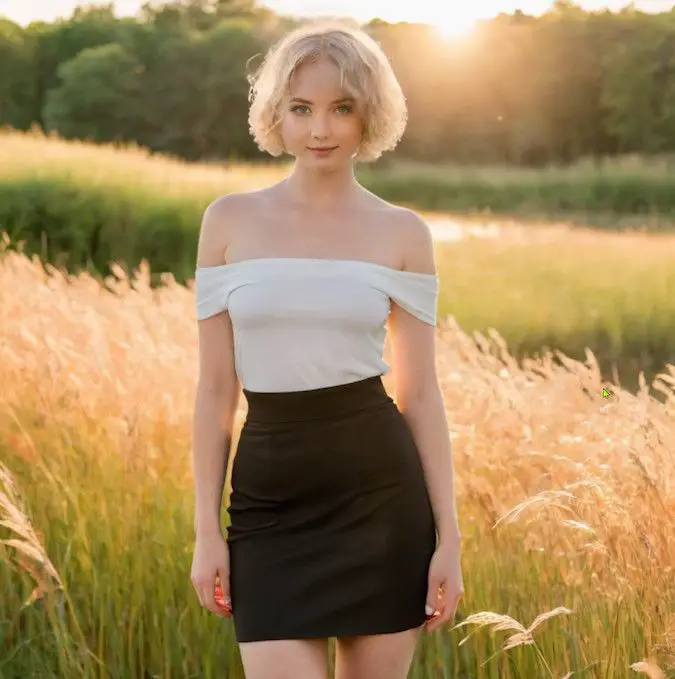
3️⃣ Adjust and Generate:
- Modify the Prompt: Update your prompt to include the new hairstyle and other modifications you’ve painted.
- Generation: Click ‘Generate’ to preview the change. Should there be any imperfections, such as bald patches, simply repaint the affected areas and regenerate.
Summary:
- Advantages: ControlNet allows for enhanced feature adjustments, including precise facial angle control with OpenPose integration.
- Limitations: The SD1.5 model may struggle with complex details in the repaint area, possibly affecting the fidelity of intricate styles.
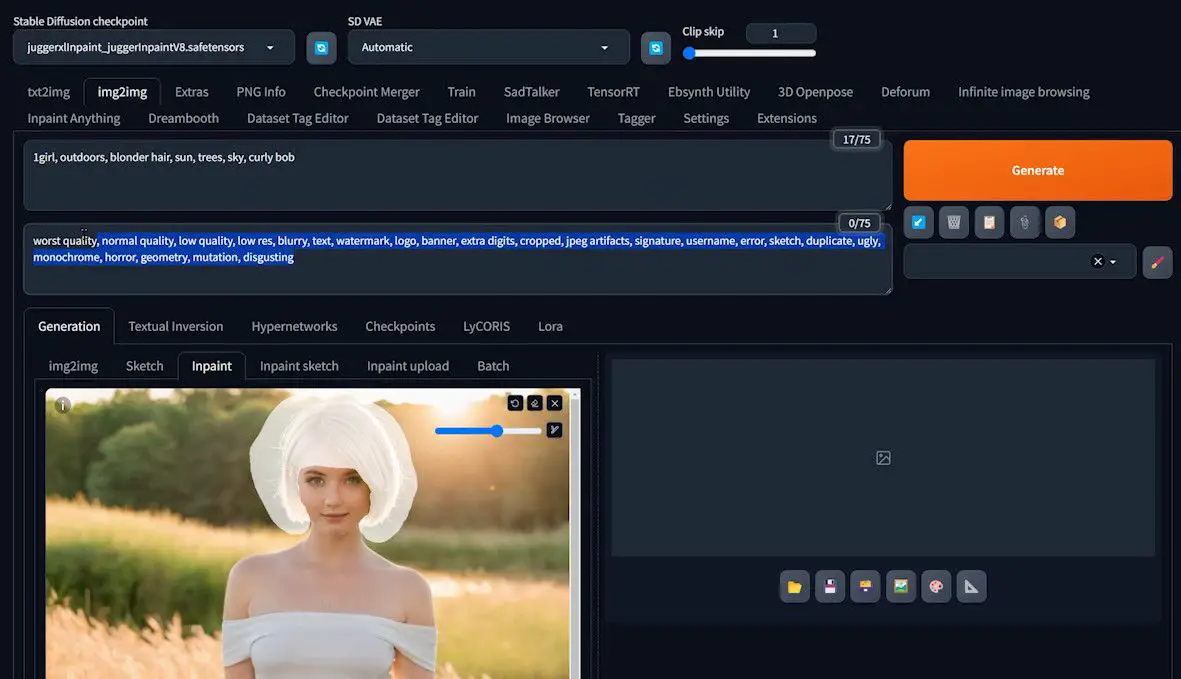
Method 2: Utilizing img2img and Specialized Models
Our second method involves the juggerxlinpaint model, which is specifically tailored for inpainting tasks and is known for producing excellent results.
Step-by-Step Overview
1️⃣ Preparation and Setup:
- Model Selection: Choose the
juggerxlinpaintmodel, designed specifically for inpainting tasks. You can download it from this link.
2️⃣ Paint and Enter Prompt:
- Painting: Focus on the area where the hairstyle needs to be changed.
- Prompt Input: Craft a prompt reflecting the desired hairstyle while removing negative prompts.
3️⃣ Adjust and Generate:
- Settings Adjustment: Apply mask blur as needed to smooth out any visible seams.
- Inpainting Transition: Ensure a natural transition by selecting
Soft Inpainting. Update your A1111 software if this feature isn’t available. - Denoising: Set the Denoising strength to 1.
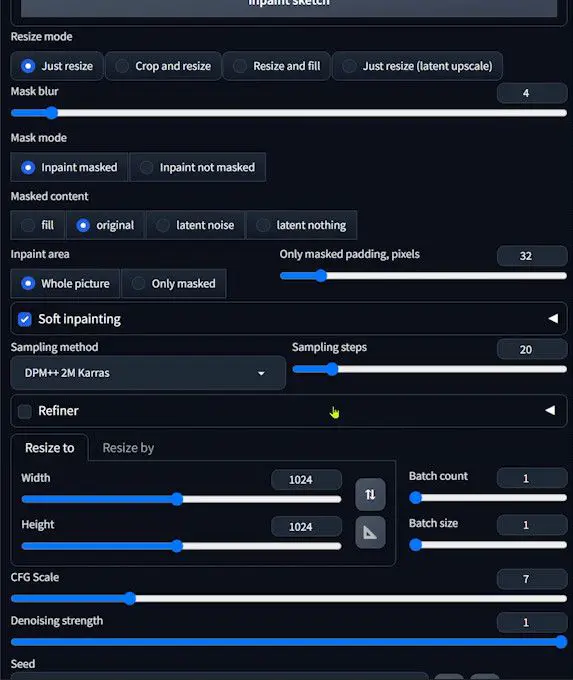
- Final Prompt: Enter the details of the desired hairstyle change and any specific areas painted.
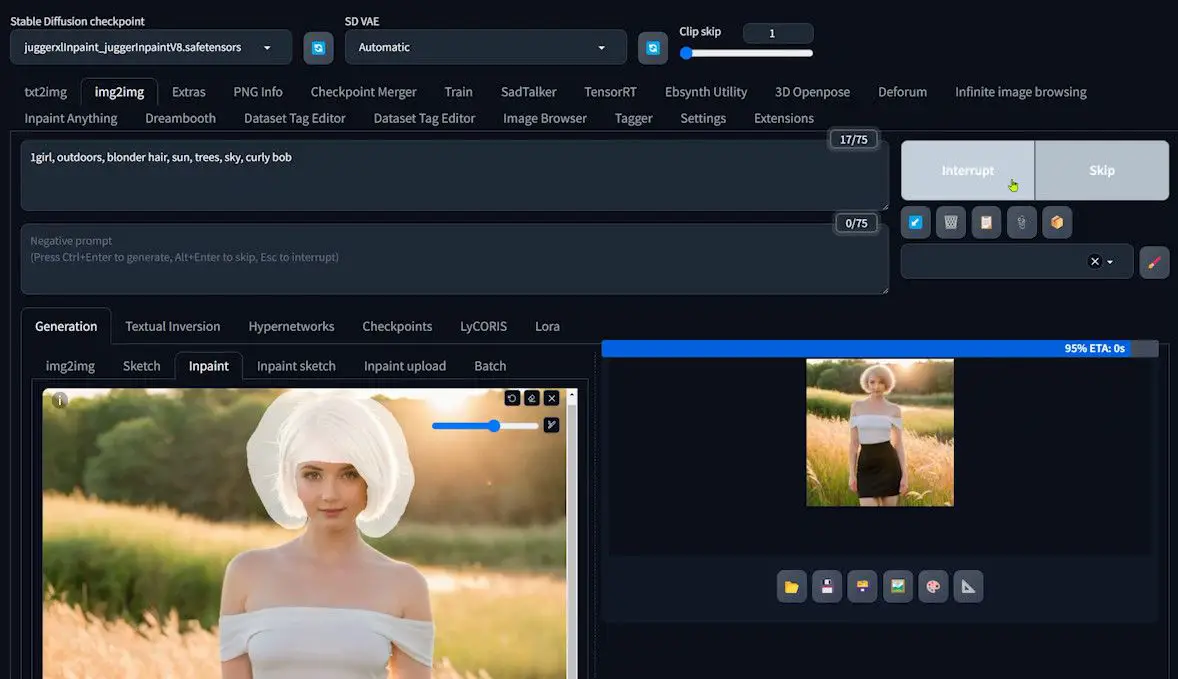
- Generation: Produce the final image.
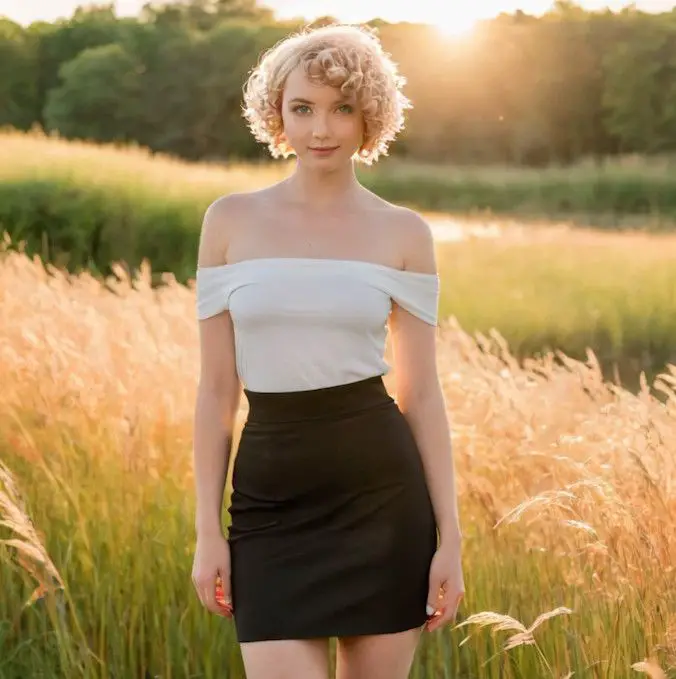
Summary:
- Strengths: The
juggerxlinpaintmodel excels in inpainting tasks, providing superior results compared to general models. - Complementary Use: While it lacks some features of ControlNet, it can be effectively combined with the first method for enhanced results.
These methods offer powerful ways to customize hairstyles in A1111, enhancing your creative expression in digital character design. If you find these tips helpful, don’t hesitate to like and support this guide. Happy designing!