Lighting Change Magic: Transforming Images with Stable Diffusion ControlNet Brightness
The advent of Stable Diffusion marked a pivotal shift in the realm of photo editing, particularly in manipulating lighting effects.
Prior to this innovation, photo lighting alterations predominantly relied on tools like Photoshop, especially the use of an exposure layer. This method excelled with objects of simple shapes, adeptly mimicking lighting effects.
However, the challenge intensified with complex subjects, such as human figures, where achieving natural-looking lighting necessitated artistic prowess and digital tools.
Enter Stable Diffusion, a game-changer that streamlined and enhanced the lighting alteration process. Trained on a vast array of photographs, this technology can emulate lighting effects with stunning realism.
This article will guide you through this remarkable capability with step-by-step, practical examples, enabling you to master the art of AI-assisted lighting manipulation with ease.
Gain exclusive access to advanced ComfyUI workflows and resources by joining our Patreon now!
Task Overview
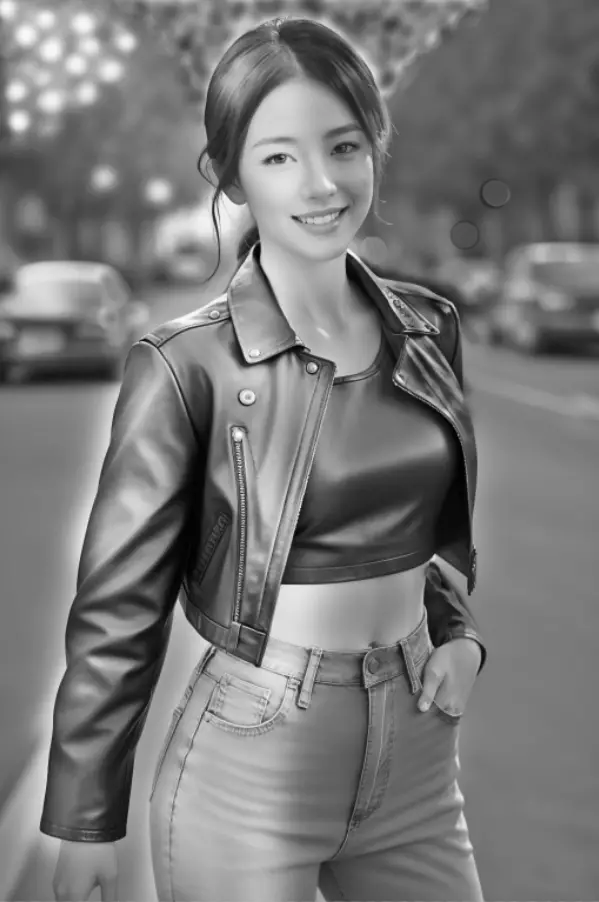
Consider the following scenario: an image generated using Stable Diffusion, though this process also applies to standard photographs.
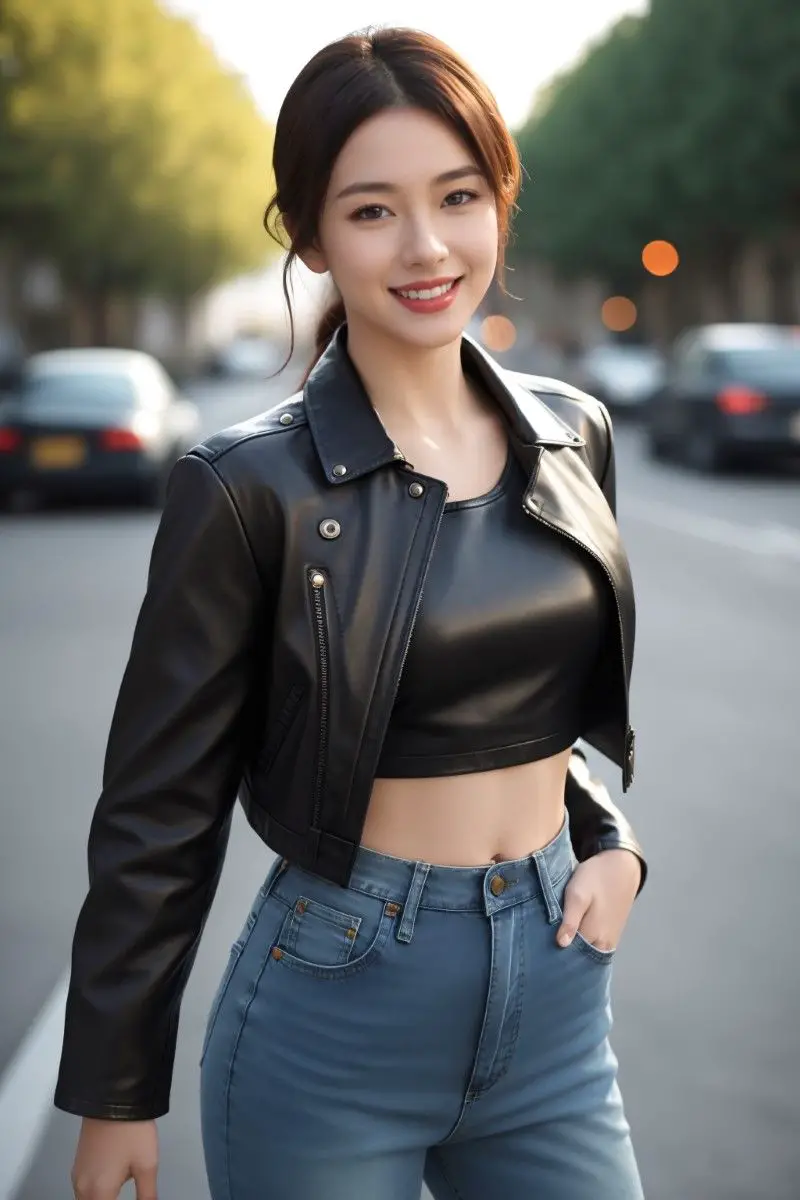
In our example, the light source is positioned to the left of the subject. Our objective is to shift it to the right. Achieving this manually in Photoshop, especially for those less artistically inclined, can be daunting and often yields less-than-natural results. Let’s delve into how Stable Diffusion simplifies this task.
Chosen Model for the Task
For this undertaking, we utilize the ControlNet Brightness model from Stable Diffusion, available for download at HuggingFace (huggingface.co/ioclab/ioc-controlnet/tree/main/models).
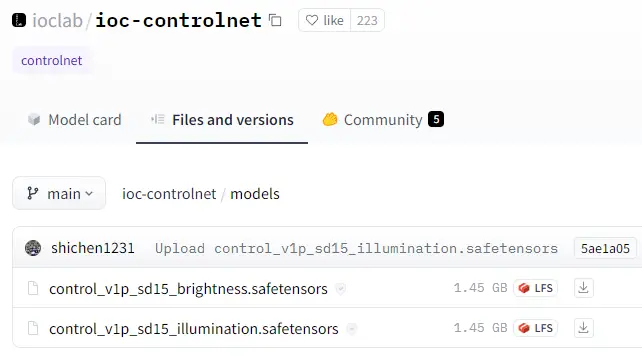
As the name suggests, this model specializes in managing image brightness. It operates by first requiring the selection of the model and then the uploading of a grayscale image, which represents the image’s brightness levels. Adjusting this grayscale image in Photoshop enables us to modify the original’s brightness.
Photoshop Preprocessing Steps
In Photoshop, converting to grayscale mode allows us to employ the Dodge/Burn tool to adjust brightness. The Dodge tool enhances brightness, while the Burn tool reduces it. Precision at this stage is not critical, as Stable Diffusion will later refine these adjustments. Below is the grayscale image I modified.
Here, I darkened the area above the subject’s head, lightened the right side, and darkened the left. The upper left corner of the picture was also brightened.
Lighting Adjustment in SD
With the grayscale image prepared, we move to Stable Diffusion’s txt2img interface. We select a photorealistic model and input the appropriate prompts, aligning the Sampling Method with our model choice.
The default settings generally suffice, though activating the High-Resolution Fix (Hires.fix) can enhance the image quality.
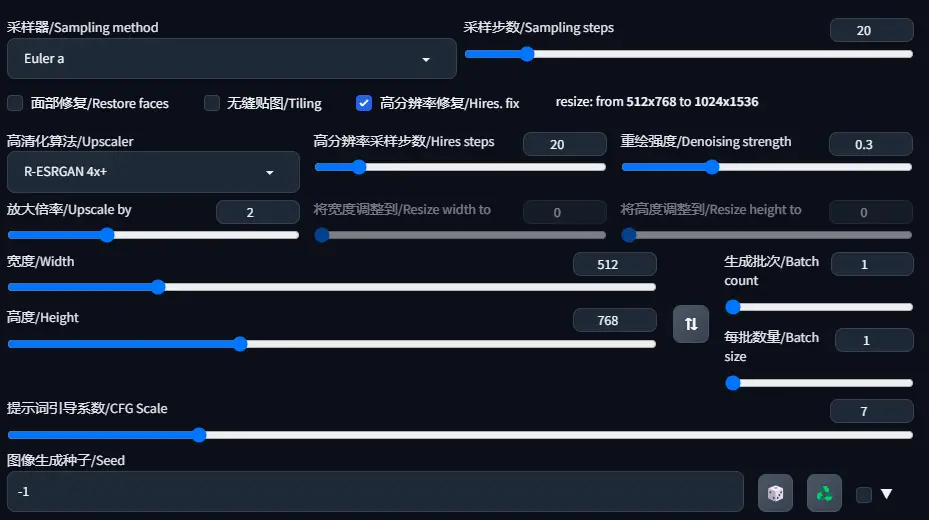
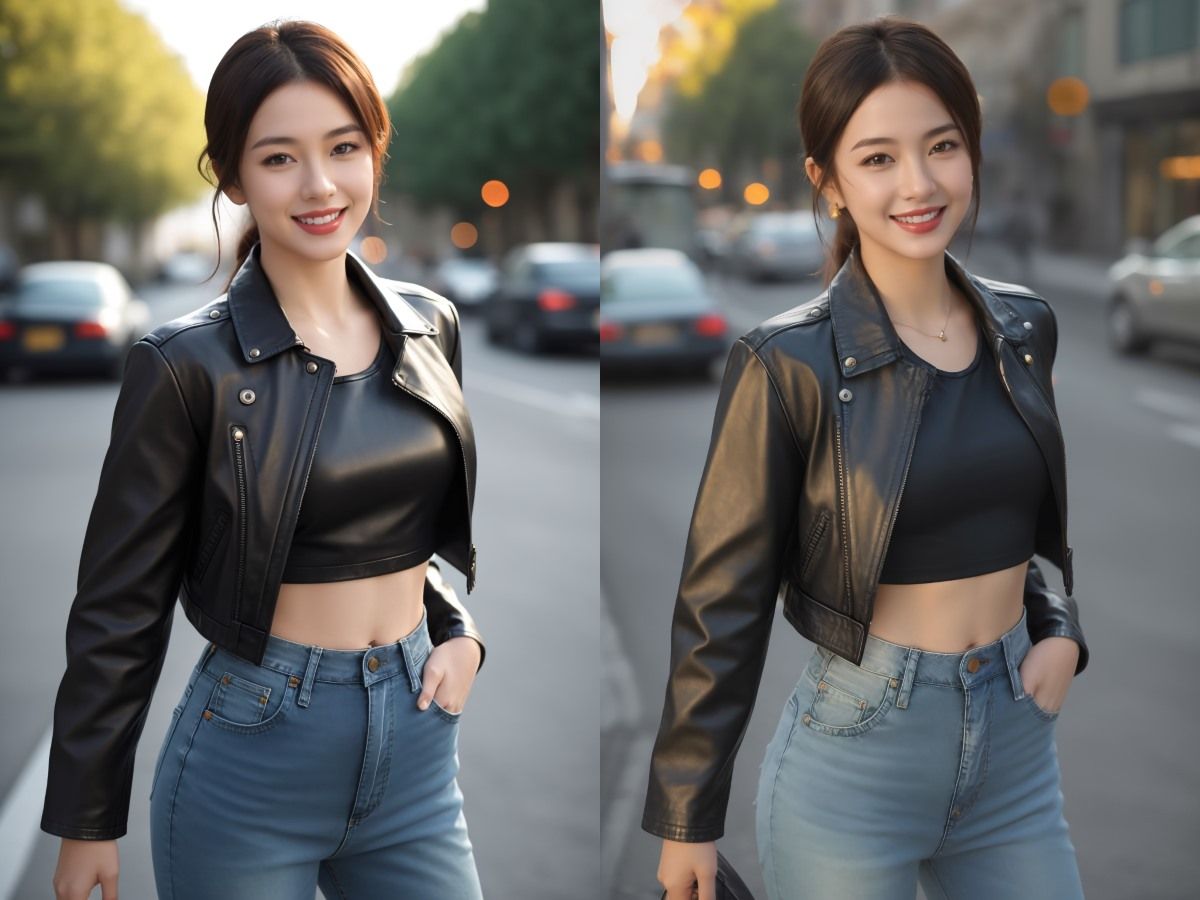
In the ControlNet settings, we set the Preprocessor to ‘none’ and choose the “control_vlp_sd15_brightness” model. Crucial settings include Control Weight and Ending Control Step, which should be kept low to prevent overfitting and image distortion. These settings will vary depending on the specific image. The image below showcases the transformed lighting effect.
Exploring Additional Examples
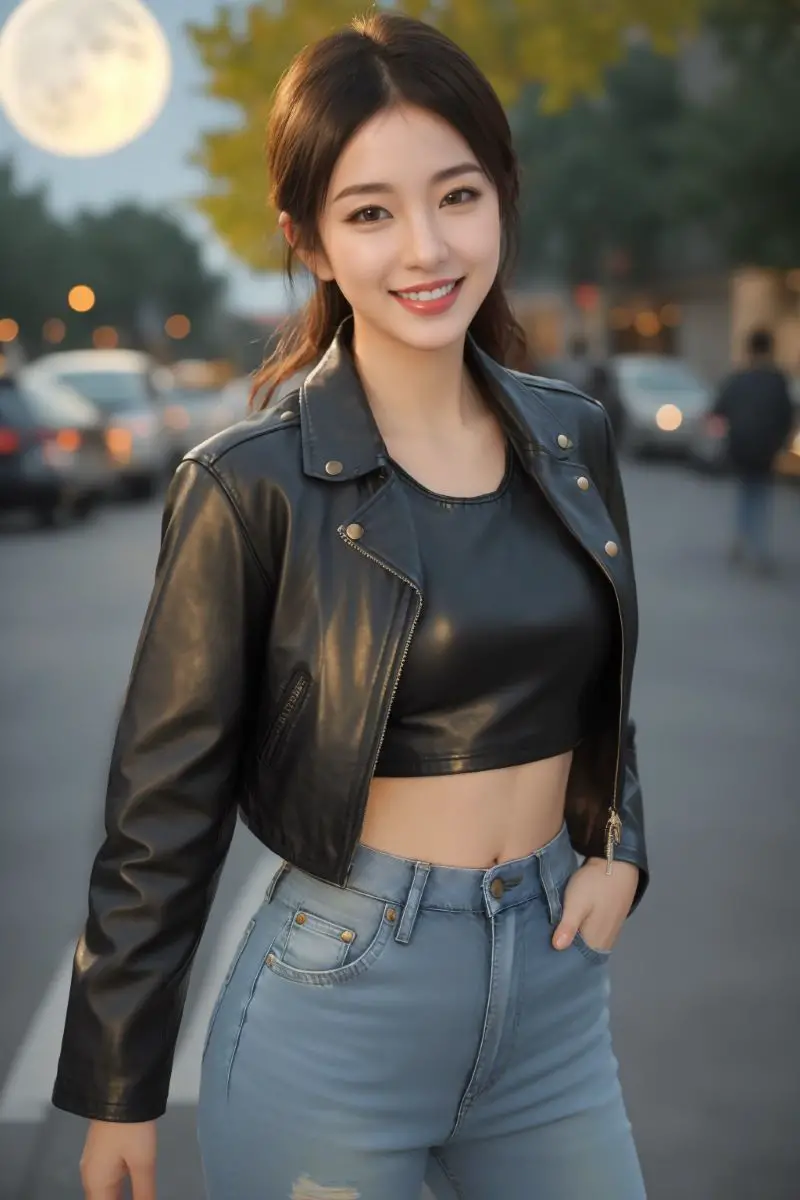
To further demonstrate, I modified the grayscale image to simulate sunlight or moonlight effects.
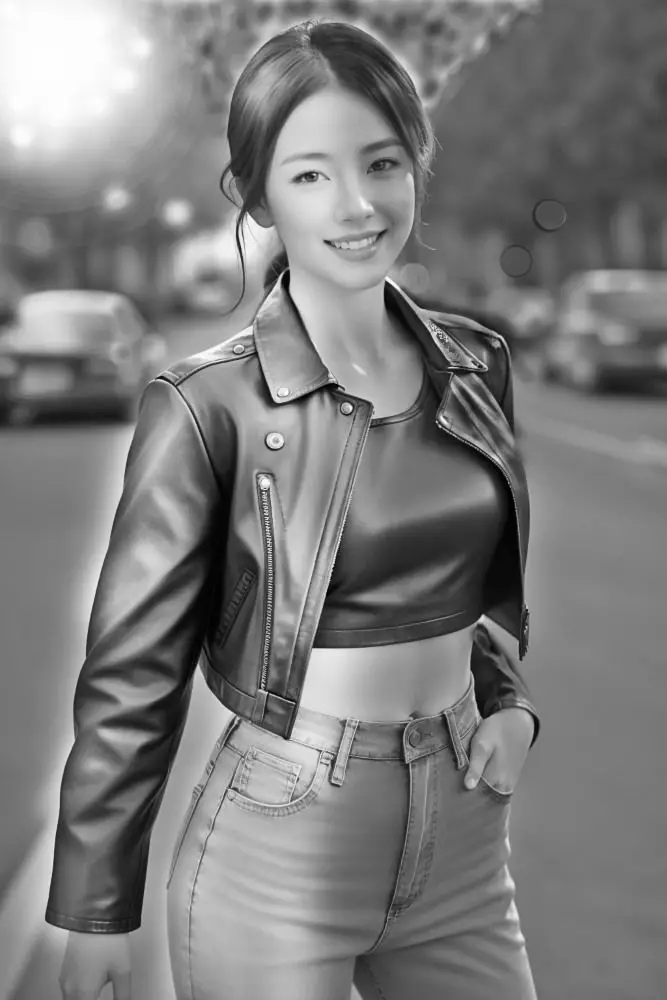
By adding a white circle in the upper left of the grayscale image, Stable Diffusion aids in creating a sun or moon illusion. After replacing the original grayscale, I included “moon” and “blue hour” in the prompt, resulting in the image below.
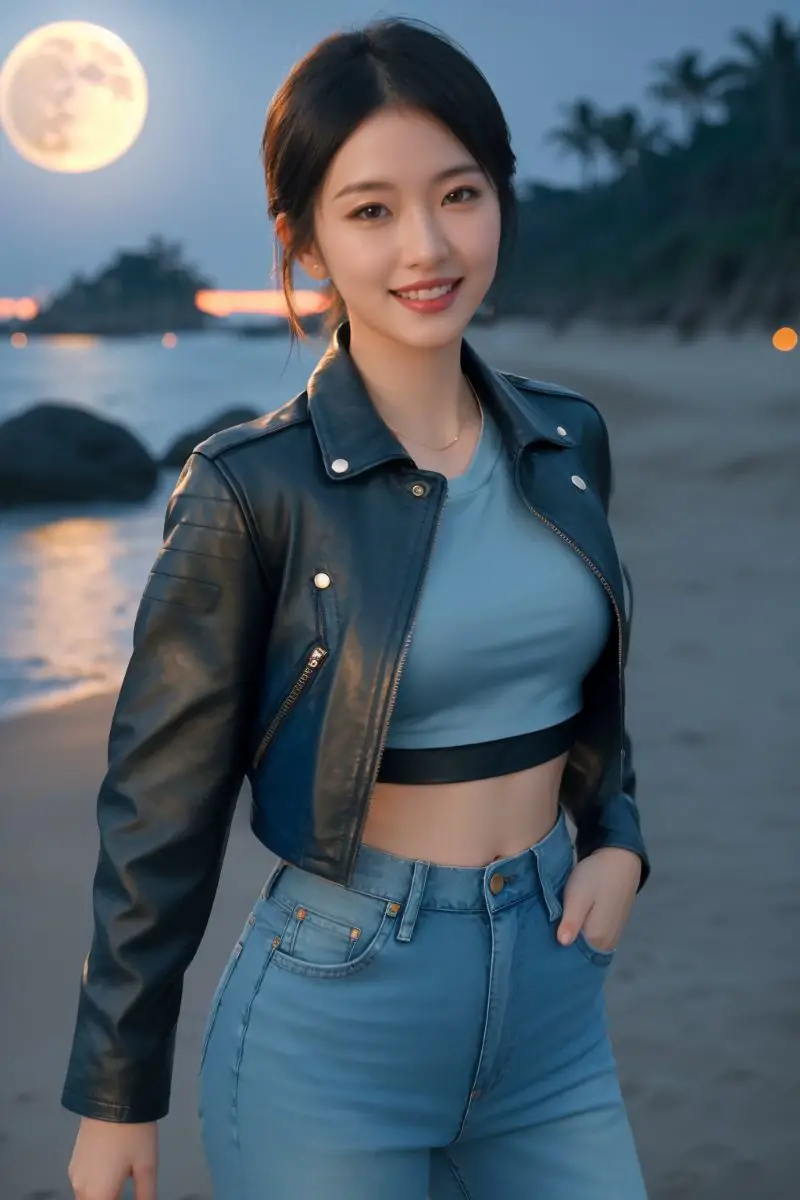
Altering “street” to “beach” in the prompt, Stable Diffusion generated the subsequent image.
Additional Insights
While the Brightness model proves effective, it sometimes faces challenges when combined with other ControlNet models. When functioning optimally, it can be integrated with models like Canny or Lineart for more nuanced composition control. Though its primary function is to modify light and shadow, it can also subtly influence the overall composition of the image.